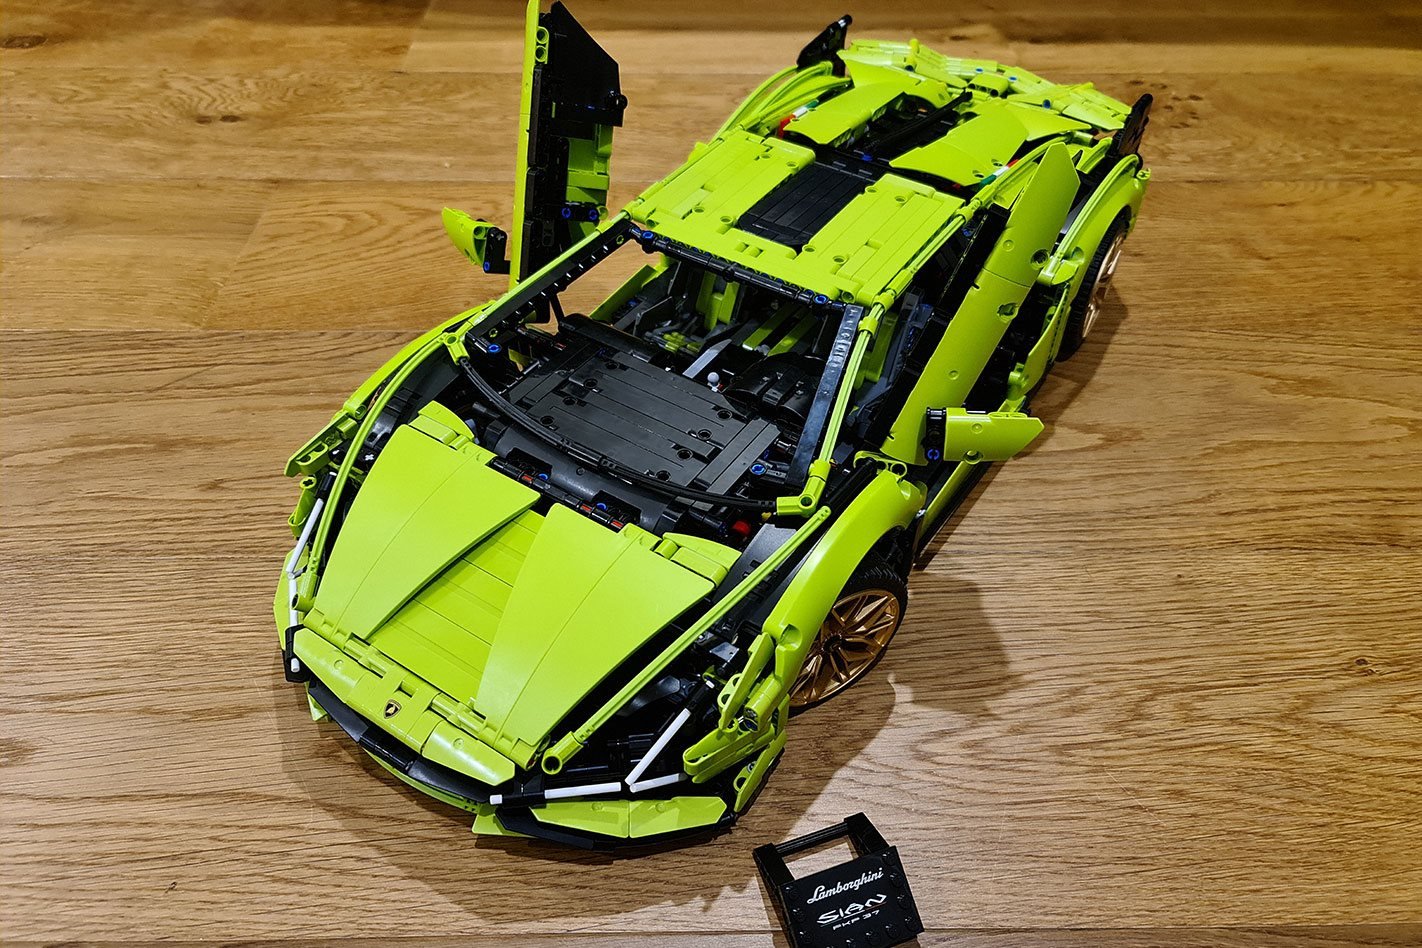
If perfect timing exists, the offer from Lego to review a massive 60cm long, multi-thousand Technic set during Melbourne’s stage four lockdown is it.
We got our hands on a big green box containing one 1:8 scale model of the Lego Technic Lamborghini Sián FKP 37.
We just had to put it together ourselves.

Mercifully, the Technic Lambo Sian set is separated up into six boxes within the main box, making it much more manageable to sort through the 3696 pieces of plastic (and rubber) during each stage (one per box) of the build.
On that, the box itself is designed in quite a striking fashion, replicating the bonnet of the Sian on the outside top, the exhaust and taillights on the side, and the engine cover inside with all the separate boxes.
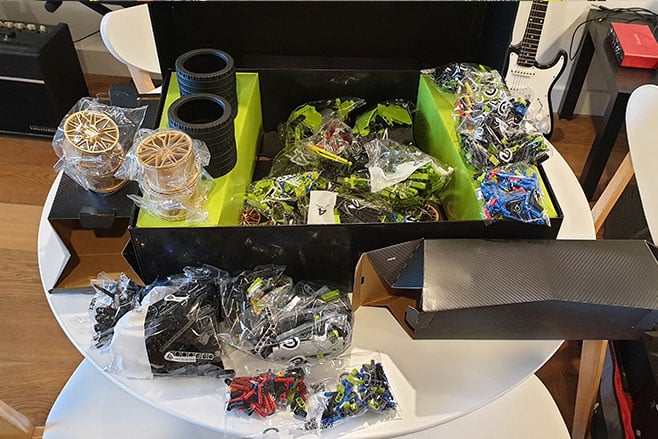
This is what you get when you pop down $570 for a Lego kit.
The two instruction books – not leaflets or ‘booklets’, but proper books – not only sit together to create the image of a Sian but are also separated up into sections that follow the numbering of the boxes.
They begin with the chassis and gearbox, before moving on to build the engine, suspension, interior, and front and rear bodywork in individual sections.
Anyone hoping for a quick bit of fun during a couple of hours is likely to be in for disappointment towards the beginning of the build, unless seeing very little actual car-like progress for quite some time isn’t particularly a bother.
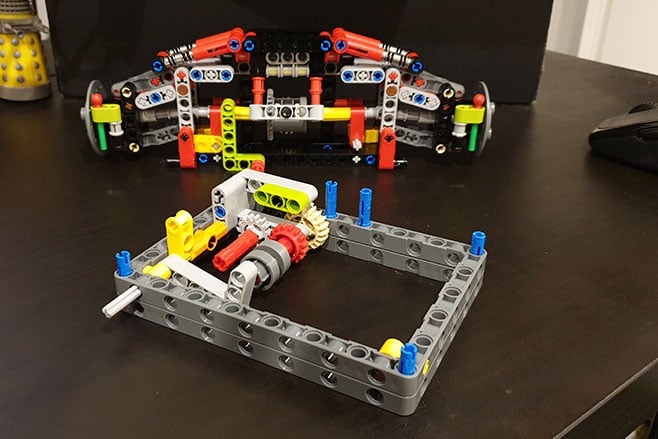
The entire build took this writer much longer than he’d care to admit, and that’s partially down to the lack of enthusiasm for spending hours and hours to still be looking at something that doesn’t yet look like a car.
However, there are fairly glorious moments woven into this early part of the build, such as building the Lego Technic version of the Sian’s gearbox along the bottom of the chassis, and seeing it all click around as gears change.
Sorting out the differentials at either end of the Sian was also one of those ‘ah!’ moments, particularly when I had realised the wheels were turning in opposite directions. I’d put the rear diff in the wrong way around.
Seeing it all come together is much more enjoyable once you’re past the actual construction of it, when everything looks and works in some manner as a car should.
Some parts, even hundreds of steps in, are yet to be completed – an example of this is the mechanism for the active rear wing, which is laid out between the passenger footwell and the rear of the car.
Perhaps the most enjoyable of the earlier stages of the build is the construction of the engine, which results in a V12 with moving pistons and is flanked by exhaust headers.
The engine is later able to be viewed in action by carefully removing some pieces of the engine bay from the complete car.
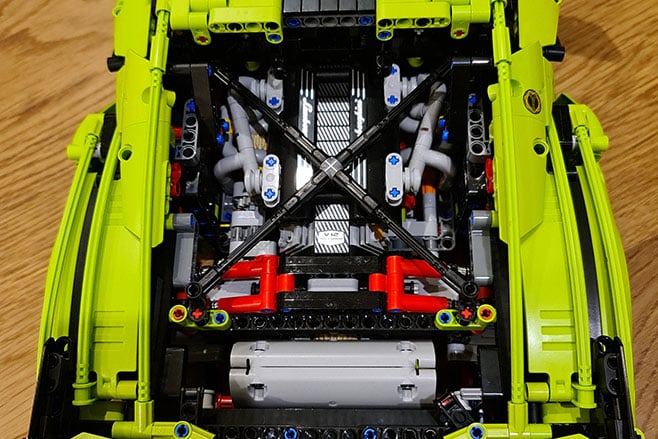
As with most Lego builds, but particularly when it’s taken you approximately 600 steps to get there, the real satisfaction takes place once the final vision begins to fall into place.
Especially when the rear wing is complete, and the mechanism you’d built throughout the underside of the model now raises and lowers the wing.
More than halfway into the build, and just after sorting out the seats inside, the rear of the car starts to come together before you eventually find you’re slotting the last few panels into place.
In terms of the detail, it’s impressive how much Lego was able to replicate from the rather complex Sian.
The rear detail is excellent, and arguably looks better than the front, which is let down just slightly by the quite long, flat black dash top being very visible through the ‘windscreen’.

The completed product is rather photogenic, though, especially from ‘scale’ angle where your head would be if you were the right height to fit into the Lego Sian.
Even the brake calipers behind the wheels are visible.
If we could offer one piece of advice to those who are keen on committing many hours to an eventually very satisfying build, it’s to separate up the pieces and keep very close track of what piece the instructions actually calls for.
I found after thinking for quite some time that I’d used the wrong part for the scissor door mechanism, which was actually supposed to be on the firewall.
It wasn’t until I realised I had the wrong part for the opposite door that I was able to go back through the instructions and amend my error.
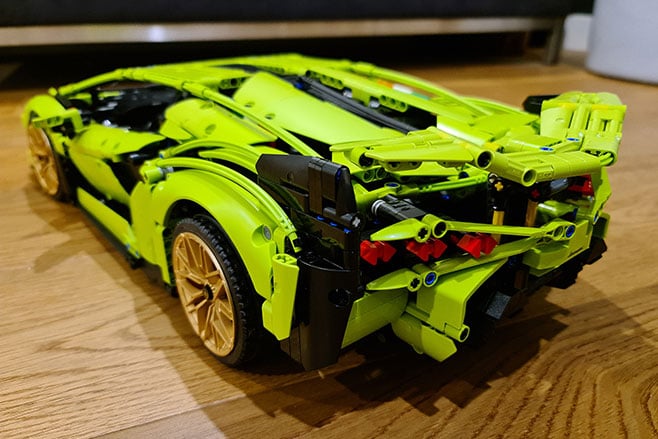
Luckily, with parts that are very similar to each other, or have a mirrored twin, the part numbers imprinted or the ‘to scale’ diagrams in the build books are incredibly useful.
It’s not a build that can be undertaken absent-mindedly, but once you’ve got a 60cm x 13cm x 25cm model of a neon green Lamborghini sitting in front of you, the effort and hours will have been absolutely worth it.


