Ron and I have been camping all over Australia (and the world) for more than 35 years, so I think I can say we’ve got a little bit of knowledge as to what to take on a trip, and how to pack it.
This article was originally published in the January 2014 issue of 4X4 Australia.
But, what I need, and what someone else would consider necessary, may not be the same. There are some essentials, however, that I think anyone preparing for a trip should consider. The details and ideas in this feature will help you, whether you are a first-time camper, or a seasoned one.
KEEPING IT ALTOGETHER
The ideal situation is if you have a camper trailer or off-road van which you keep packed at all times, other than for food items, ready to head bush at short notice. But for campers with tents or swags it means repacking and unpacking the vehicle each and every trip. So the very first thing you need to do is to keep all your gear together in one place and, where possible, collectively in marked boxes so that you know what is in each box.
 GETTING IT ALL IN
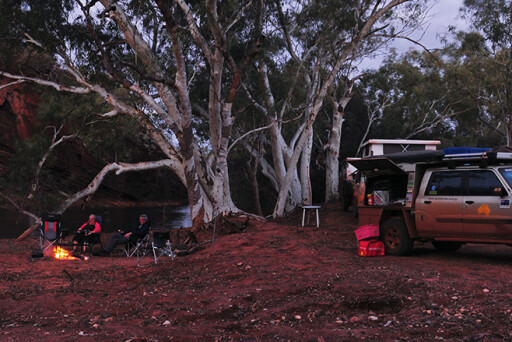
There are so many different ways to pack, and it all depends on whether you are just in a vehicle, have a camper, or an off-road van. Even if you have a commercial storage system with drawers, such as that produced by ARB or Black Widow, the following holds true.
The best advice I can give is to use sturdy, stackable, plastic boxes with clip-on lids to pack your gear in – you can also see what’s inside more easily. You can get different sizes and configurations – one drawer, two drawer etc, so it’s best to work out what suits the area you have. Use one for pots and pans and the like; one for cutlery and the like (and use a cutlery holder inside to keep the knives, forks, spoons, etc, separate); one for your plates, cups, etc; one for breakfast items, tea and coffee, sugar, etc; one for general food items you are more likely to use everyday; and one for your general food storage.
It’s also a good idea to label the boxes detailing the contents, or at least number the boxes and make a list of their contents. Make a note on the top of tinned food containers of what’s inside, so you don’t have to pull each tin out to see what’s in it. Bonus: if labels come off you won’t have to play a guessing game.
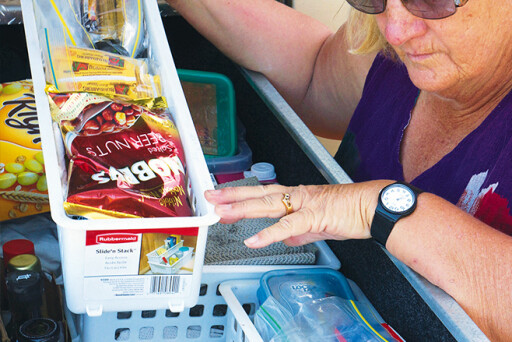 I find it’s still best to utilise plastic boxes, even inside a large-ish cupboard or drawer space, as I can keep food contained. Instead of pulling out lots of packages and cans – basically emptying the cupboard or drawer – to find something, I just pull out a box; it’s a lot easier. I know the containers take up a little bit more room, but the convenience of having items contained is, I think, worthwhile.
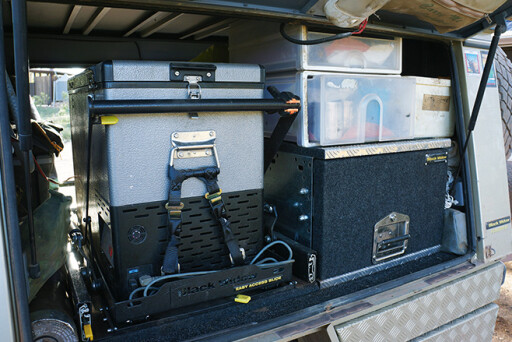
I also have a couple of good quality, heavy-duty small plastic drawers on top of the Black Widow sliding drawer we have in our Patrol, to make the best use of available space. I couldn’t let that space go unused. That’s the trick, use every available bit of space you have, as best you can and, in our case, these drawers are packed with everyday items we regularly use.
The most important thing while travelling on corrugated, rough, or bumpy roads is to stop items moving around and banging into each other as much as you can and therefore prevent any breakages. There’s nothing worse than opening a cupboard or box and finding a lid has come off a jar or bottle, or it’s broken, and there’s gunk everywhere. Pack everything firmly, especially if you have any glass containers. I use aprons, tea towels and the like to help fill in any gaps in storage boxes or cupboards. If it’s really rough, use packing tape around each lid to stop it unscrewing – believe me it does happen, even on a new, unopened jar or bottle.
 I also like to pack glass bottles/jars into stubby holders, you only need to do every second one. Another great method is to use the strong cardboard six-pack beer-bottle carriers for storing sauces, jars and the like. They work well and stop glass bottles banging against each other. They will also survive inside the fridge for quite a while.
Use clip and lock, stackable plastic containers to store food supplies. They are clear (so you can see what’s inside), and secure, so there’s less change of spillage, and they keep food fresh. Great for rice, pasta, flour, cereal, biscuits and more.
Be aware of leakage from cardboard containers, such as long-life milk, custards and cream. There is nothing quite as bad as milk containers that have rubbed together and leaked; the smell of sour milk is very hard to get rid of, a lesson we learnt very early on in our camping trips. Put thin cardboard or something between each container so they don’t rub against each other or, at the very least, stack them in a plastic box that’s easier to clean and remove any odour.
 Choosing pans and bowls that fit inside one another makes packing a lot easier. Stainless-steel pots are ideal. Saucepans can be used as mixing bowls, or for salads, such as coleslaw and potato salad.
STUFFING YOUR OVEN
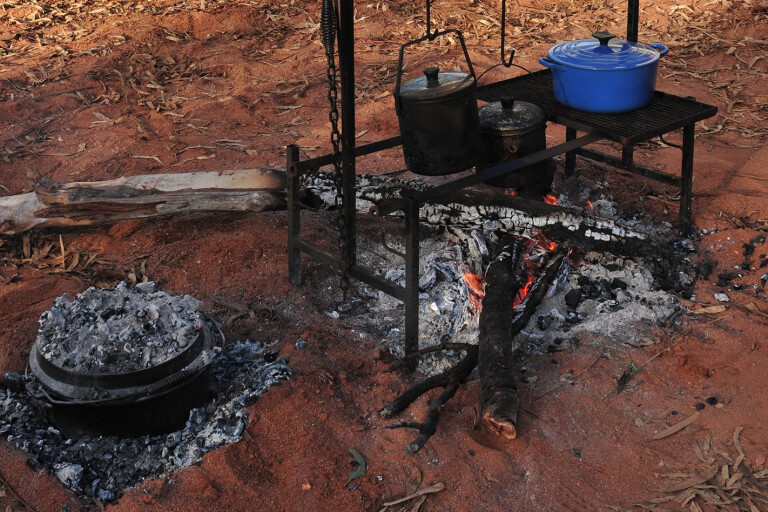
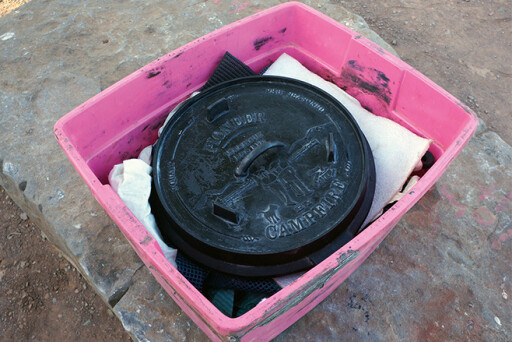
A big, heavy cast-iron camp oven will crack if not properly stored. Pack it in a strong, durable cardboard box, or use a robust plastic bin with a lid that is suitable in size for your camp oven. Place a piece of cardboard, bubble wrap or foam between the lid and the base. When carrying other pots inside your camp oven, put cushioning between the inside base of the camp oven and the pots to prevent them bouncing around, as well as stopping metal rubbing against metal.
An alternative to baking in a camp oven, is to use a stove top oven, such as the Coleman Camp Oven (www.colemanaustralia.com.au). This compact cube-shaped oven sits on top of your gas or fuel stove. Its metal lid and sides fold inwards and the oven folds into a neat little package, and it works a real treat. I don’t leave home without one.
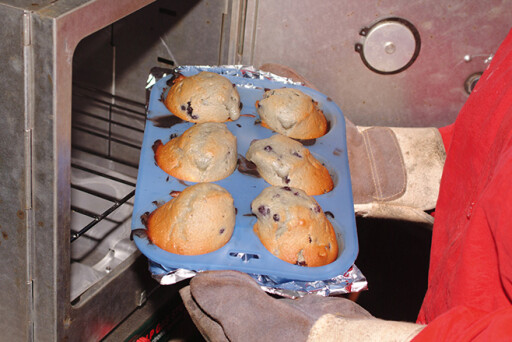 One of the Coleman oven’s great advantages is that it enables you to ‘camp oven’ cook in areas where wood fires are prohibited, such as National Parks or districts which are under total fire bans during the summer season.
Take a couple of flat, light, round pizza trays that will fit into your camp oven – perfect as a base for your damper, bread or scones.
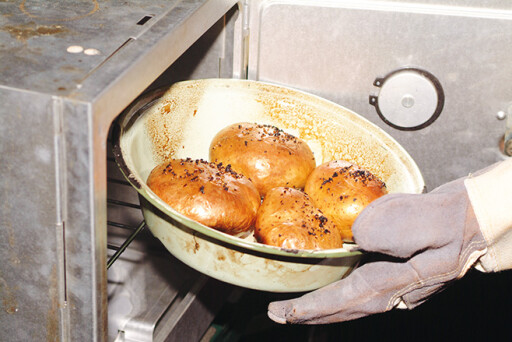
Also take a selection of tin enamel dishes (round or oblong) that will fit into your camp oven. They are prefect to cook a dessert in, cake or a casserole and will save a lot of camp-oven cleaning.
MENU PLANNING
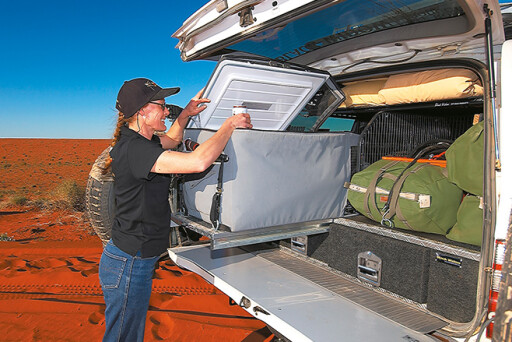
Preparing for a trip is quite a task, especially when travelling away from any shops because there will be no chance to restock supplies for a week or more between towns. Planning and preparation before you go are essential to make your trip an enjoyable experience.
How to plan food for a 4x4 trip
 FOOD PREPERATION
Here are just a few food packing ideas to help you get started:
- Get your meat vacuum-packed – it will keep a lot longer in the fridge, is easier to pack and keeps the fridge cleaner.
- Take plenty of spices and sauces – you can turn any meal into a flavoursome dish. Remove them from any glass containers and store in small clip bags – they’ll take up a lot less room.
- Take flat bread, such as Mountain bread or soft tortillas, as an alternative to bread, which is bulky and goes stale quickly. They’ll keep for sometime.
- Packing Bread – The following method of packing bread works really well, and I’ve had white bread still reasonably fresh two weeks after packing, with little or no mould. Leaving the bread in its plastic bag, wrap each individual loaf in a couple of sheets of newspaper and then wrap in foil. Seal with tape and place in cardboard boxes and store inside your vehicle in a cool spot.
Note: different varieties of bread keep better than others — you’ll need to experiment as there are different brands of breads from state to state. Don’t use bread fresh from a bakery, there aren’t enough preservations in it. - Remove all fruit and vegetables from plastic bags and repack in ‘long-life’ vegetable bags, wrapped in newspaper or hand towel. If using newspaper, make sure you wash the vegetables to remove any printers’ ink before using. Remember to store in a cool, dark place. Don’t store onions and potatoes together.
- Dehydrate food to save heaps on water, space and weight.
- Eggs: Keep in a cool, dry place if you can’t fit them in the fridge, and store in a solid plastic egg container. Don’t buy the large eggs that won’t fit into the containers.
- Make up a basic list of ingredients you would have for breakfast and lunch, and general everyday food items. Shop with this list to make sure you get everything you need.

It all depends on the style of camping you like to do, and the type of cooking you prefer to do when you are out in the bush. If you enjoy cooking on the open fire and using a camp oven, then you are going to carry a bit more gear than the camp cook who only cooks on a gas stovetop.
I’ve detailed below some essentials I always have. I haven’t given you an exhaustive list of all items you would normally carry – these are just a few of my ‘must-haves’.
 VIV’S CAMP KITCHEN MUST-HAVES
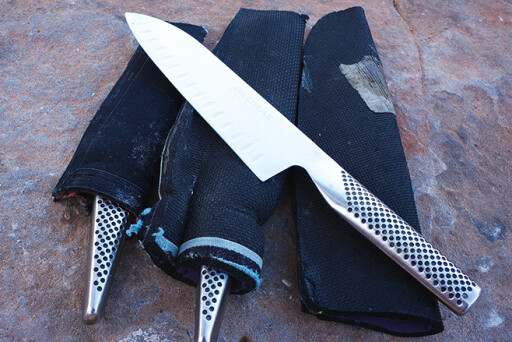
- Good kitchen knives of varying sizes and styles and a good sharpener.
- Sheaths for knives – either made of strong cardboard and heavy-duty tape, or neoprene cut to size and edges glued. They keep knives from being damaged.
- Set of measuring cups and spoons – make sure they are in Australian metric measurements.
- Meat thermometer – take all the hassle out of trying to guess if you roast is cooked to your liking or not. Probably best to get one that doesn’t require batteries.
- Military/army-style can openers – they are very small, flat and work every time, more than I can say for the ‘normal’ kitchen style can openers you buy. You could probably pick one up in an Army Disposals store or similar.
- Whisk – great for mixing powdered milk, custards, eggs, sauces, etc. I also have a mini whisk, which I find very handy for mixing in very small bowls and cups.
- Stubby holders – to hold that ice-cold can of beer. But, as with the general rule of things having two uses, stubby holders work well to store bottles in and stop them breaking.
- Aprons – decent sizes – an apron will help keep your clothes a lot cleaner for longer and save you washing – always a good thing.
- Welding gloves – an essential item for working around the camp fire and for picking up cooking pots and trays.
Check out our wide range of Bush Cooking recipes
 VIV'S HANDY HINTS
Clothes Washing Tub – I’ve carried the same wash tub (a beer makers container) for over 32 years now. It started off as a nappy soaking/washing tub for travelling when our son was two on one of our very first Cape York trips. It’s still going!!! Fill with ¾ water, add some liquid clothes detergent, a little napisan or similar, add the clothes, put on the lid and put into the car and let it shake away all day. All you have to do at the end of the day is rinse the clothese and hang out to dry.
Handheld shower - 1 x large juice/drink container (2 litres) – pierce numerous holes into the lid and screw back on. Fill with water, up-end and use as a small handheld shower. This is great for remote desert trips or when water is scarce - works really well, and you only use a small amount of water.
Plastic spray bottle for dishes – fill with water and a little dish detergent. It works well to clean plates, etc, for breakfast and lunch when you don’t need a sink full of water. Again its a great water saver.
How to choose the correct campsite
For lots more information on planning and preparing for a trip, and camp fire cooking, or cooking generally, as well as lots of great recipes, then check out Viv Moon’s OUTDOOR Cookbook, and Viv Moon’s TRAVELLER’S COOKBOOK, on the web.
 MISCELLANEOUS ESSENTIALS
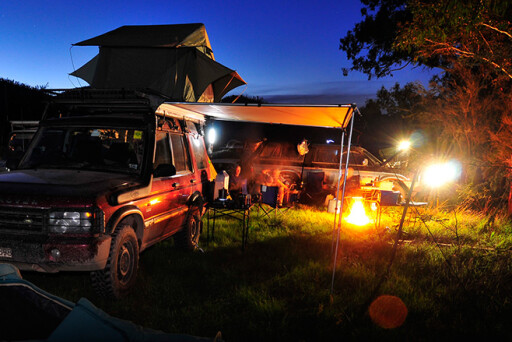
- A quality headlamp – ideal for working around the campfire at night and leaves your hands free.
- Anti-bacterial hand-wipes or liquid are a quick way to clean your hands before preparing food.
- Snap Lock plastic bags of varying sizes are ideal for storing just about everything, from leftovers for the fridge to dried herbs and toiletries, while ‘long-life’ vegetable bags help keep vegies fresher for longer.
- Cloth tape (heavy duty) – you can just about fix anything.

COMMENTS