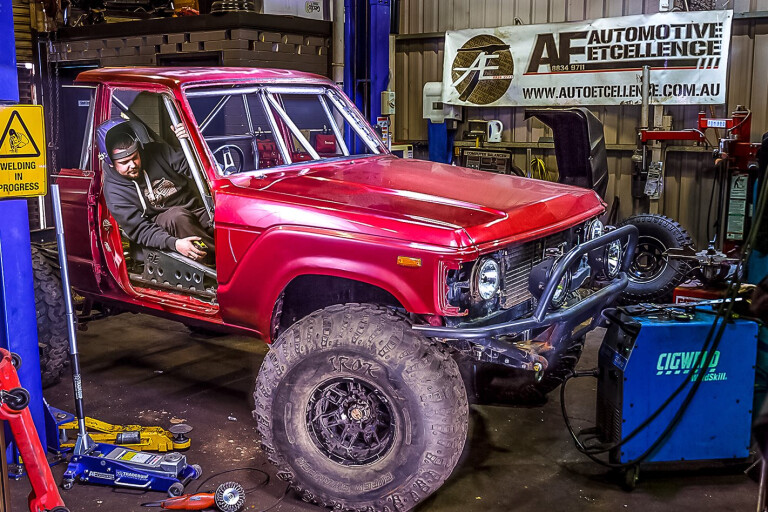
I AM A DIY kind of guy. It’s something my father always tried to ingrain in me from a young age, but it really took hold when I was knee-deep into my apprenticeship.
While my mates were throwing pay cheque after pay cheque at their new rides, I was counting coins working out how many days that week I had to dodge the train guards so I could buy a tin of body filler and a few cans of primer. It’s something that’s still with me today – if a drain gets blocked or steering wheel shake develops, I lay out the trusty spanner roll and figure it out as I go.
That said, I’ve been burnt enough times to know sometimes I need to put on my big boy pants and call the experts. I’ve been sketching out roll cage designs for the last few months, going through every aspect, every weld, every bend and every rule book, but I kept running full-steam into road blocks, a lack of tools and a lack of experience.
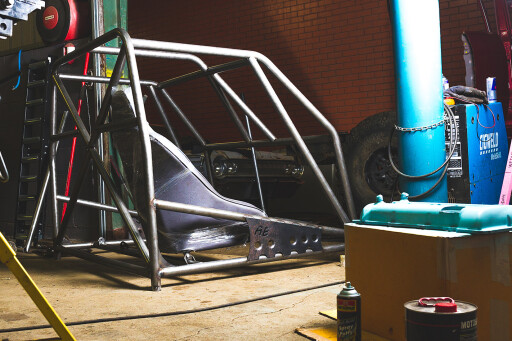 With the 60 entering a line-up of events with governing bodies as varied as their terrains, the cage had to be extensive to keep all happy. From first gear low-range in CCDA events through to foot-to-the-floor and flying-through-the-air in CAMS races, I had my work cut out for me.
I enlisted the help of long-time friend, Steve Etcell from Automotive Etcellence, to bend a few of the more complex tubes I couldn’t do. He laughed at me, called me an idiot, and then told me to bring it down and we’d do it right.
A complex roll cage can look like someone’s thrown a bundle of spaghetti in the cab, but there’s actually a method to the madness with every individual tube designed as part of the larger picture. For a reference point to build off, Steve cleared a space on the shop floor and got to work bending up the B-pillar hoop.
 In single-occupant race cars you can get away with a diagonal bar to protect the driver’s head, but an X was more suitable as the events I’ll be in often require a navigator. From here, the complicated roof bars/A-pillar supports were bent up.
While the 60 is almost a square box, it does have a little curve to it making for a complex series of bends to follow the body’s profile (the stuff I originally reached out for help with). Additional supports were added to reinforce the A-pillar bends in a big hit, with side impact bars joining the windscreen bars to tie it all together.
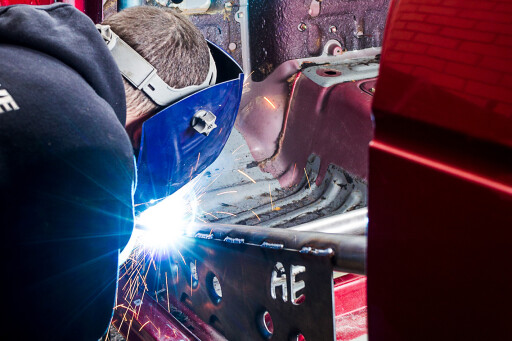
Think Death Proof and you’re on the right line. Before we could pull the cage out of the gaping hole at the rear for final welding, the Beard Race Seats were dropped into place, with Steve cutting and folding a set of stout brackets with his CNC machine.
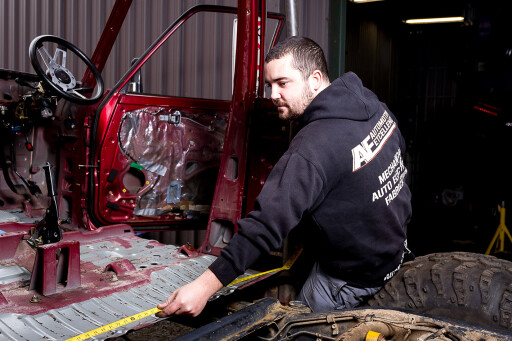 While five-point harnesses mount to a set of taxi bars that were installed at shoulder height. There are a few options for mounting the cage to the body, depending on the style of events you’re running in and how precious you are about your paint.
With the plan to eventually tie the front and rear suspension points into the cage, we made the call to weld the cage straight to the floor pan for maximum strength. By the time Steve sent me on my way, almost 30m of high-tensile tube steel went into the 60’s cab, with enough custom bracketry and dimple-died wizardry to make things stand out for all the right reasons.
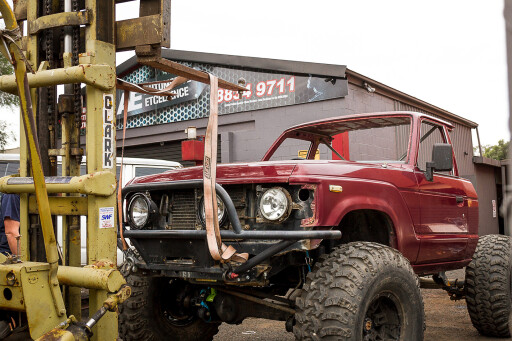 With an extensive tube rear-end design that’ll tie into the cage, I’m not able to close up the rear wall yet, so the next step will be to ditch the temporary 40s it’s currently wearing and fit a set of race-ready 37s on bead-locked wheels. Then I’ll take the gas-axe to the stock rear suspension.
Now, where’d I leave that lotto ticket?

COMMENTS