Many of us feel reasonably confident and competent with pure mechanical stuff, but electricity seems more slippery.
When you can’t hit it with a hammer or even see what’s what, it can start to feel frustrating, but don’t panic. Here are some tips, tricks and techniques learnt from years out on the tracks that might get you out of strife.
As with mechanical repairs, there are two sides to the coin – finding the problem and fixing it. Follow along as we spill the beans on the basics of 12V fault-finding and a few bush fixes to get you back in the game. Sometimes, the best way to avoid electrical problems out on the track is to keep your 12V set-up and accessories simple.
KEEP IS SIMPLE SILLY
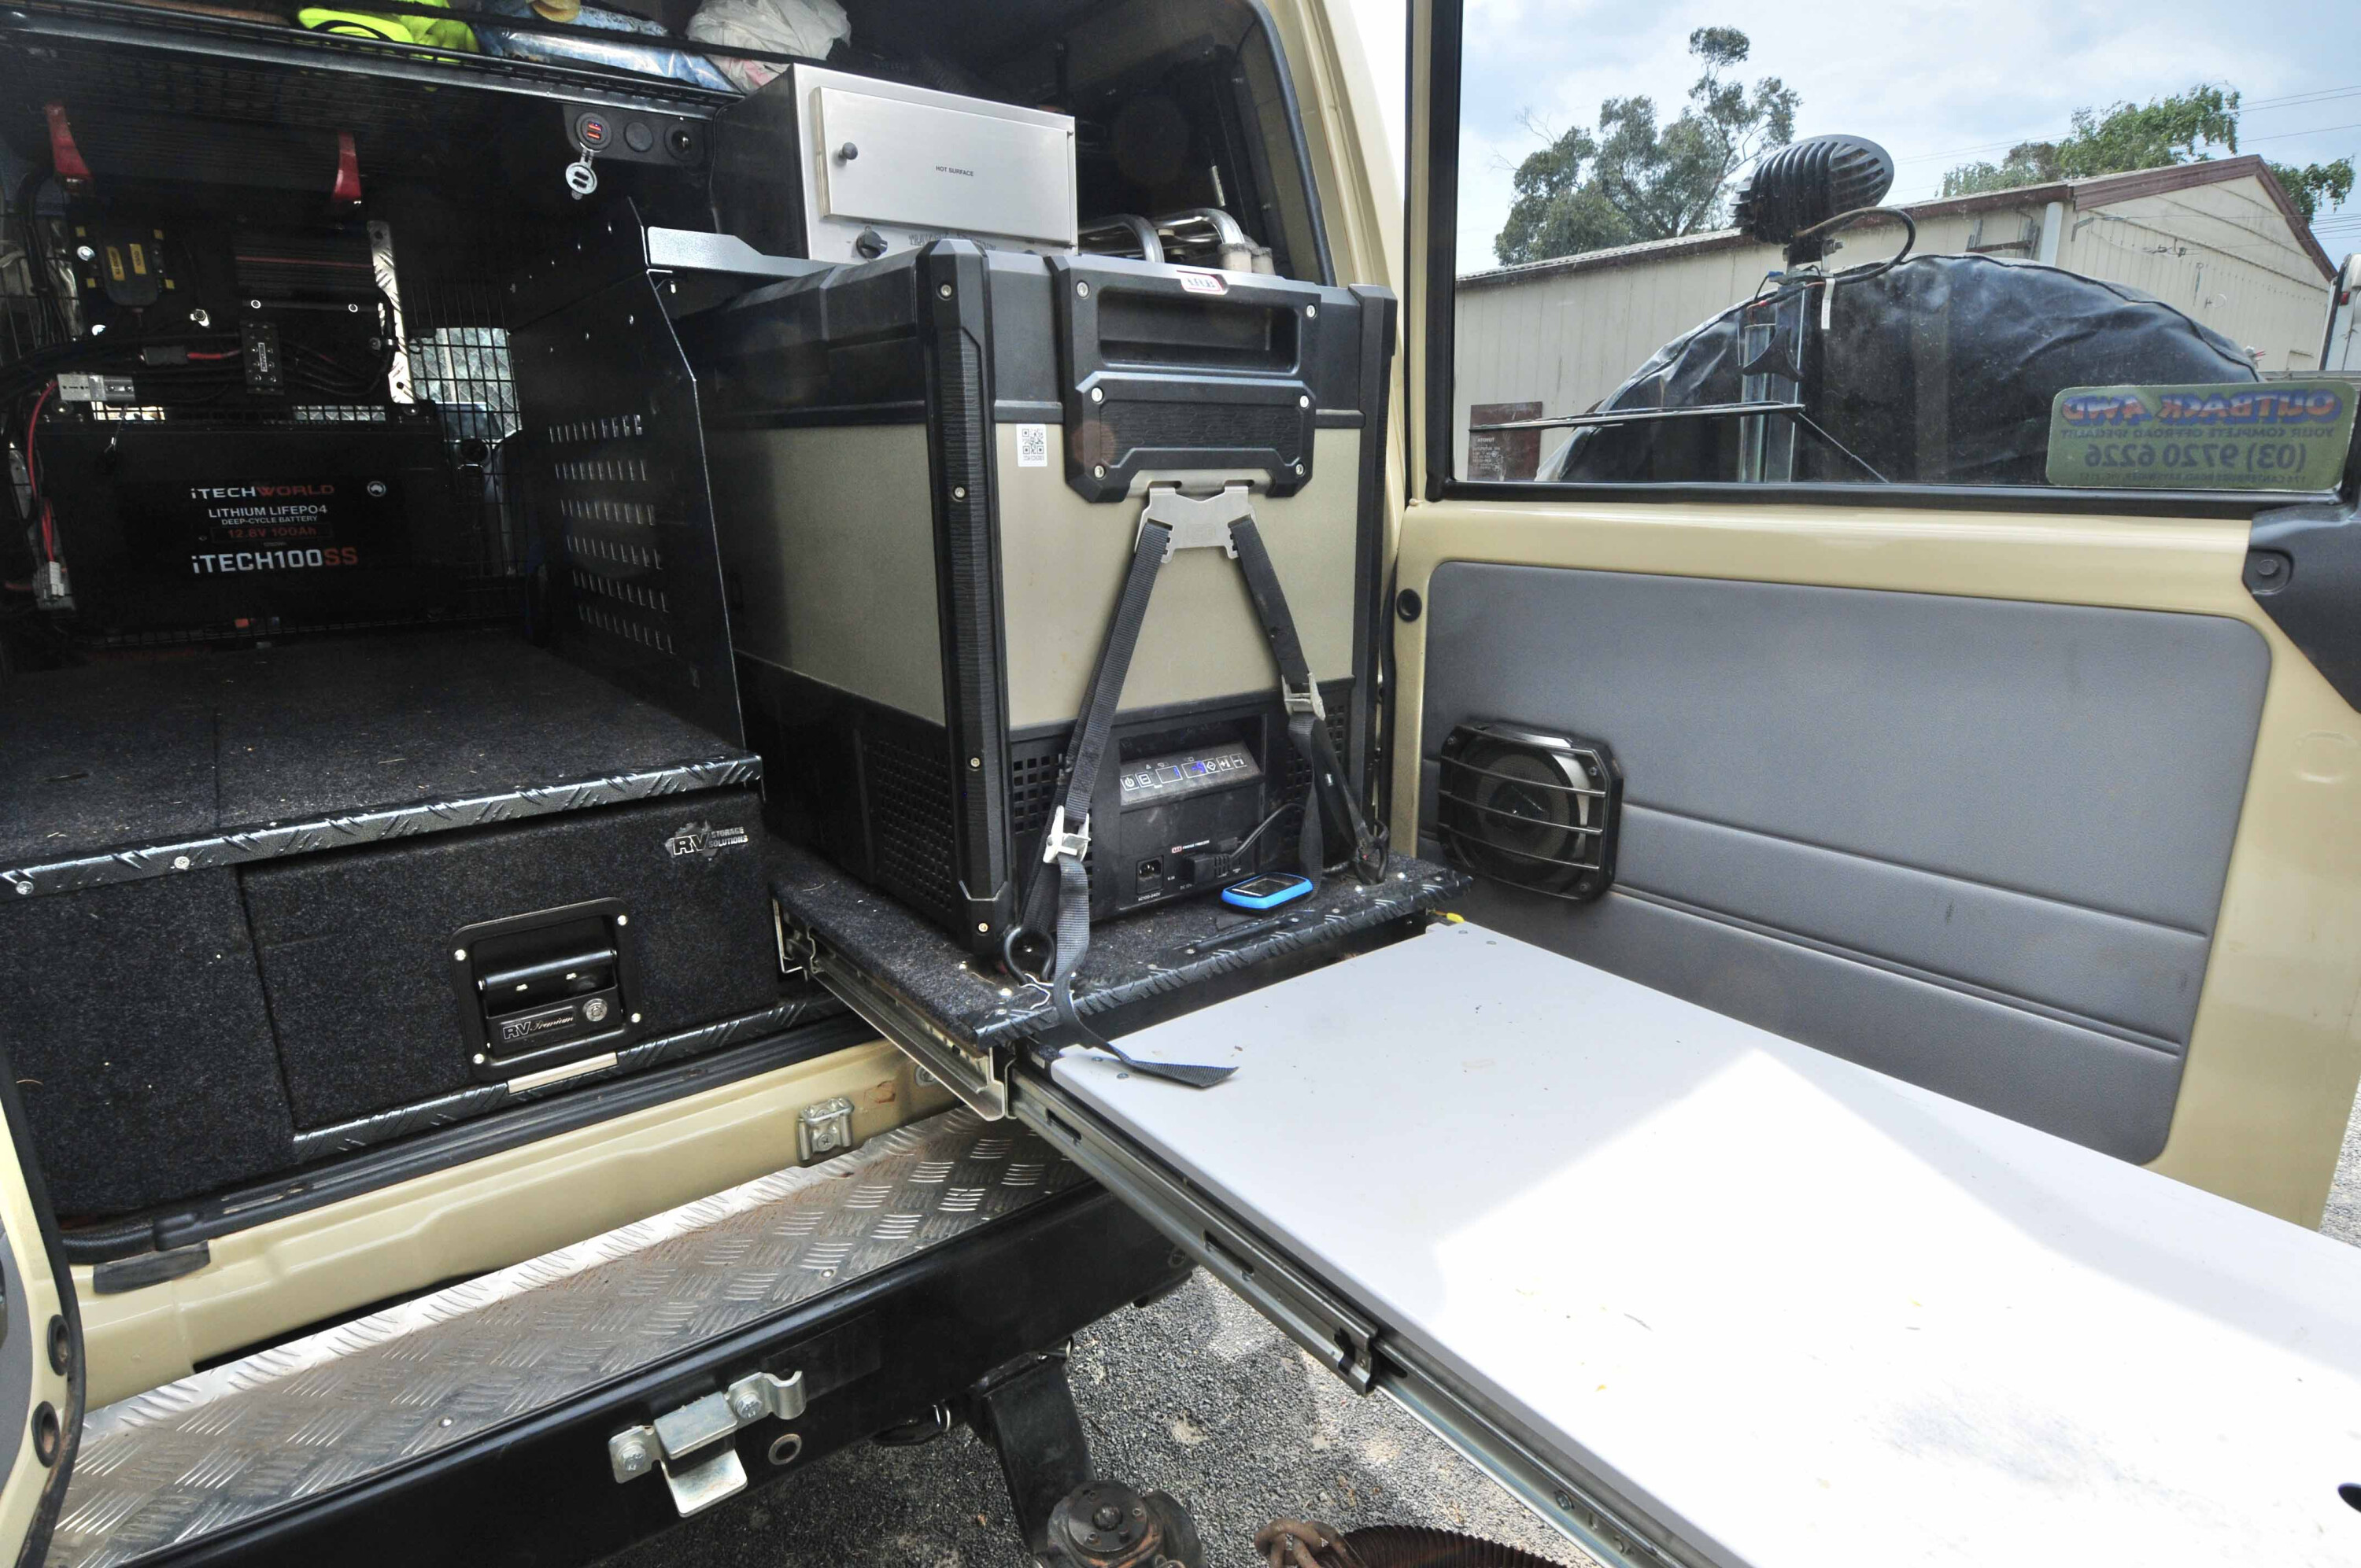
The Troopy is running a pretty basic battery set-up. There’s one 800CCA cranking battery to power up the mighty 12HT diesel donk, and one deep-cycle battery with a simple isolator solenoid to manage the charging side of things. There’s also an ArkPak as a back-up battery.
Now for the fun stuff – all the accessories such as my CD/radio, interior lights, plus all the aftermarket gear now runs directly from my auxiliary battery, that way I won’t flatten my starting battery accidently – again!
I’ve wired the spot lights to run on a completely different circuit than the headlights. That way, if one lighting circuit fails, I can simply flick the other switch and light the place up in an instant. I’ve also got two separate circuits for the 60L Evakool fridge – one circuit runs off the auxiliary battery and the other runs off the ArkPak, so if I have a fridge wiring problem the beer doesn’t get warm!
I learnt years ago that you can’t have enough 12V auxiliary sockets in your 4WD, so I installed a multi-outlet 12V power panel from Bainbridge Technologies to the roof console. Each circuit is individually switched and runs directly to the battery, so you can charge all your electrical accessories without having the ignition on. Plus, there’s a volt meter so you can keep an eye on the battery’s voltage level.
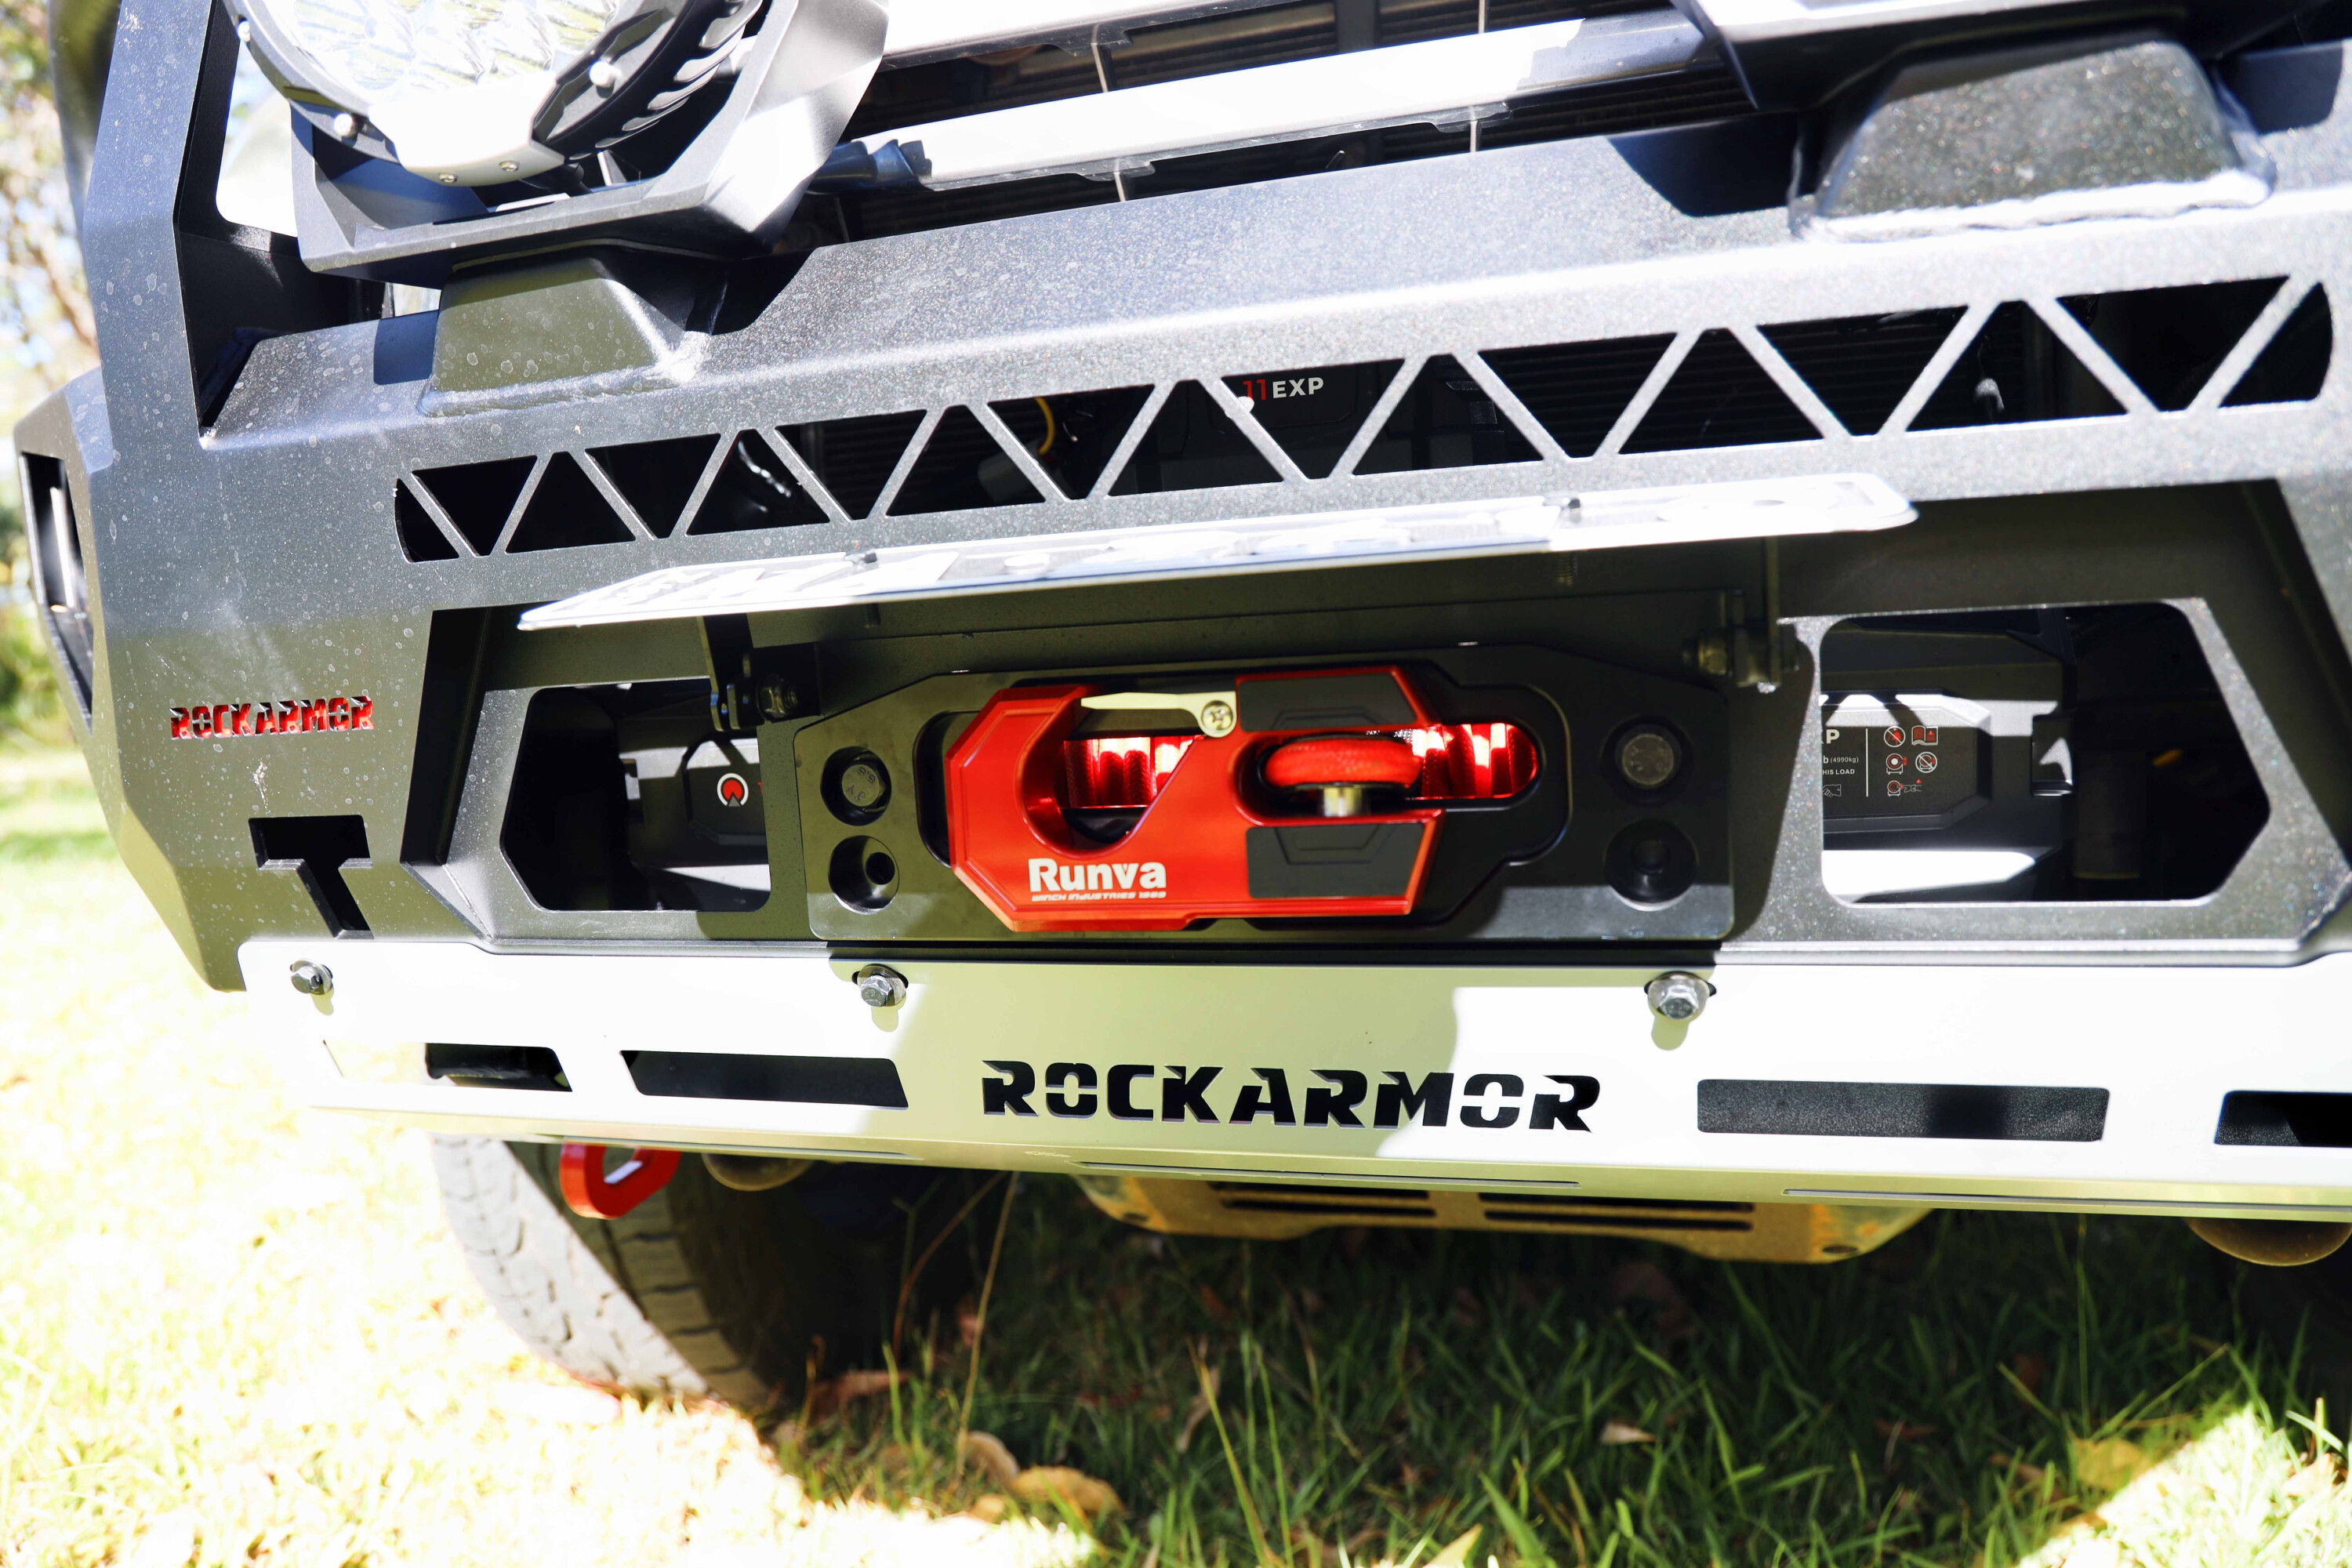
Oh, and years back my winch somehow activated itself during the middle of the night and twisted up my whole bullbar like a giant Curly Wurly. Would you believe I actually heard the winch going but figured I was just dreaming about 4WDing again? It’s safe to say I’ve got an isolator switch in there now.
DOWN TO EARTH
When it comes to off-road vehicles, the most common cause of circuit failure is a bad earth, and you’ll find the main reason for this is dirty or corroded connections, resulting in poor contact. A bad earth can amplify the resistance in the circuit which, as you might have guessed, increases the current draw and eventually leads to it exceeding the rated amperage of the wiring and components. This is why fuses are absolutely vital for any 12V project.
BASIC FAULT FINDING TECHNIQUES
Let’s say the fridge or your 12V lighting has stopped working:
1. The first step would be to check that the fuse isn’t blown by ensuring there’s power at both contacts while the circuit is activated.
2. If the fuse is okay, use a multimeter at the exposed positive wire closest to the accessory to make sure it’s receiving 12V. If the accessory is still not working, despite a 12V reading, you know there’s a problem with the accessory itself.
3. If there’s no power at all, check the wiring for damage between the accessory and the fuse.
4. If there’s a relay in the circuit, check it’s working correctly by ensuring it has got 12V power at pin 87 (output) with the accessory turned on.
5. If there’s no power, check the relay has constant power to pin 30, signal power to pin 85 and ground at pin 86. If all of this is present and there’s still no power to pin 87, the relay is busted.
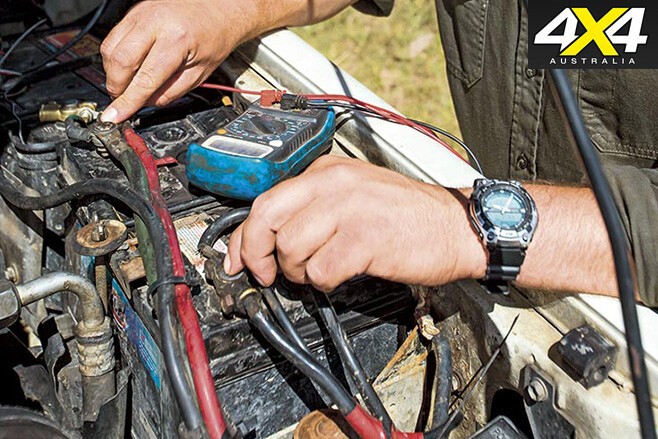
COMMON PROBLEMS AND EASY FIXES
ALTERNATOR LIGHT ACTIVATED Grab a multimeter and check the voltage at the alternator’s battery positive terminal is between 13.5V-14.5V with the engine running. If it’s not charging, for us 4WDers, it’s usually due to mud getting in and clogging the internal brushes of the alternator, so give it a thorough wash with clean water and see if it kicks back into life.
The bush fix If your alternator is completely stuffed, it’s time to turn all of your accessories off so your battery keeps your engine running for longer. Remember, most camper trailers have batteries these days so you can swap it with your 4WD battery to get back on the road and, if you’ve got solar panels, it’s time to get them out.
If you’ve got a 12V drill, there’s even a possibility of attaching it to your alternator pulley with the belt off and winding it over that way. You never know, it might charge the battery just enough to kick the engine over.
Some late-model engine management systems will cut the power if the voltage is too low (less than 12V). There are all sorts of solutions – some we recommend and some not so much. In fact, people have even been known to strap the generator to the roof and charge the battery via their camper’s battery charger while they drive.
TRAILER LIGHTS AREN’T WORKING Before you start pulling things apart, sometimes spraying the auxiliary plug terminals with WD-40 is all you’ll need to do.
Check for damage to the wiring and the auxiliary plug, as it’s prone to bottoming out. If there’s no physical damage, you’ll have to check each circuit is working at the plug by activating each output individually and checking for power. Then ensure there’s power at the lamps, and pay particular attention to the condition of the earth strap/points.
The bush fix If the auxiliary plug is damaged beyond repair, you can bypass it by attaching the corresponding wires together using scotch locks, spade terminals or, worst case, by simply twisting the wires together and wrapping them with electrical tape.
BATTERY TERMINAL REPAIRS Loose or corroded battery terminals are the leading causes of electrical problems out in the scrub. They can be responsible for things like the engine not starting, warning lights flickering on and off, and they can even cause fires.
The bush fix You can clean off corrosion by pouring boiling water over it. For loose battery terminals, you’ll need to shim the gap between the battery terminal and the clamp to get you out of trouble. One great little trick is to cut up an old Coke can and wrap it around the terminal before fitting the clamp back on. You could even wedge a self-tapping screw between the two.
STARTER-MOTOR DRAMAS A stuffed starter motor is bad news out on the tracks. Sure, you can usually clutch start a manual vehicle, but what if it’s an automatic? The first step is to diagnose what the problem is. For example, if the starter clicks when you try to start it, it’s usually either the battery is low, or the solenoid is sticking. If there’s no noise at all, you could have a wiring problem to the starter motor itself (wiring harness).
The bush fix If the starter motor is clicking, the solenoid is likely to be stuck. Try tapping the solenoid with a metal rod (preferably with a soft end) while your mate tries starting the vehicle. Another common problem is that the starter motor has got too hot, so let it cool down and try again a bit later.
If you’ve got no power to the starter motor and you can’t find the problem, you can use a set of jumper leads to bypass the original wiring by running the cable from the battery’s positive to the large positive terminal on the starter motor solenoid. Then, with the vehicle in neutral, use a wire or screwdriver blade to jump power from the solenoid’s main positive terminal to the smaller ignition positive terminal to actuate the solenoid until the vehicle starts. This is a last resort and should be avoided when possible, especially on modern vehicles.
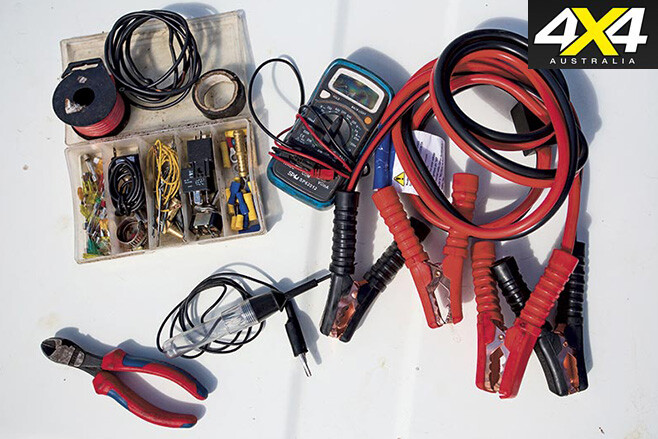
12V BUSH MECHANIC ESSENTIALS
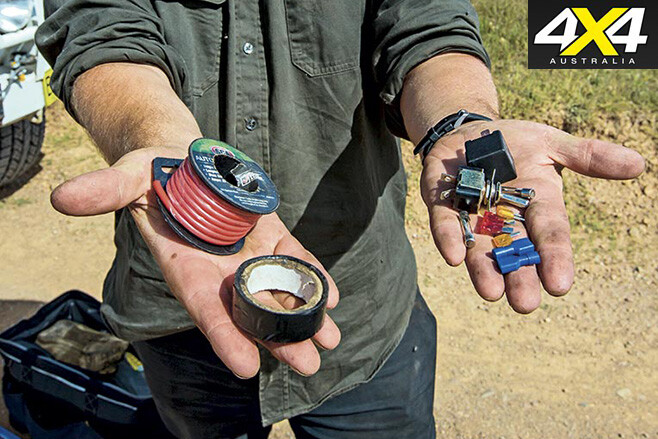
• Electrical cable • Jumper leads • Terminal kit • Spare fuses • Electrical tape (non-conductive, unlike other tapes) • Test light • Multimeter • Spare on/off switches • Spare relays • Crimper pliers • Test cables (length of cable with an alligator clip on each end) • Scan tool
WRAPPING IT UP
Well, there you go, electrical dramas on the tracks don’t always mean you’re going to be stranded. Believe it or not, with a bit of knowledge and creative ingenuity, there are few situations from which you can’t escape. In saying that, it pays to learn those little details about your set-up, carry enough practical spare parts and make friends with the towie in the closest town!
NEED A MAKESHIFT TEST LIGHT?
You can make a test light for trackside diagnosis with one 12V globe, two wires and some electrical tape. Simply tape one electrical wire to the terminal on the bottom of the globe housing, and tape the other to the side of the housing and Bob’s your uncle, you’ve got a test light. If it’s an electrical problem that’s stopping you and you need to diagnose it, everything else become secondary, so pop a globe from your vehicle’s rear lights if you need to, get the beast up and running and then worry about any recovery operations.


