Gear
Gallery 35
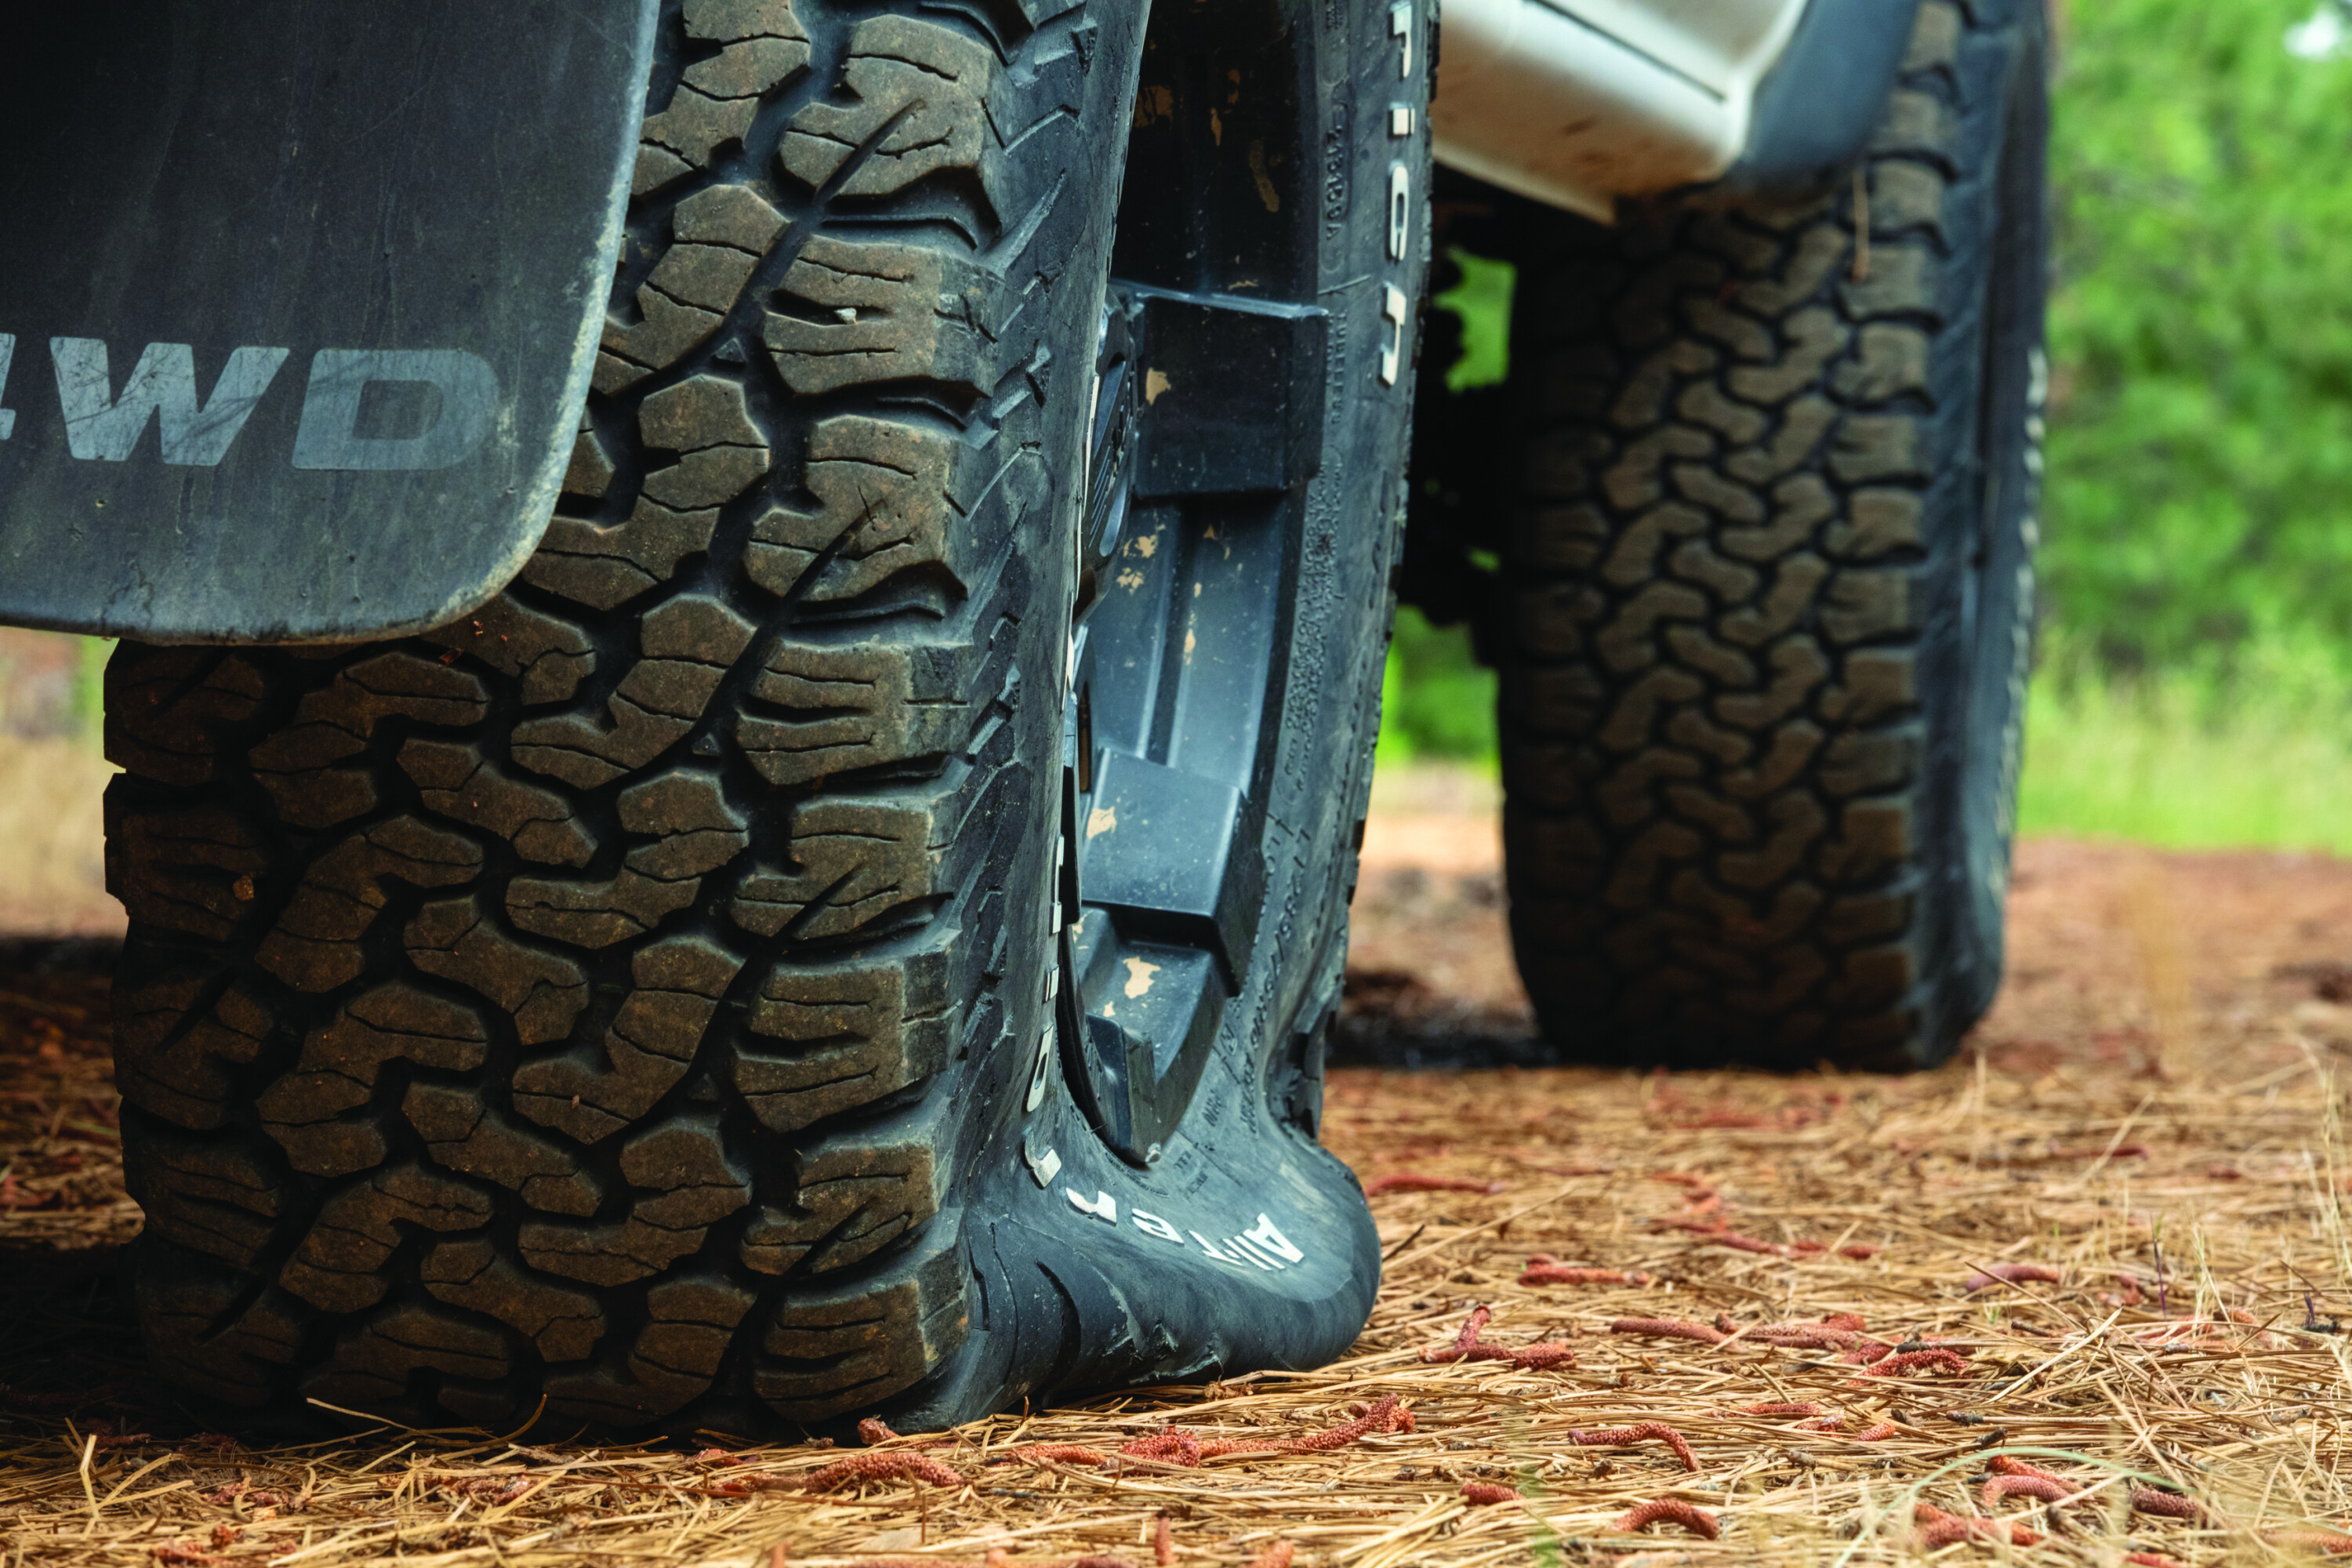
What are the odds of finding a stray pushrod in the middle of the desert? Pretty thin, right? And the odds of it laying in such a position to pierce a hole in your tyre?
Well, you probably have a better shot at finding a Bitcoin in your backyard, but there we were pulling the offending metal shaft from my mate’s tread block. Back then (the late 80s) we didn’t carry tyre plugs or patches, so we swapped in his spare and continued… now spareless.
35
But times they are a changin’, and with the tools now available to repair a tyre in the field, running spareless should be a thing of the past.
This month we review a few high-quality tyre repair kits, then dive into everything from simply plugging a nail hole to performing major surgery.
35
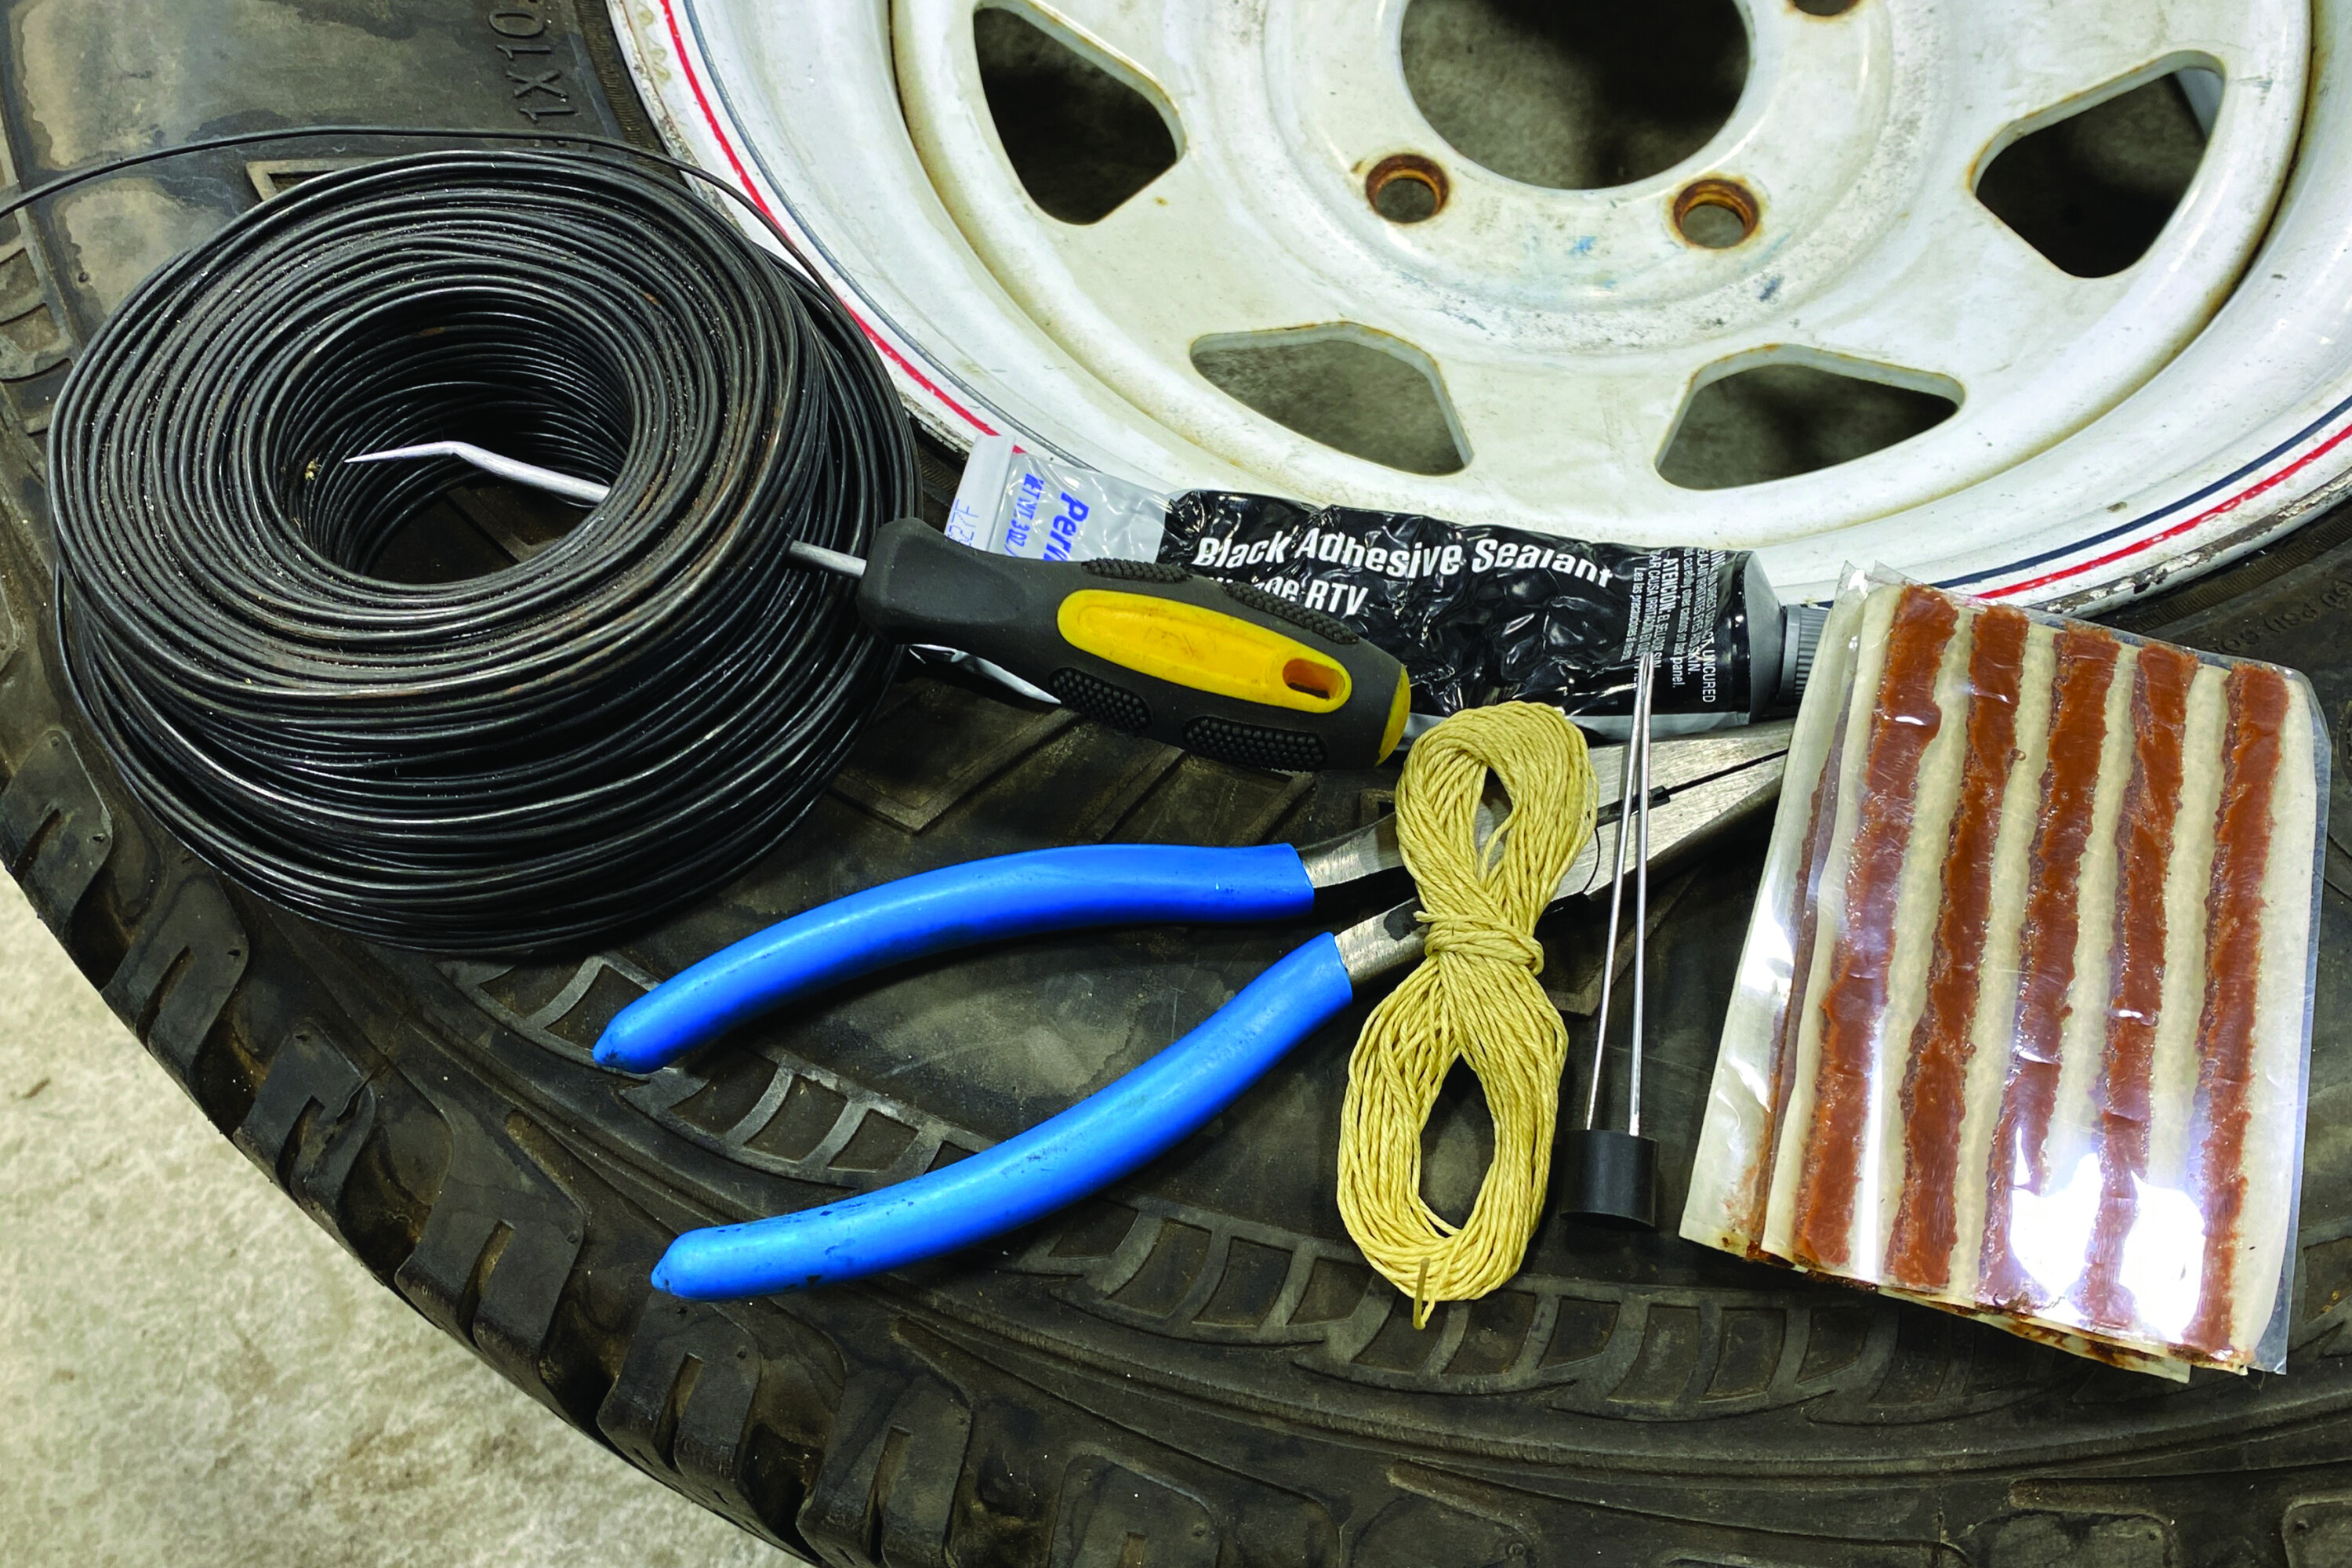
The Gear
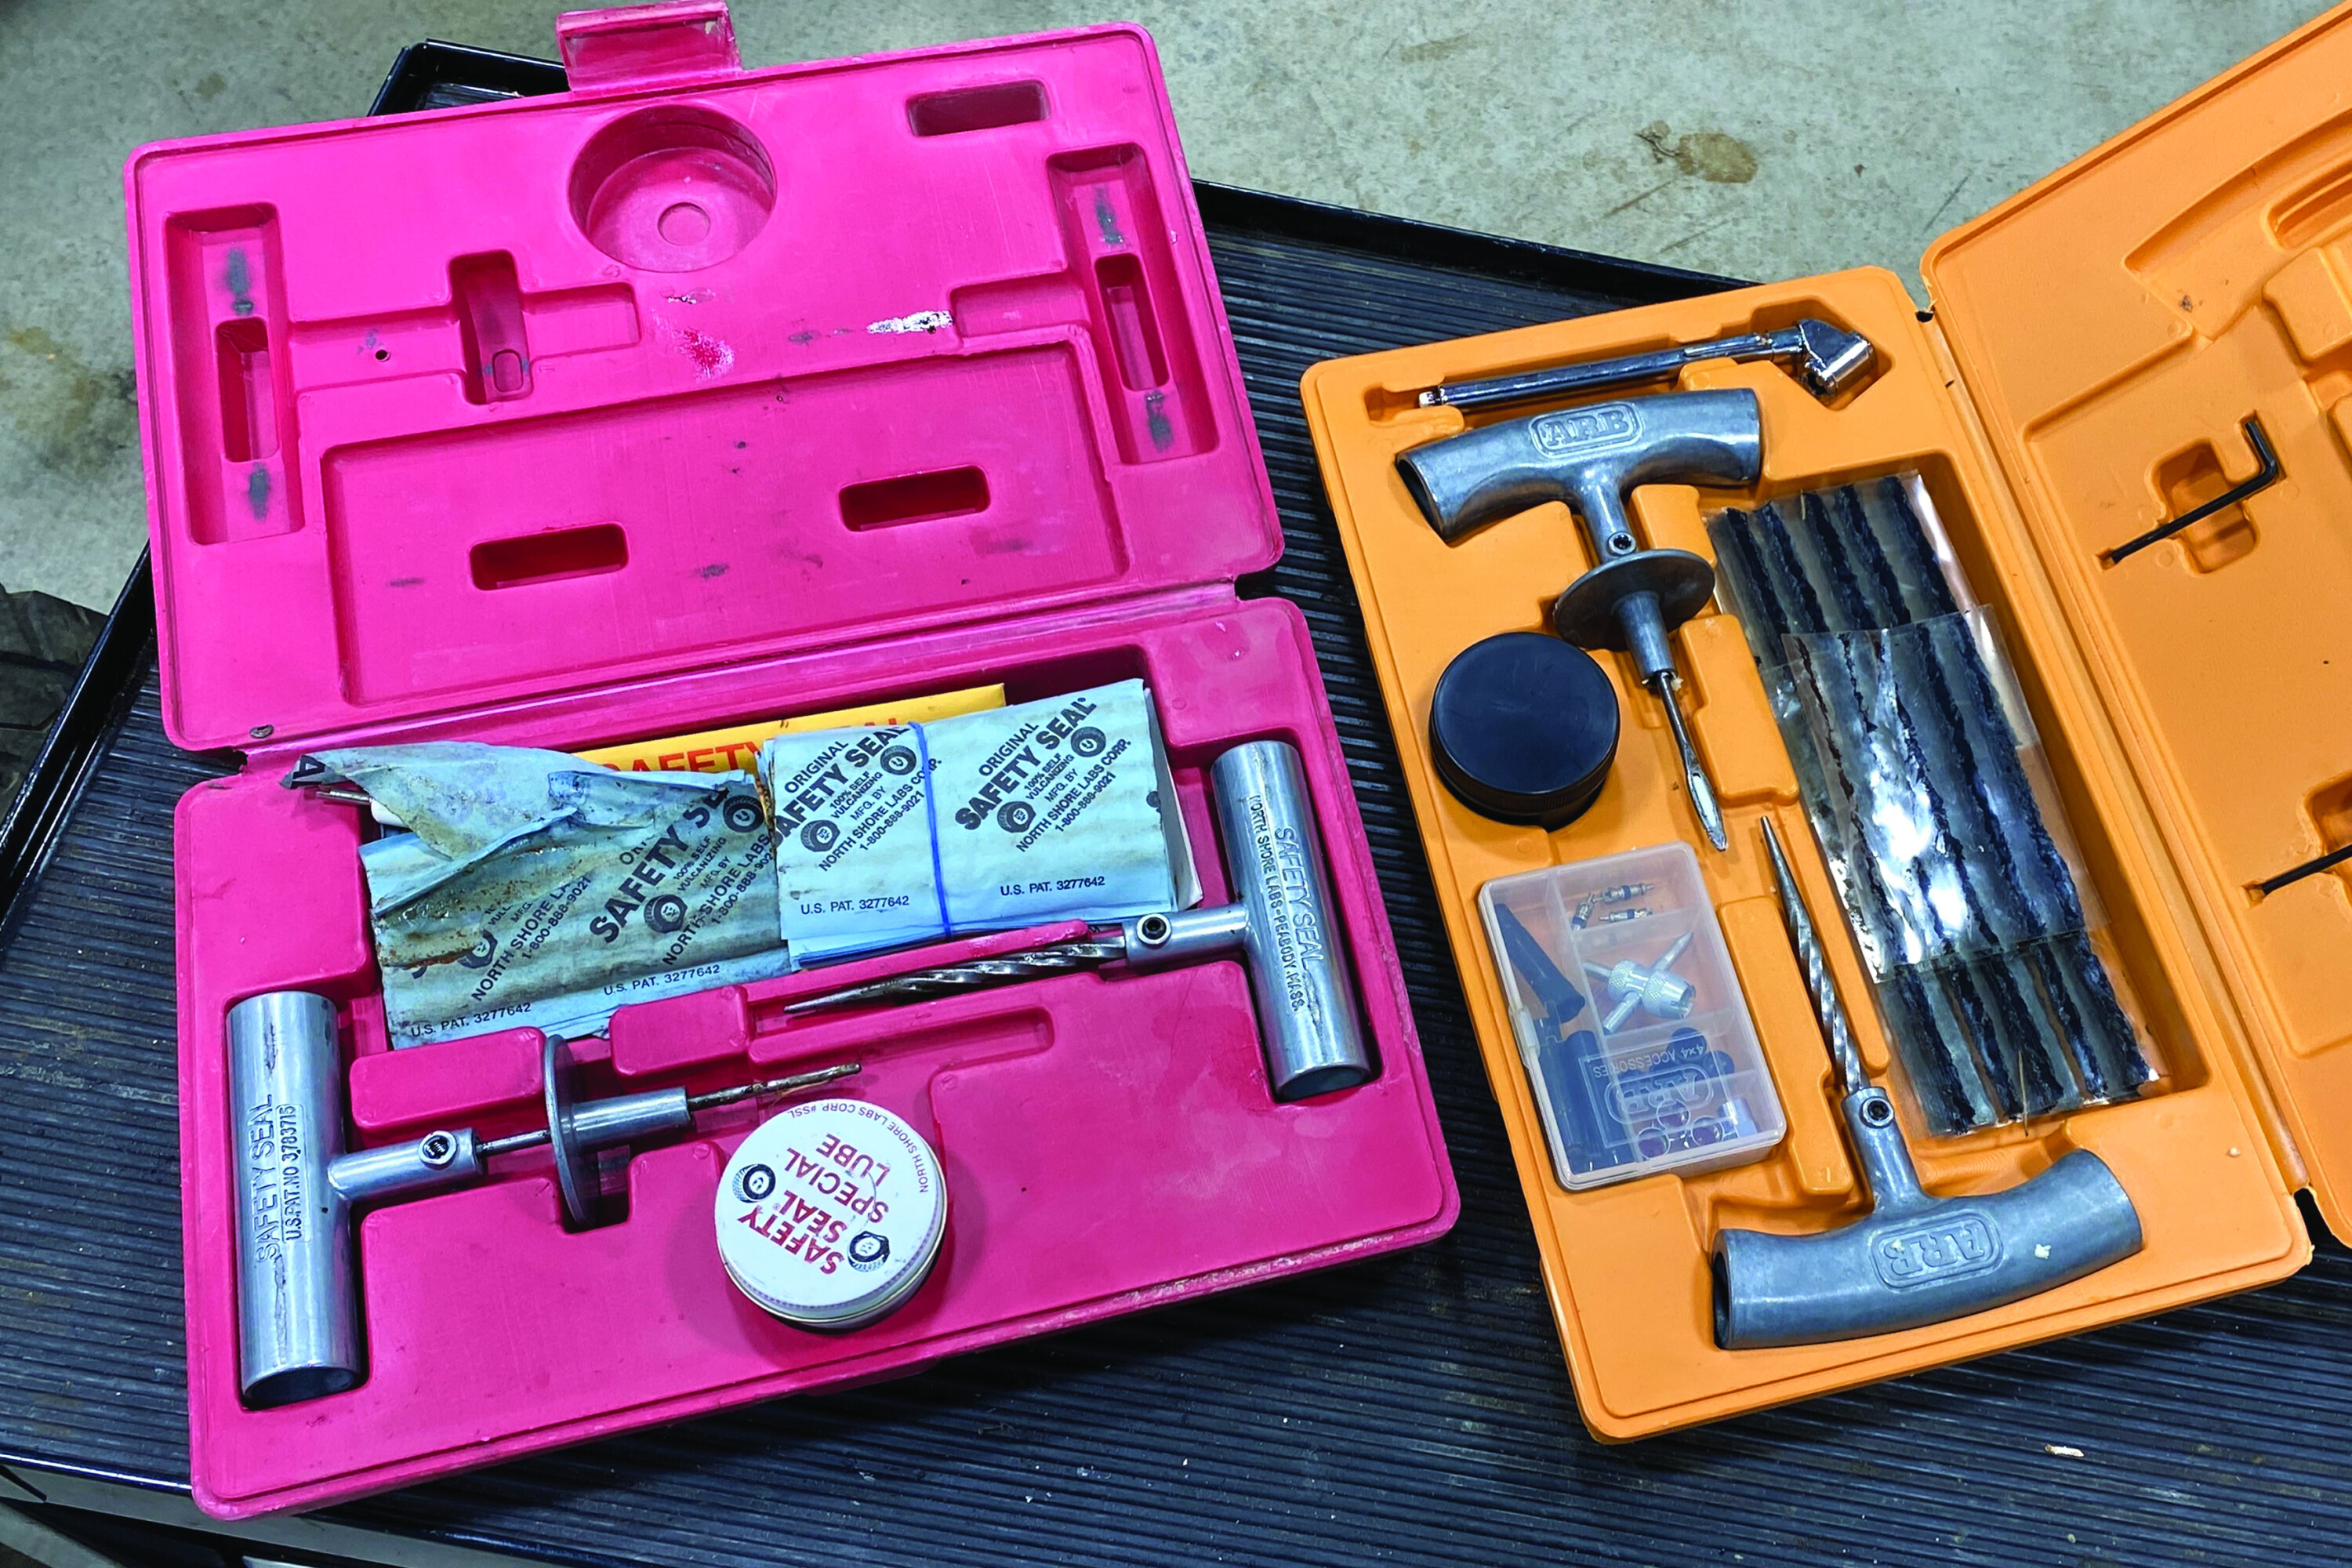
In 1964, Alec W. Niconchuk developed the first self-vulcanising tyre-repair system.
His company was called Safety Seal, and his plug method became the model for which countless others have emulated. While there are many companies boasting a better or cheaper mousetrap, I would strongly avoid the el cheapo $10 units found at discount stores, as you may spend more coin at the ER when the plastic handle breaks and you shish kebab your hand.
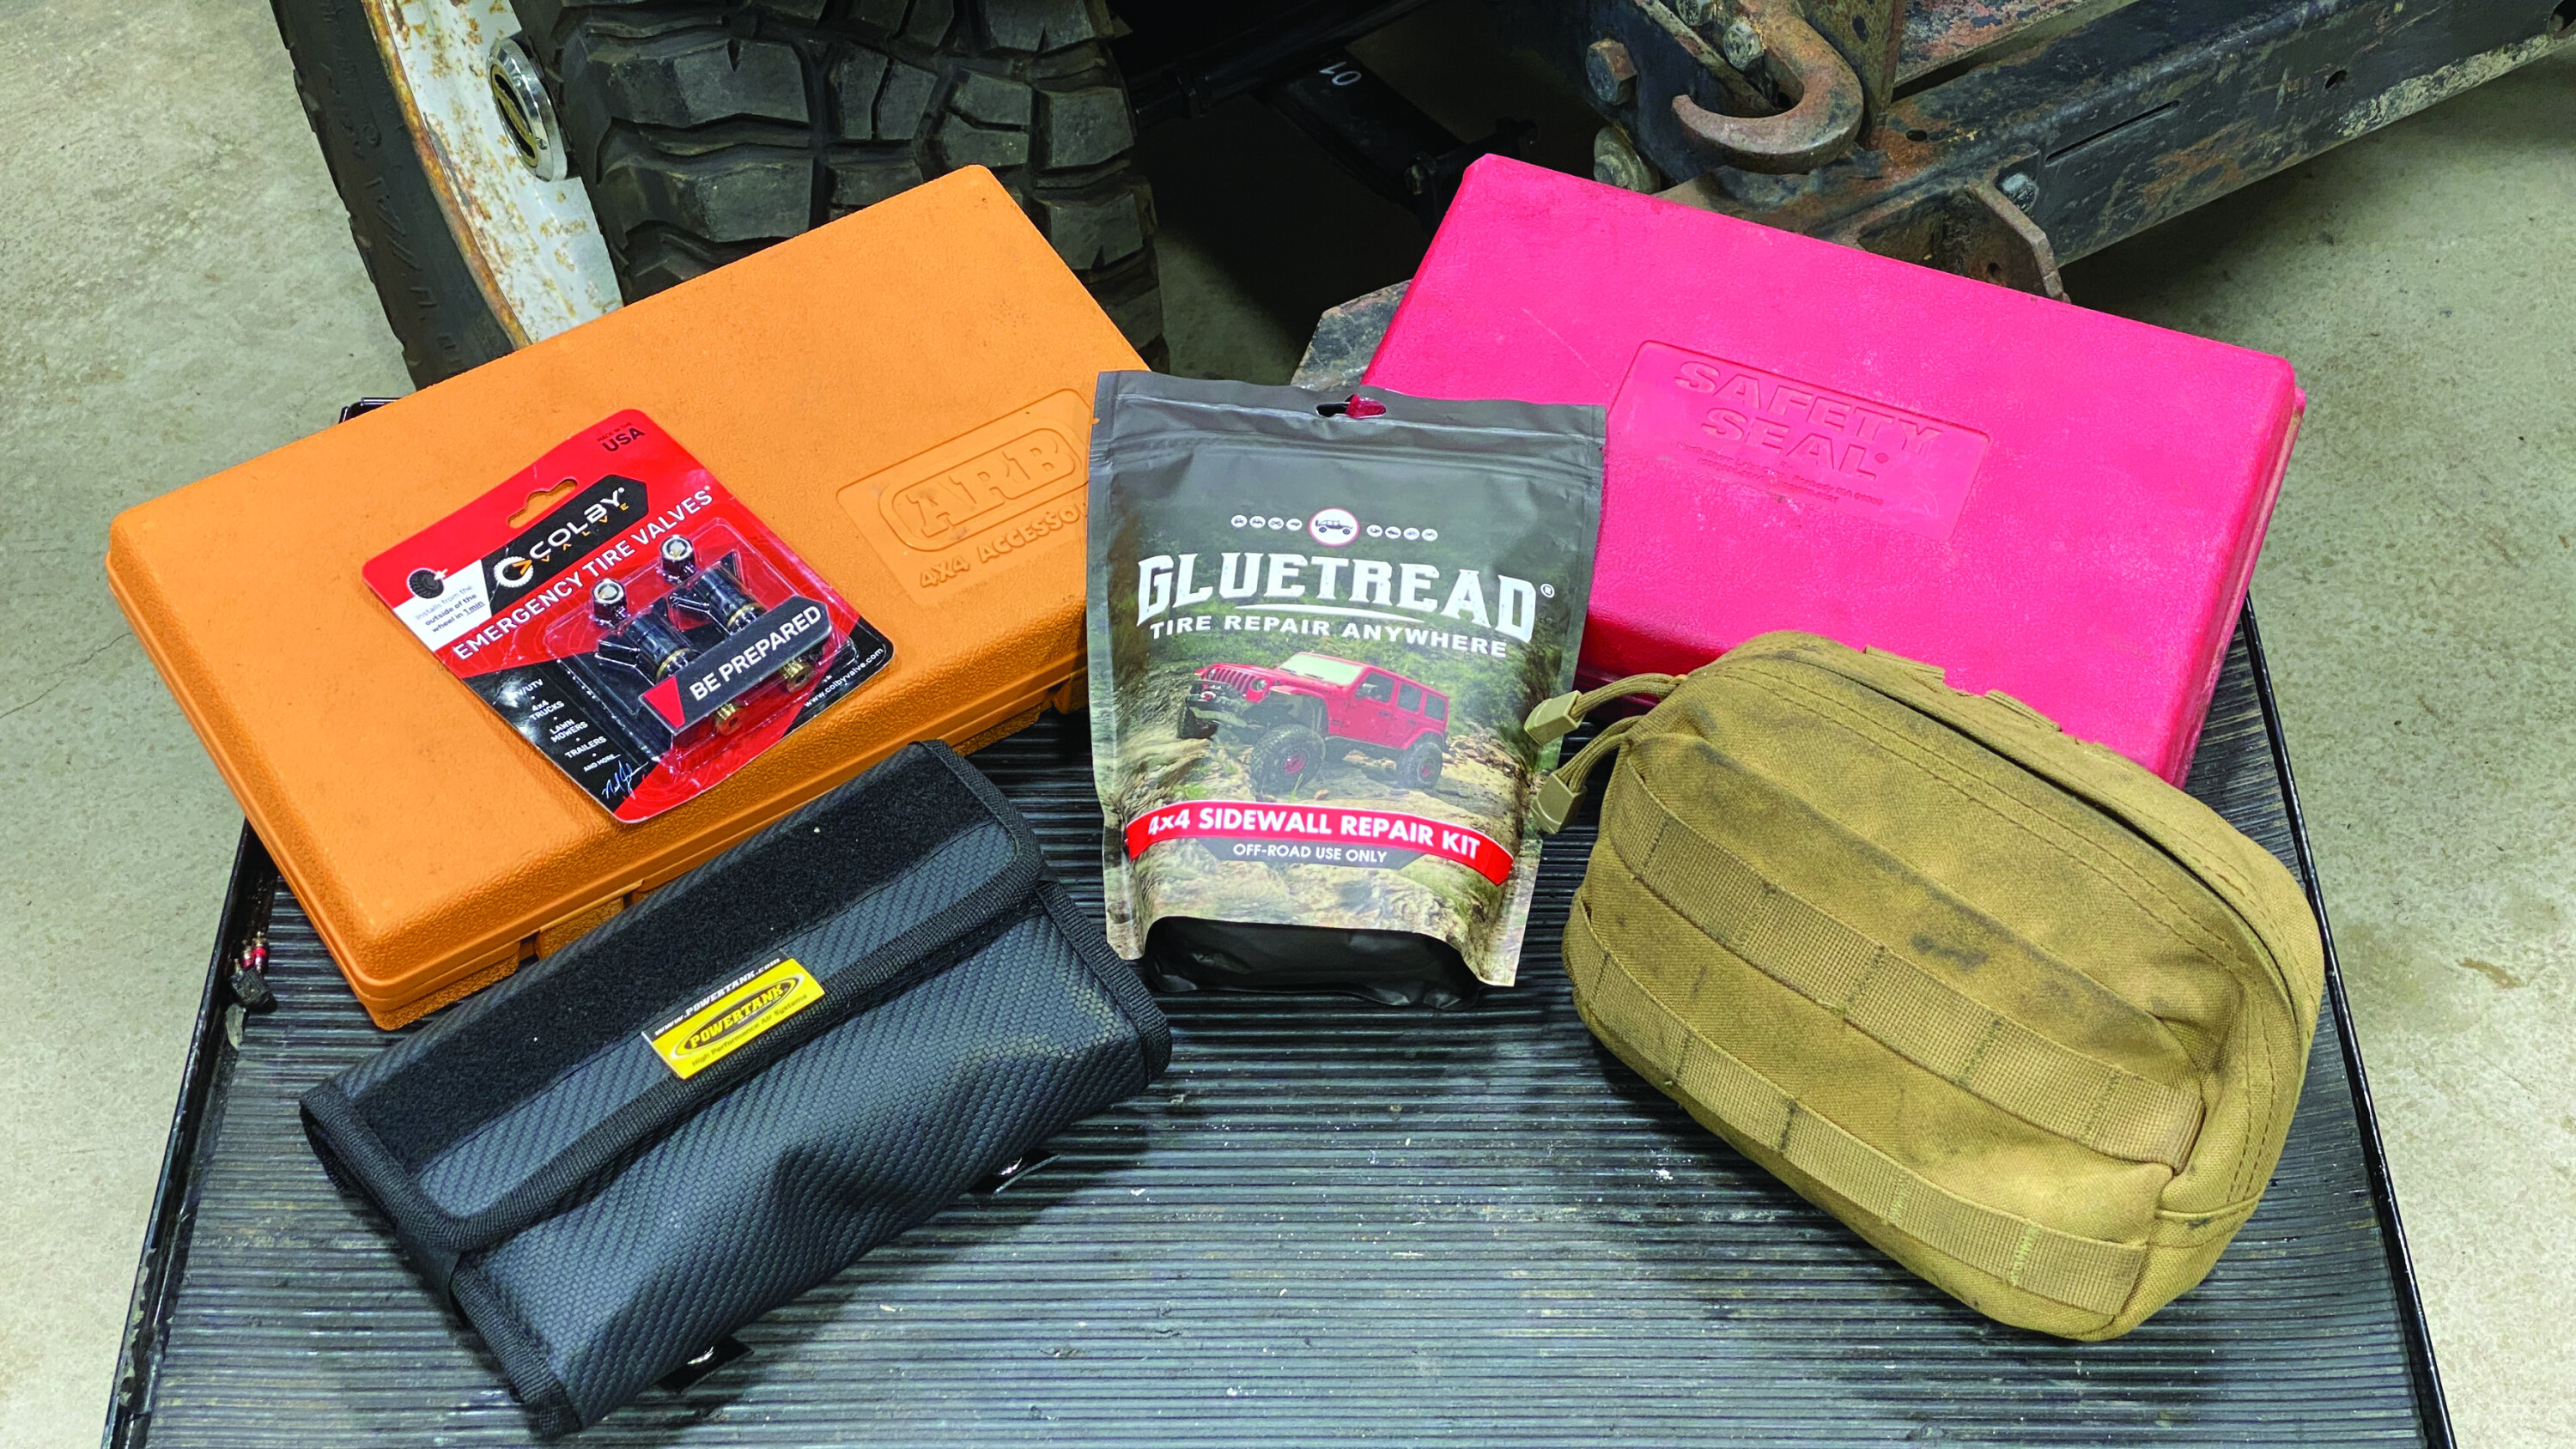
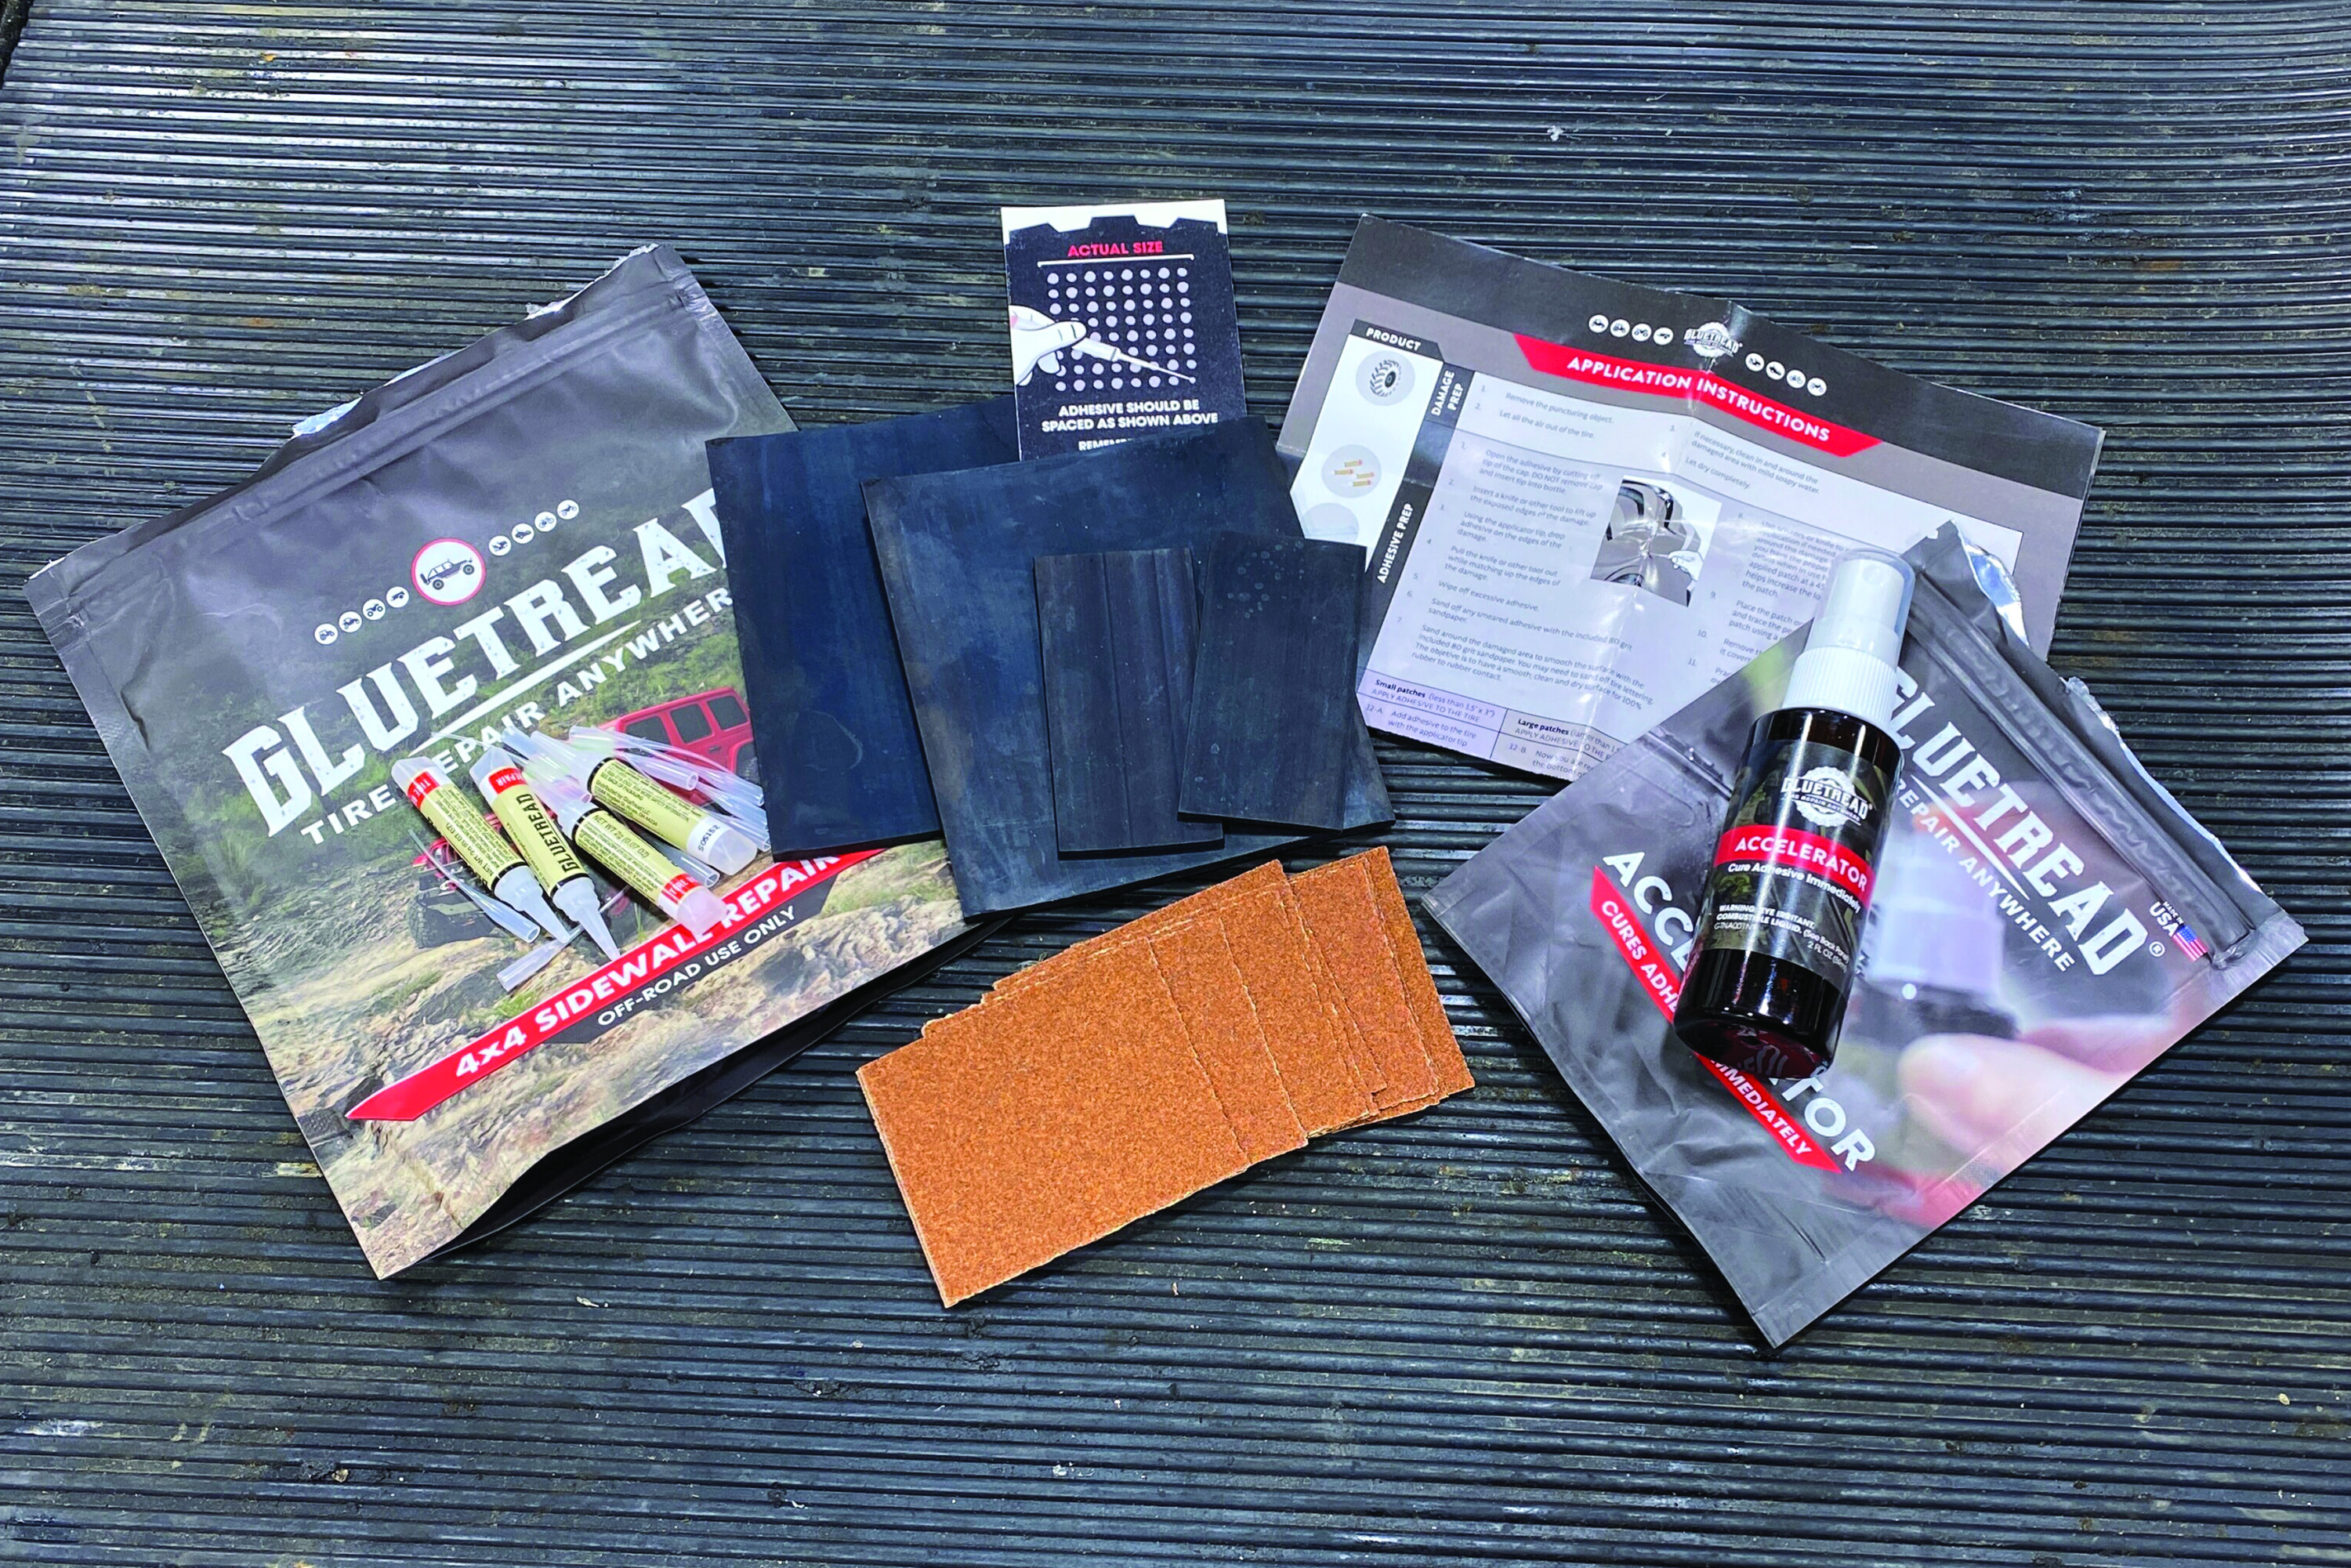
The kits I carry (for my multiple rigs) are from ARB, Power Tank, Extreme Outback Products and Safety Seal. GlueTread is the new kid on the block, and is now included in my tyre repair kit. Let’s take a look.
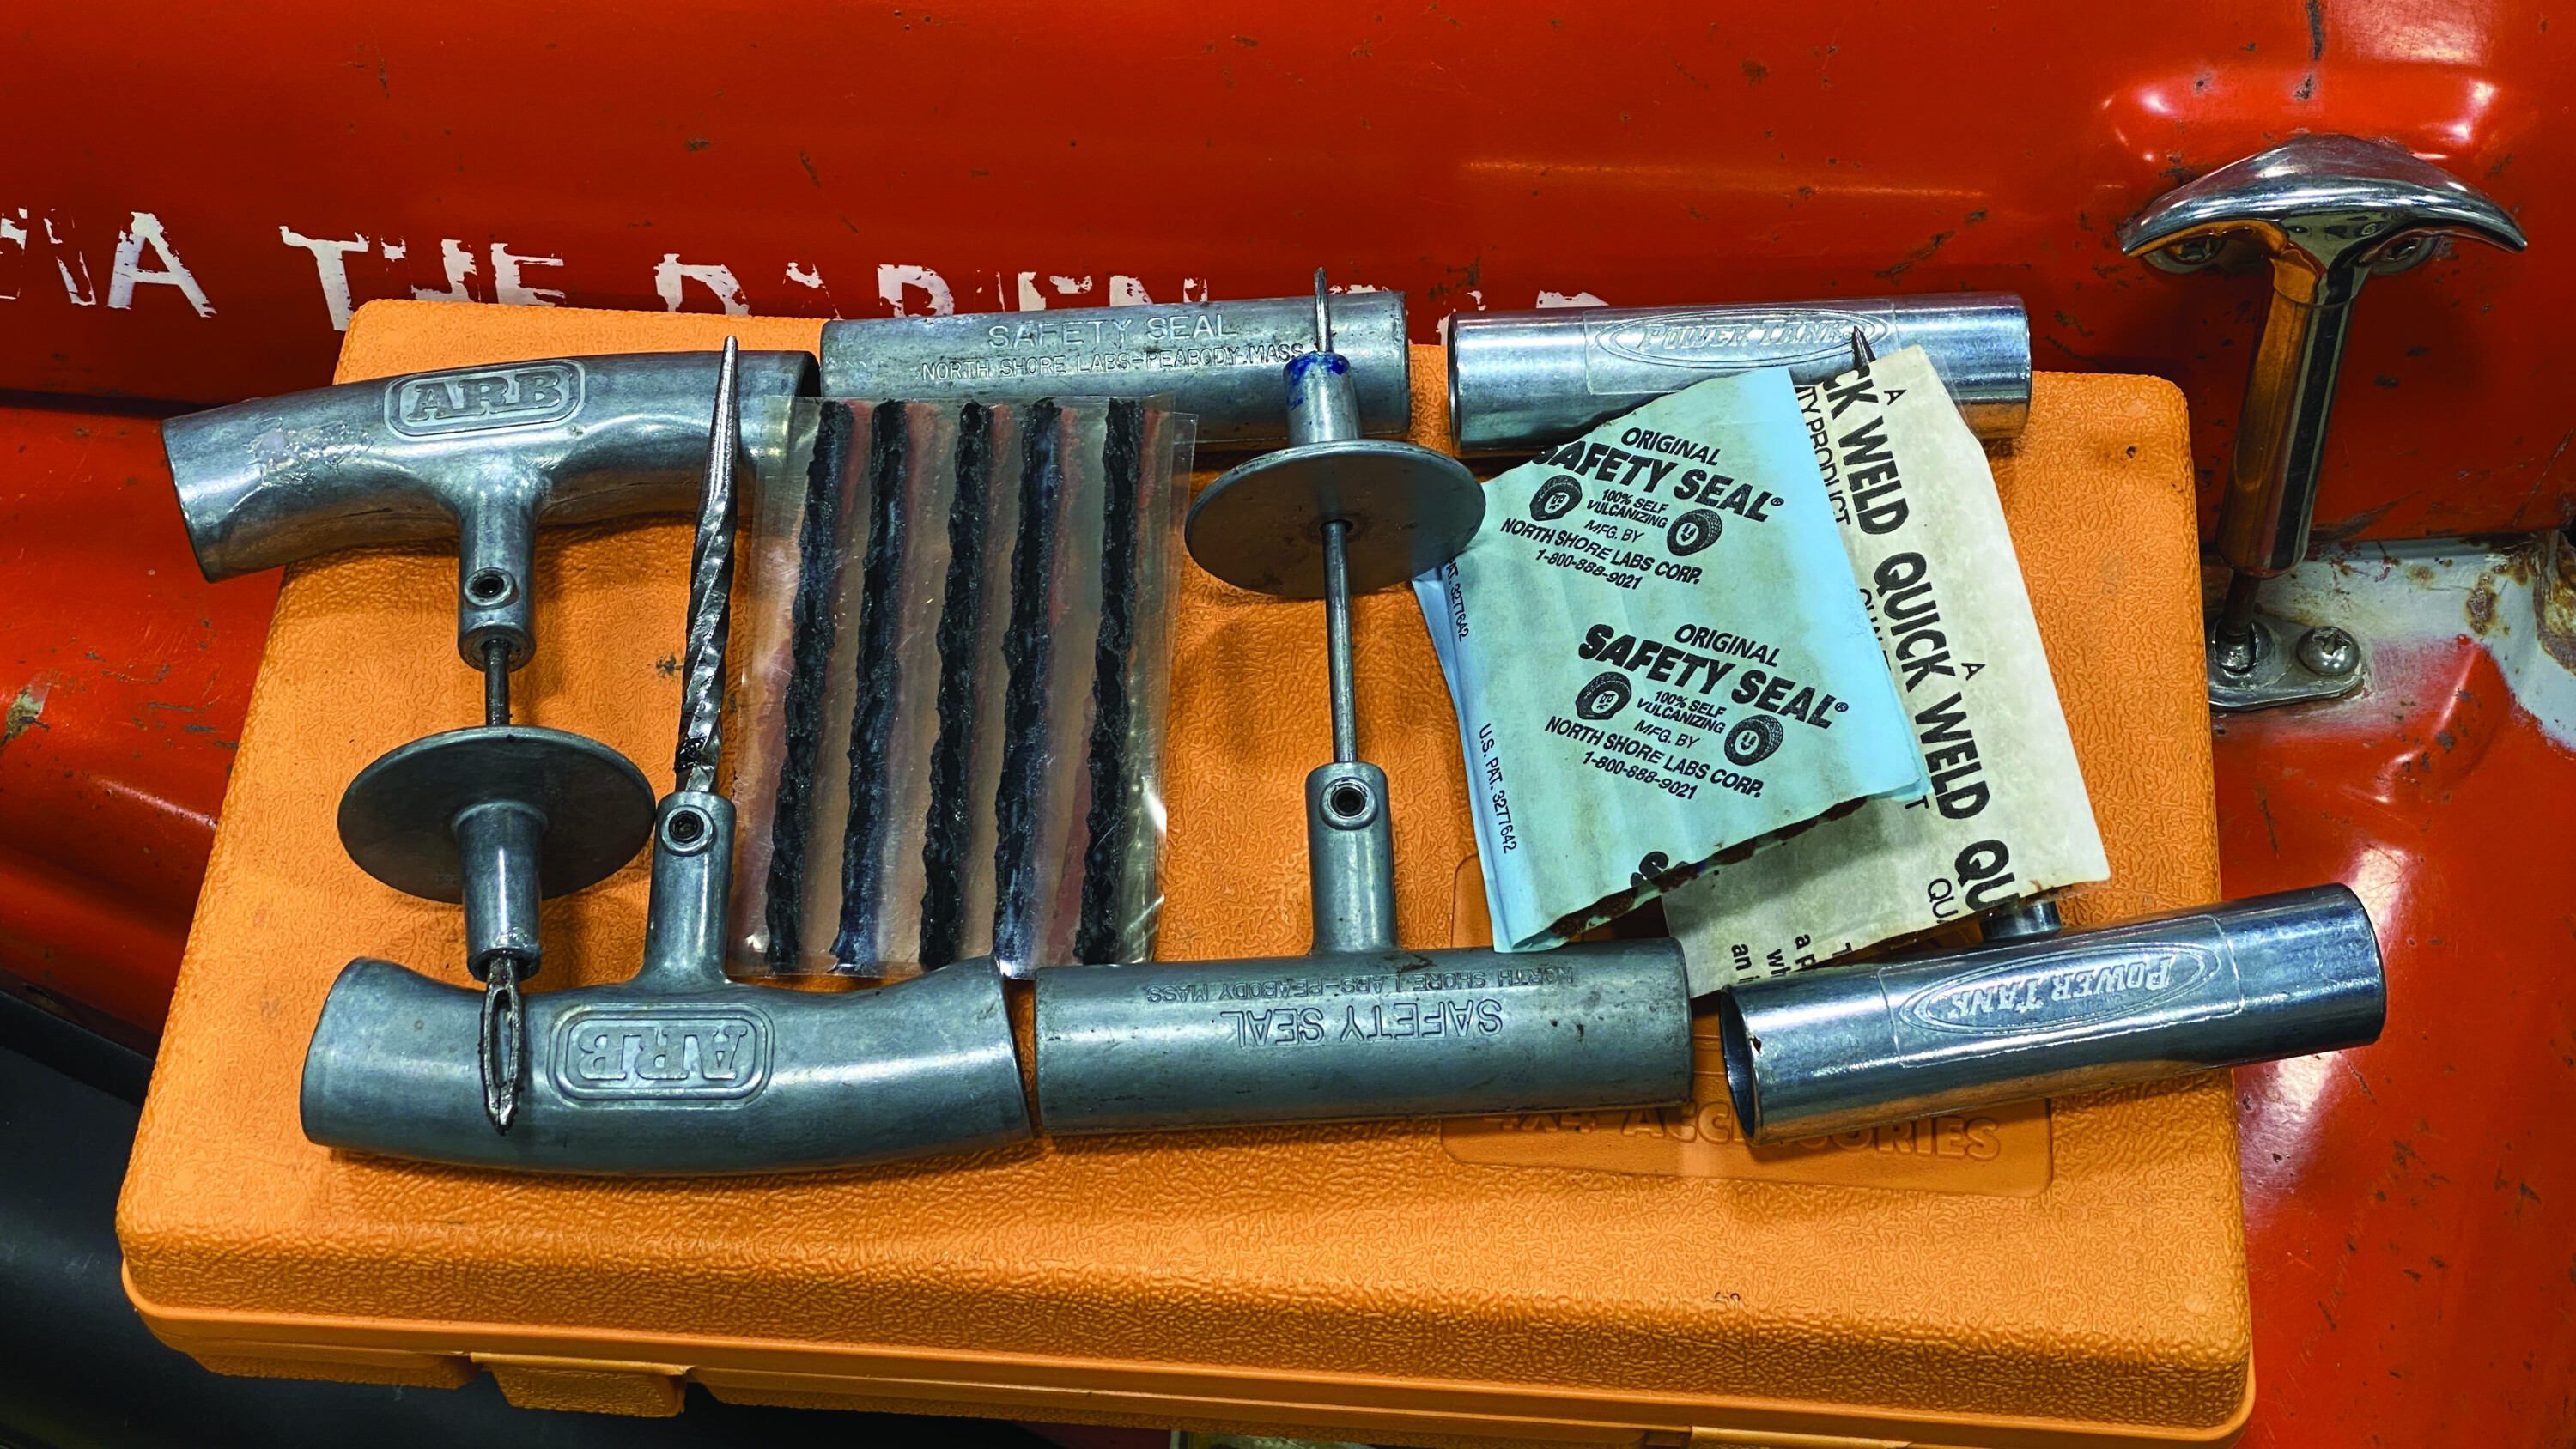
Safety Seal and ARB
35
Power Tank
35
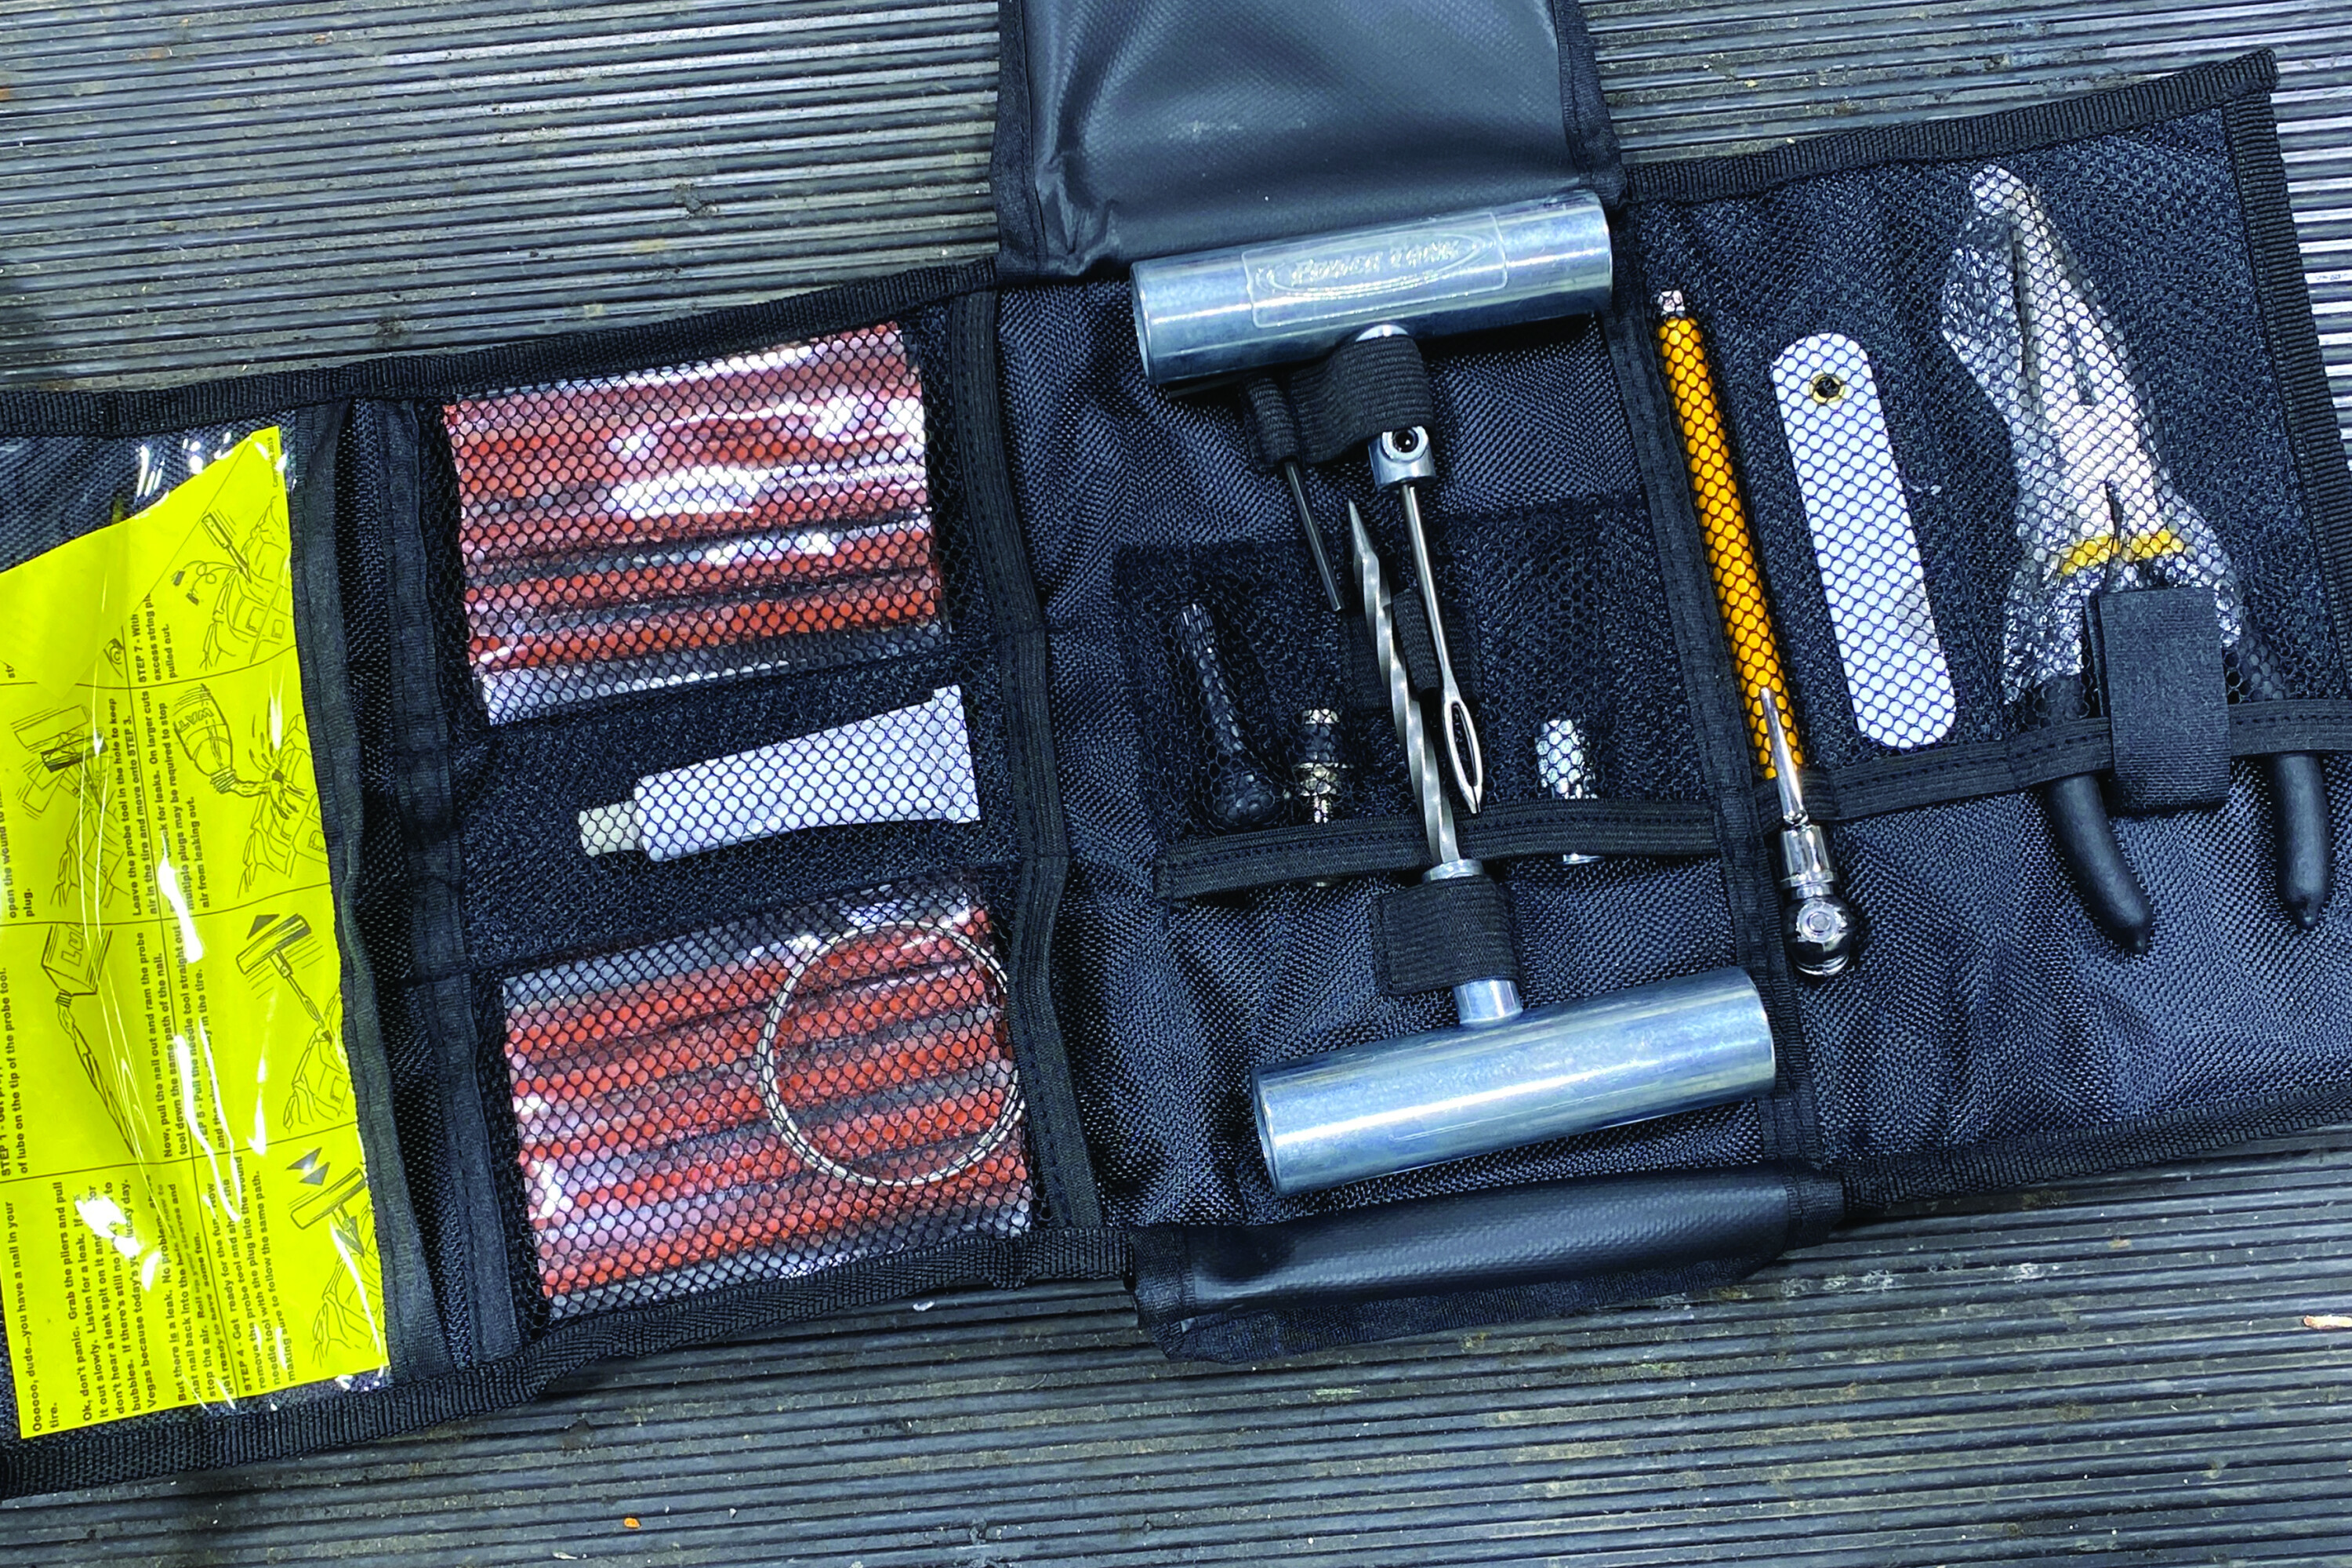
Extreme Outback Products
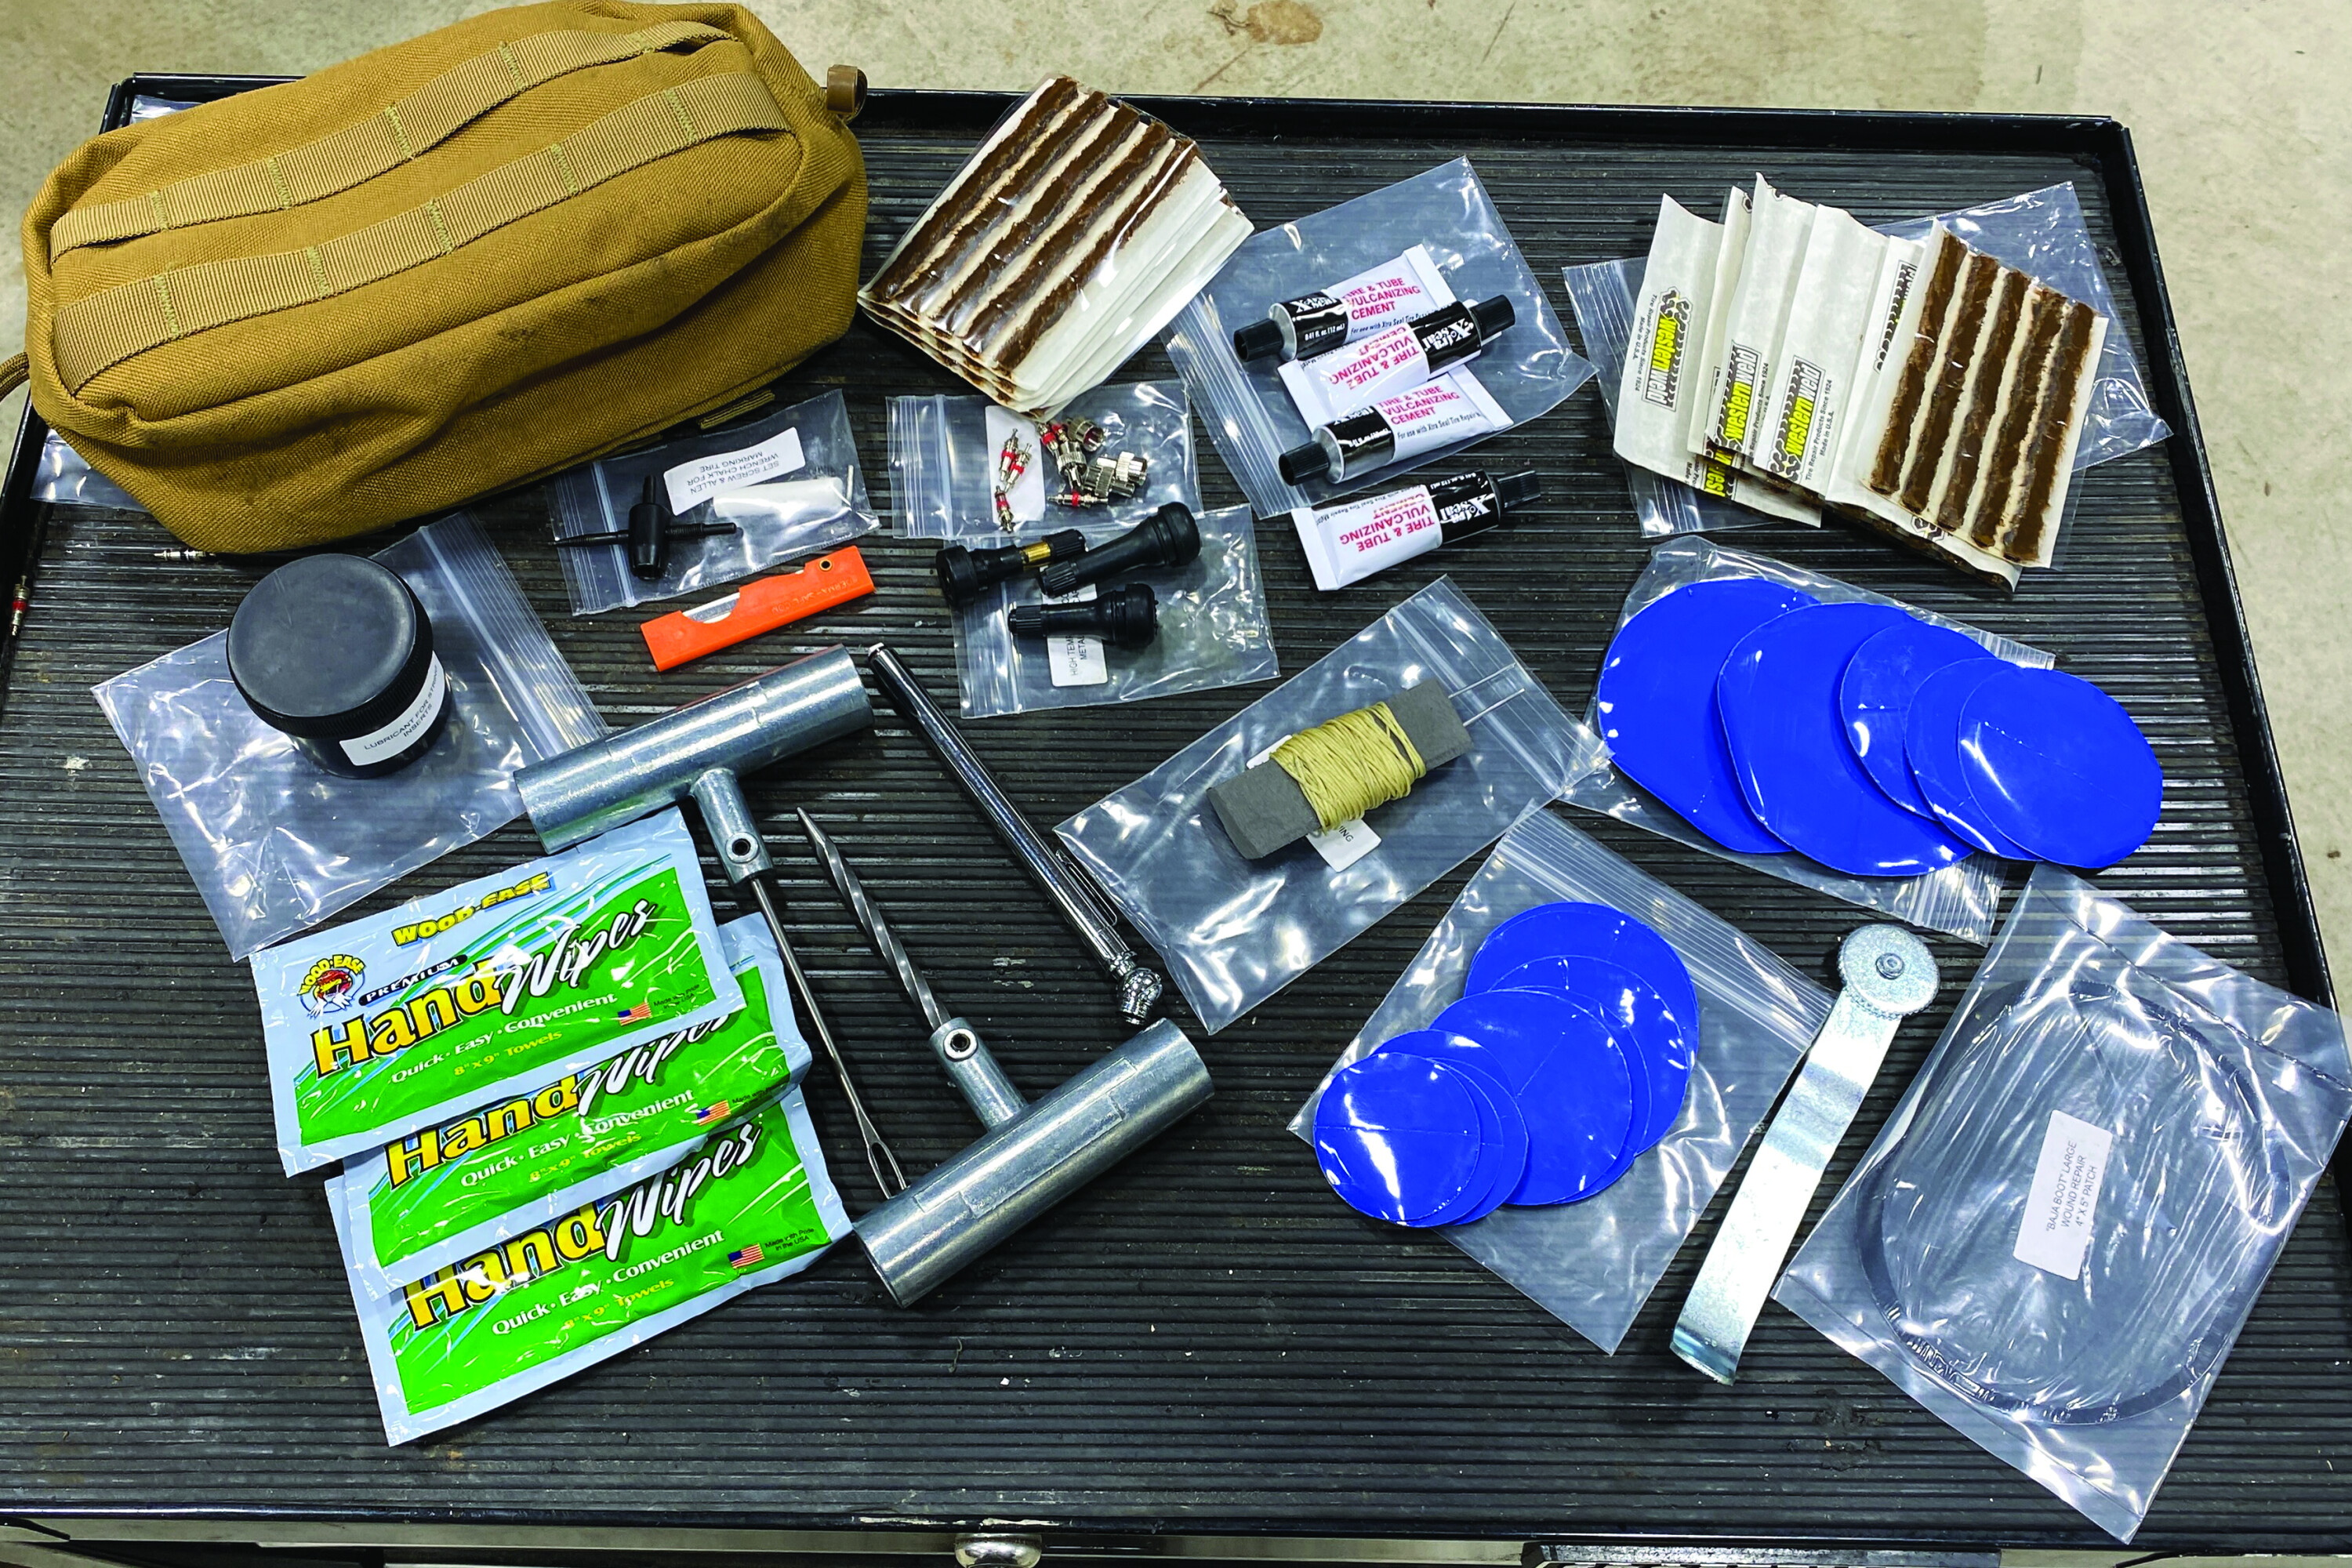
35
TIP: Repairing a tyre is serious business. Don’t cheap out with discount store tools.
35
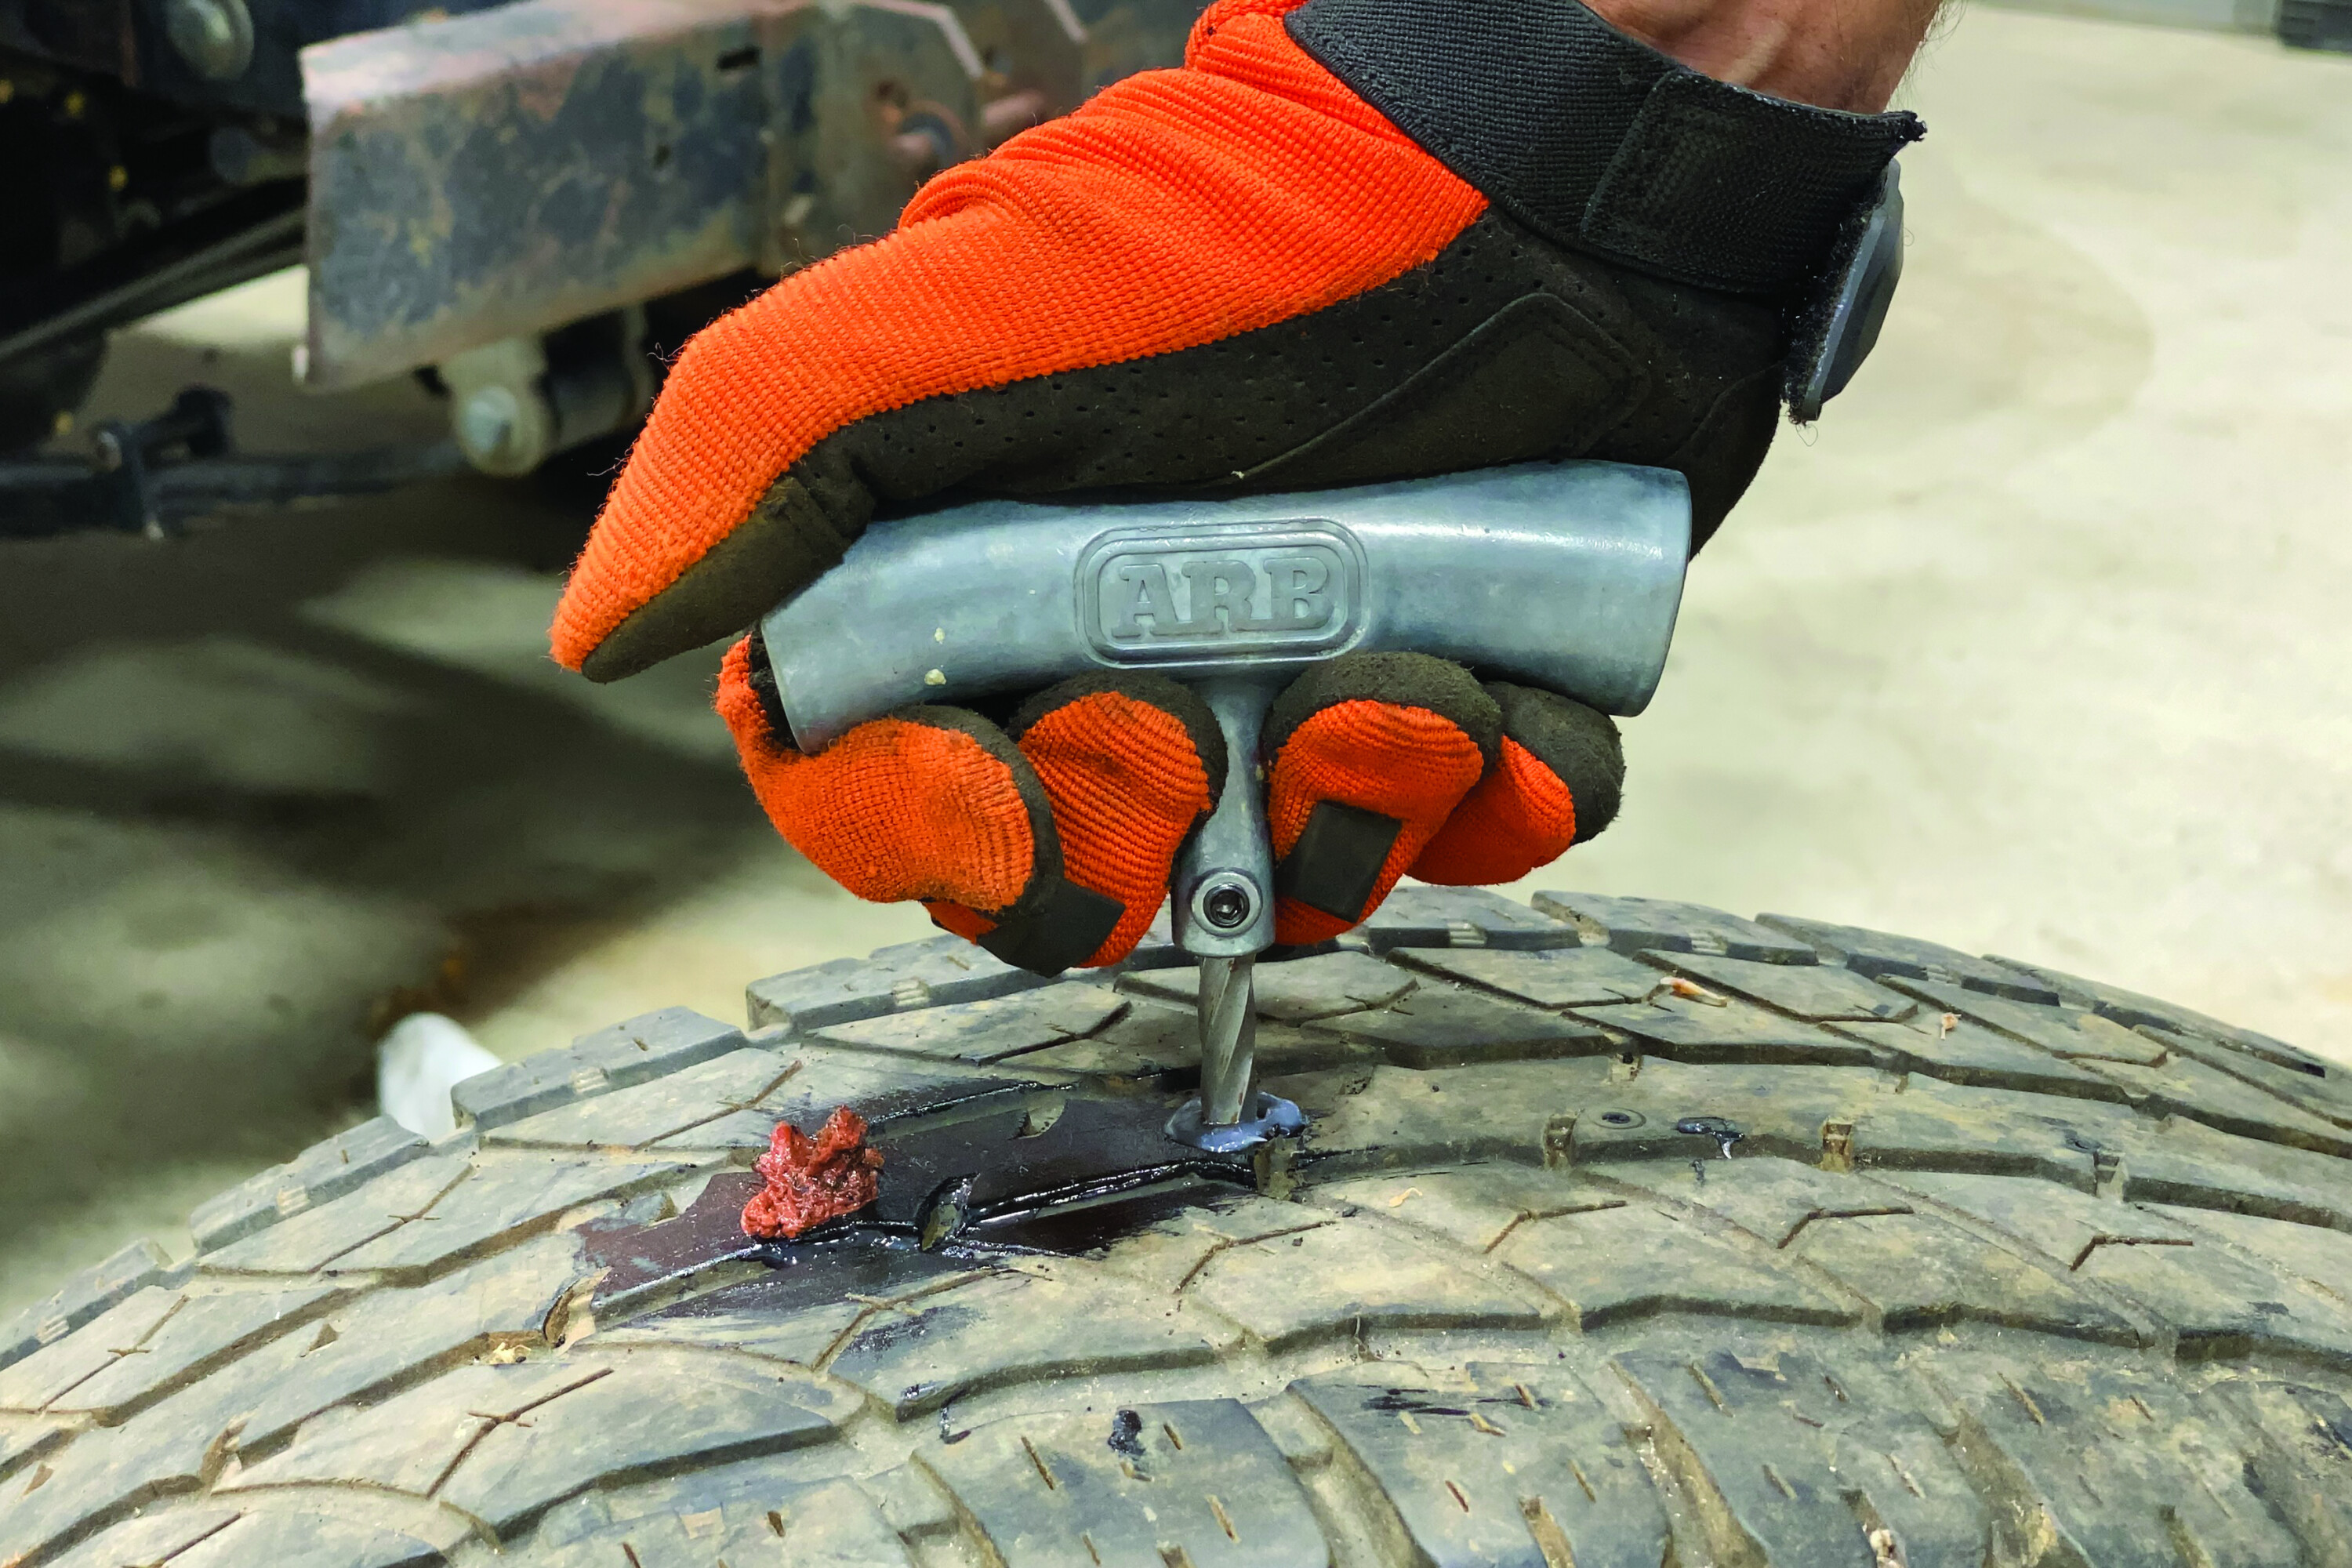
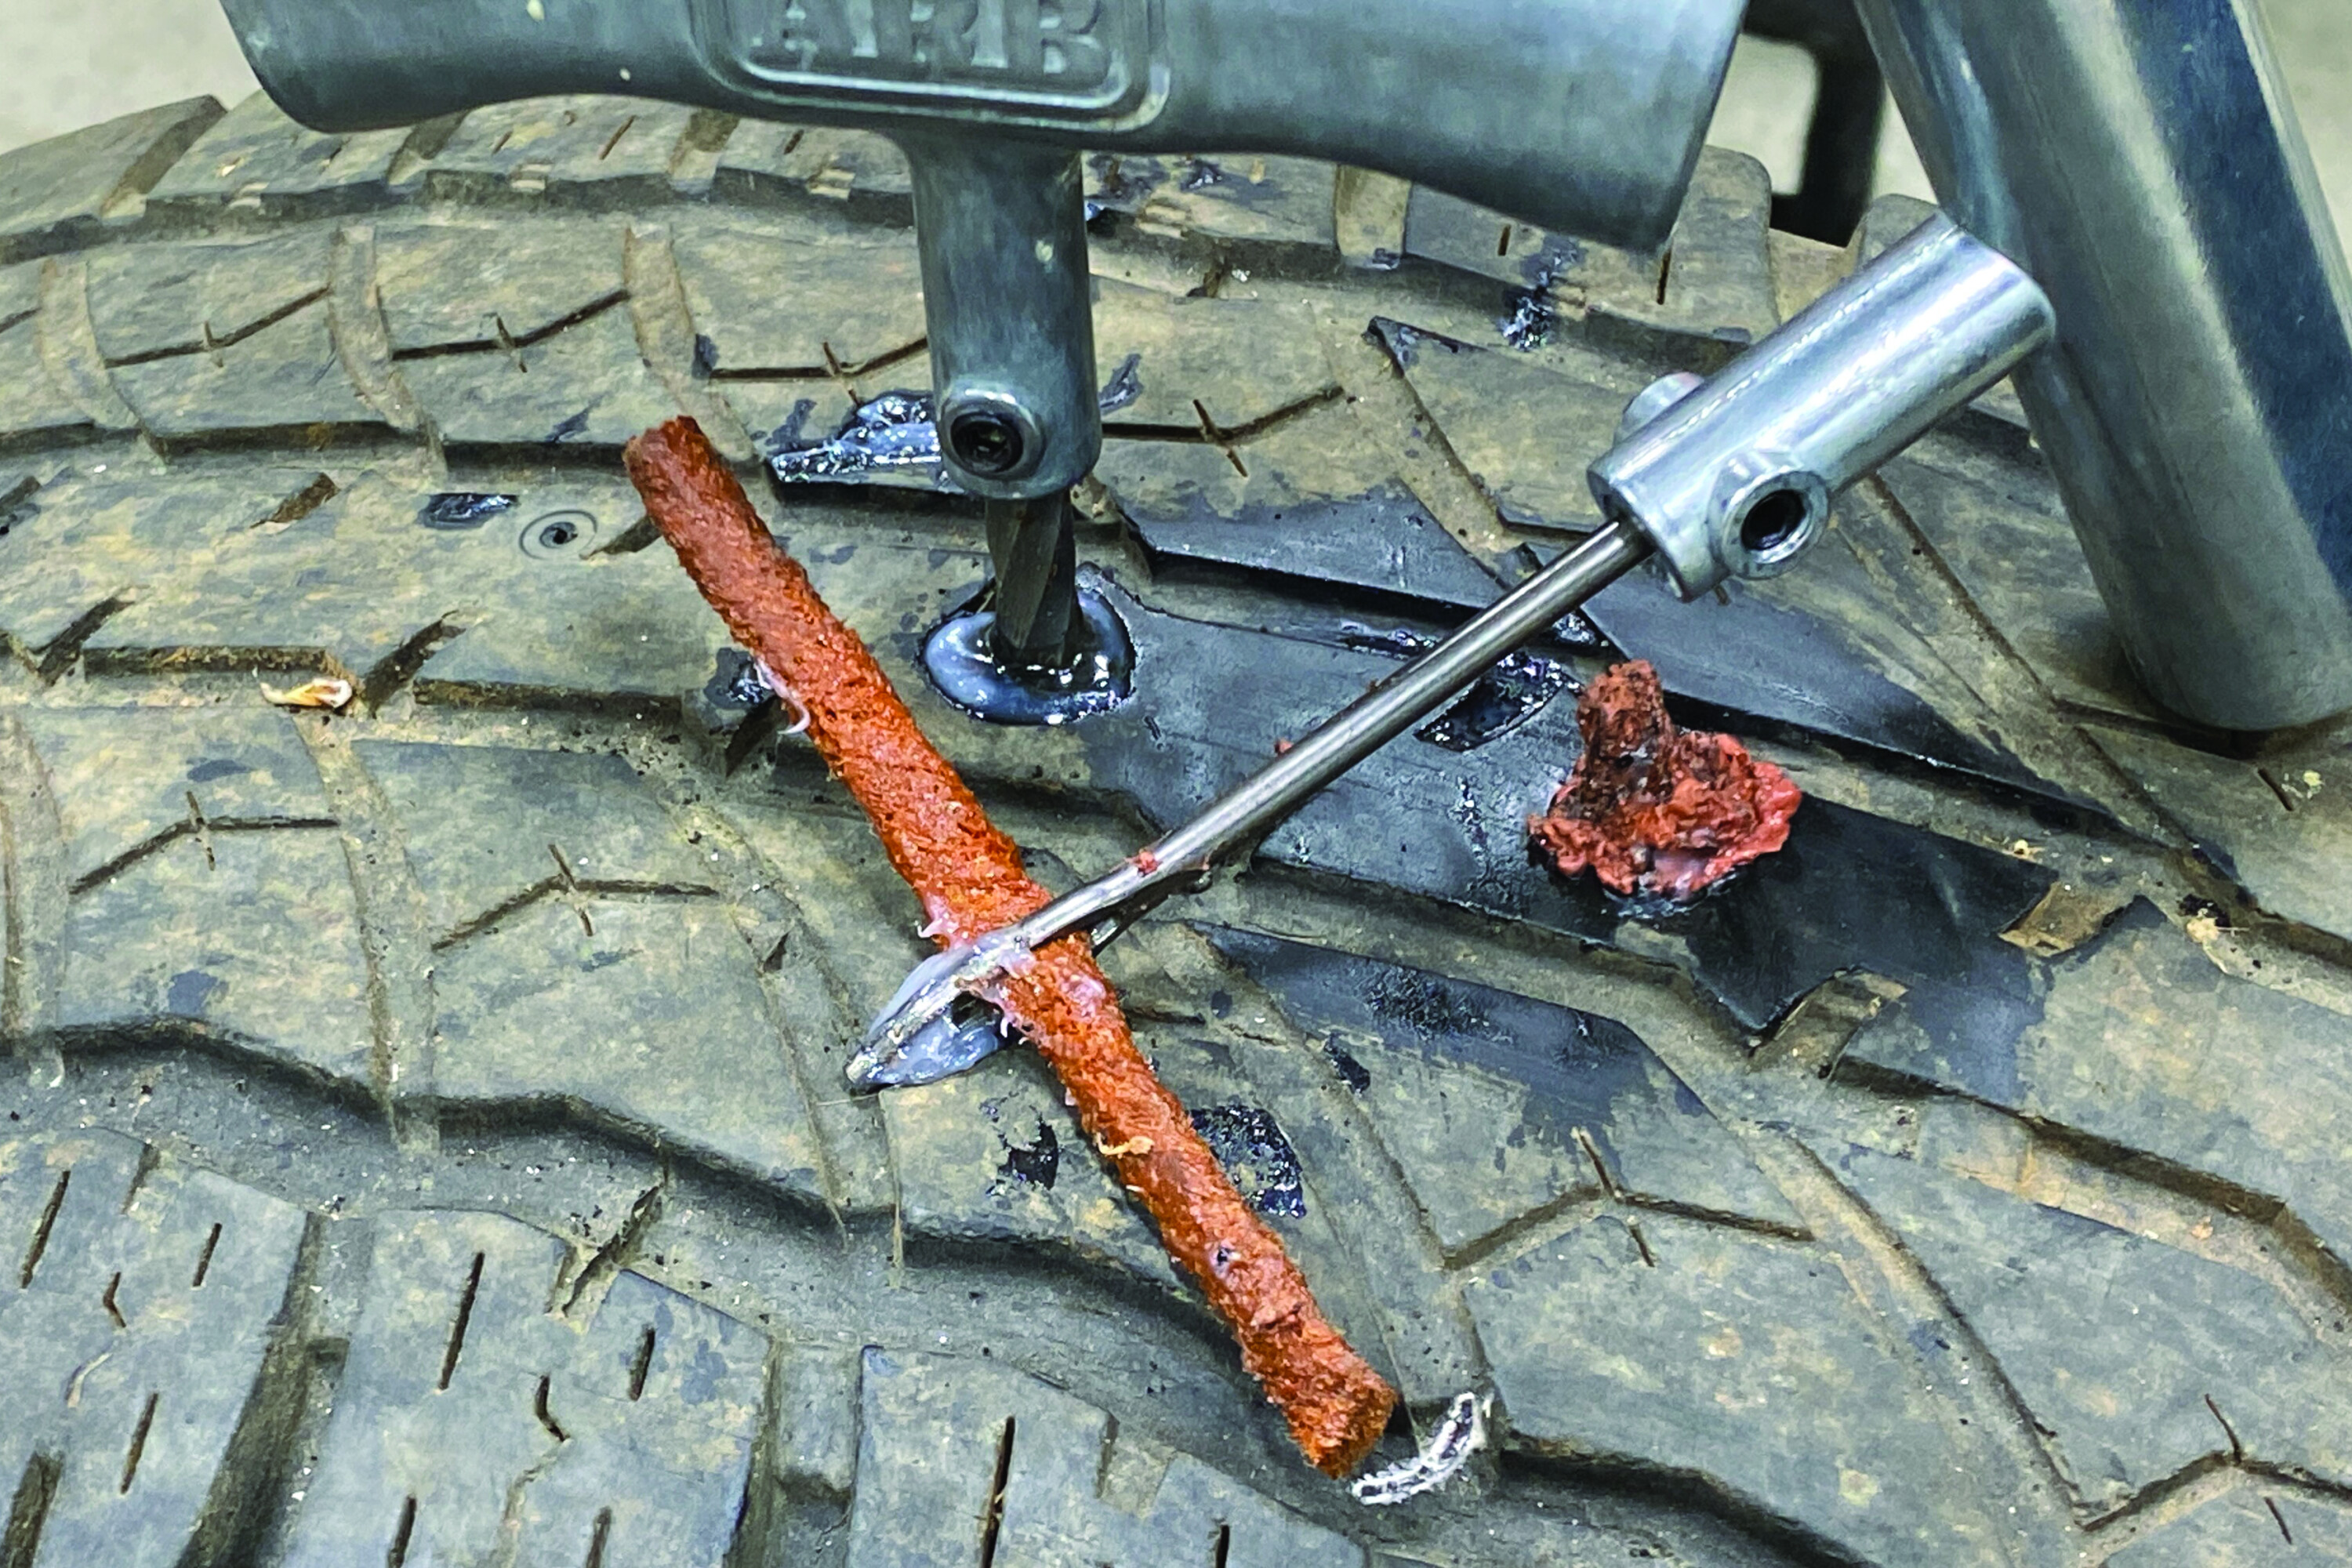
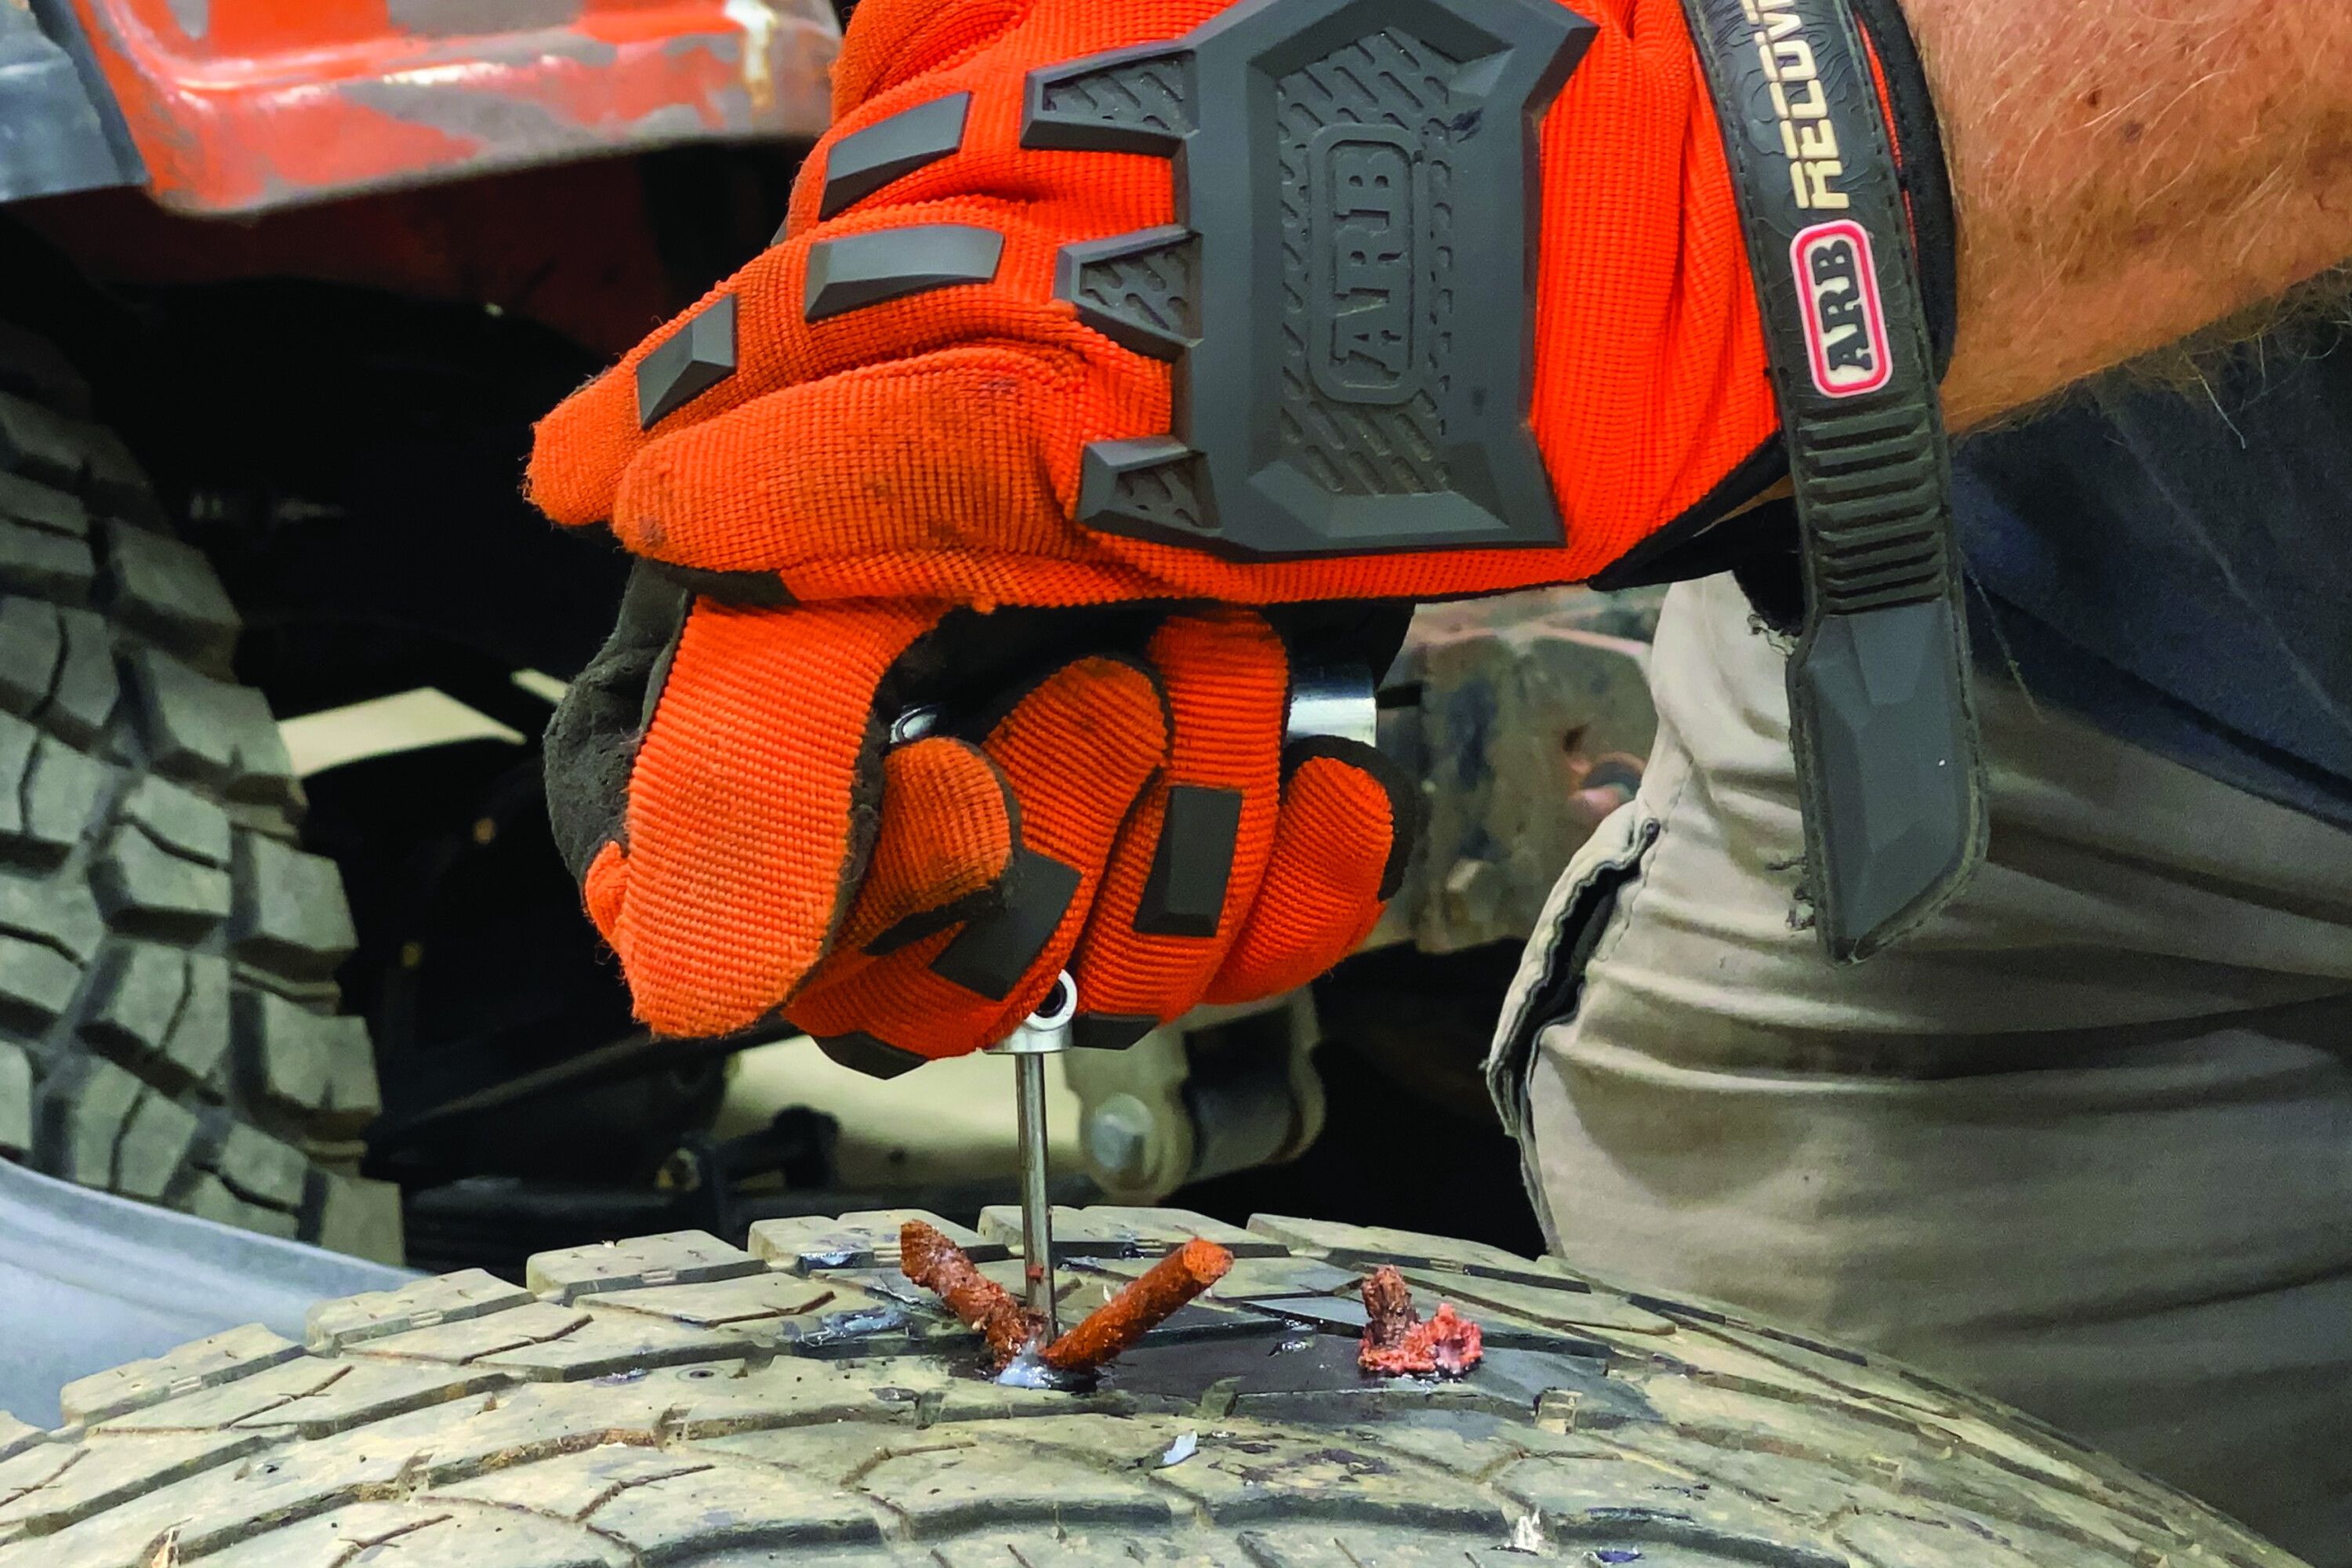
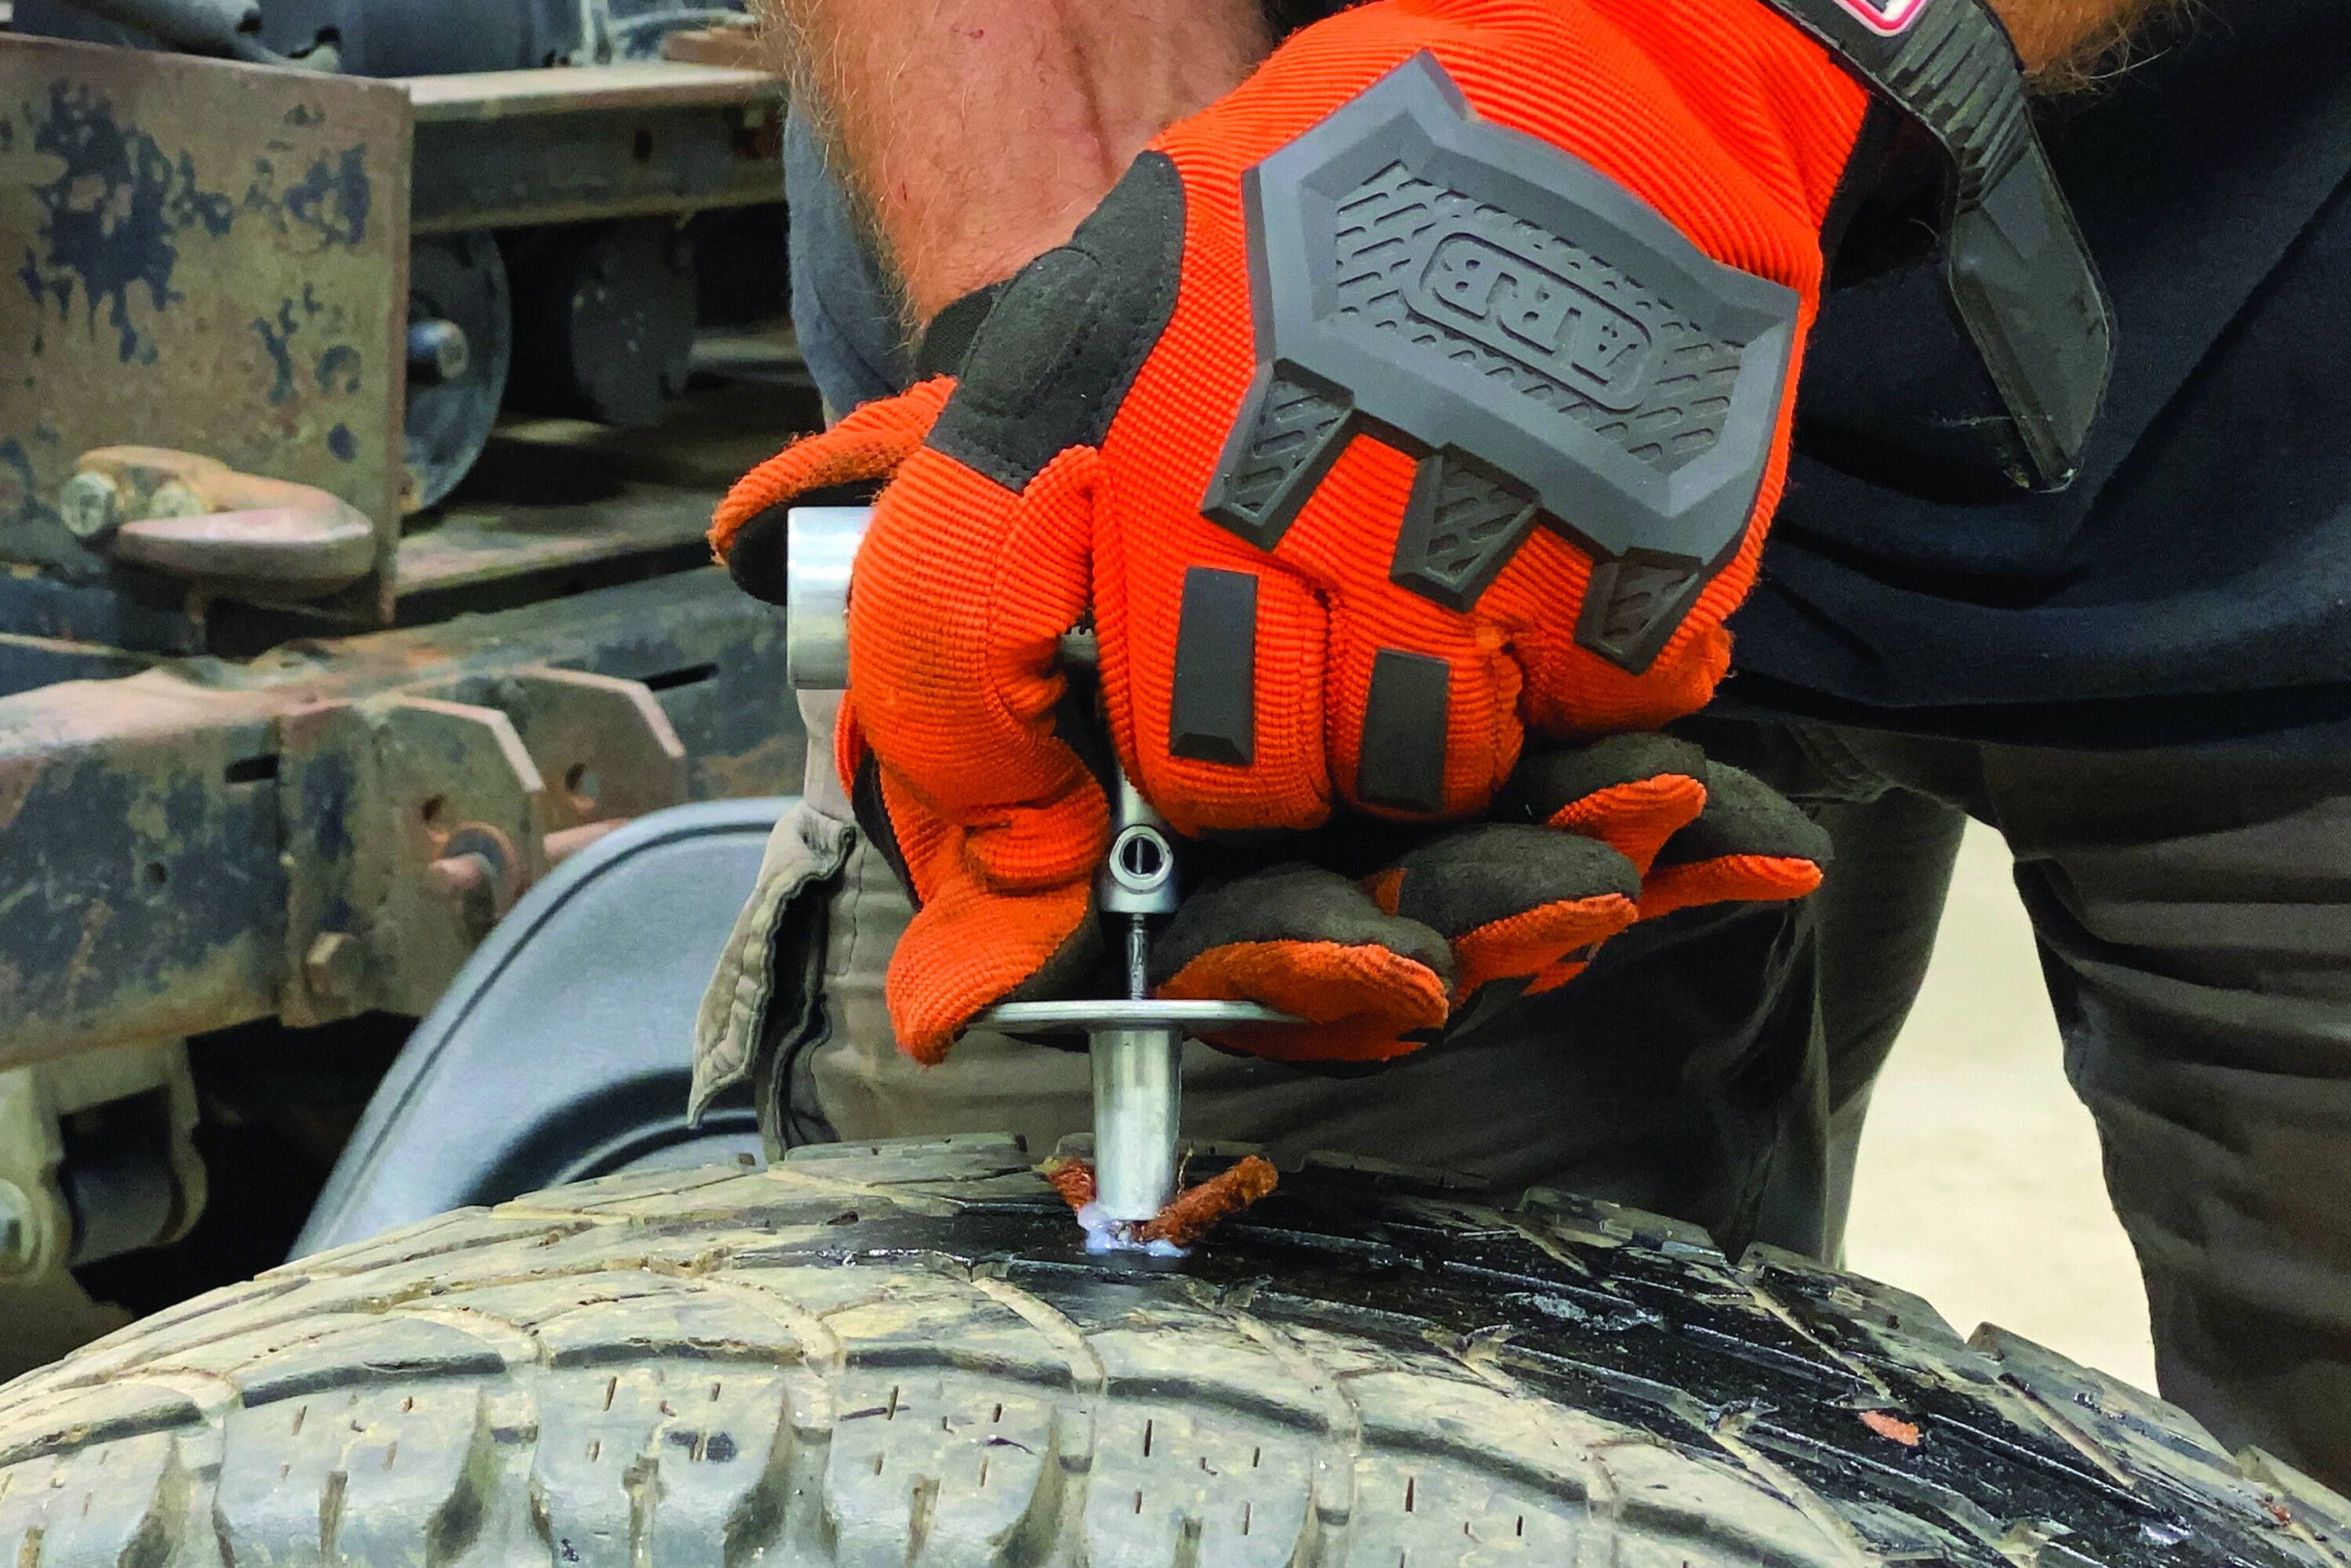
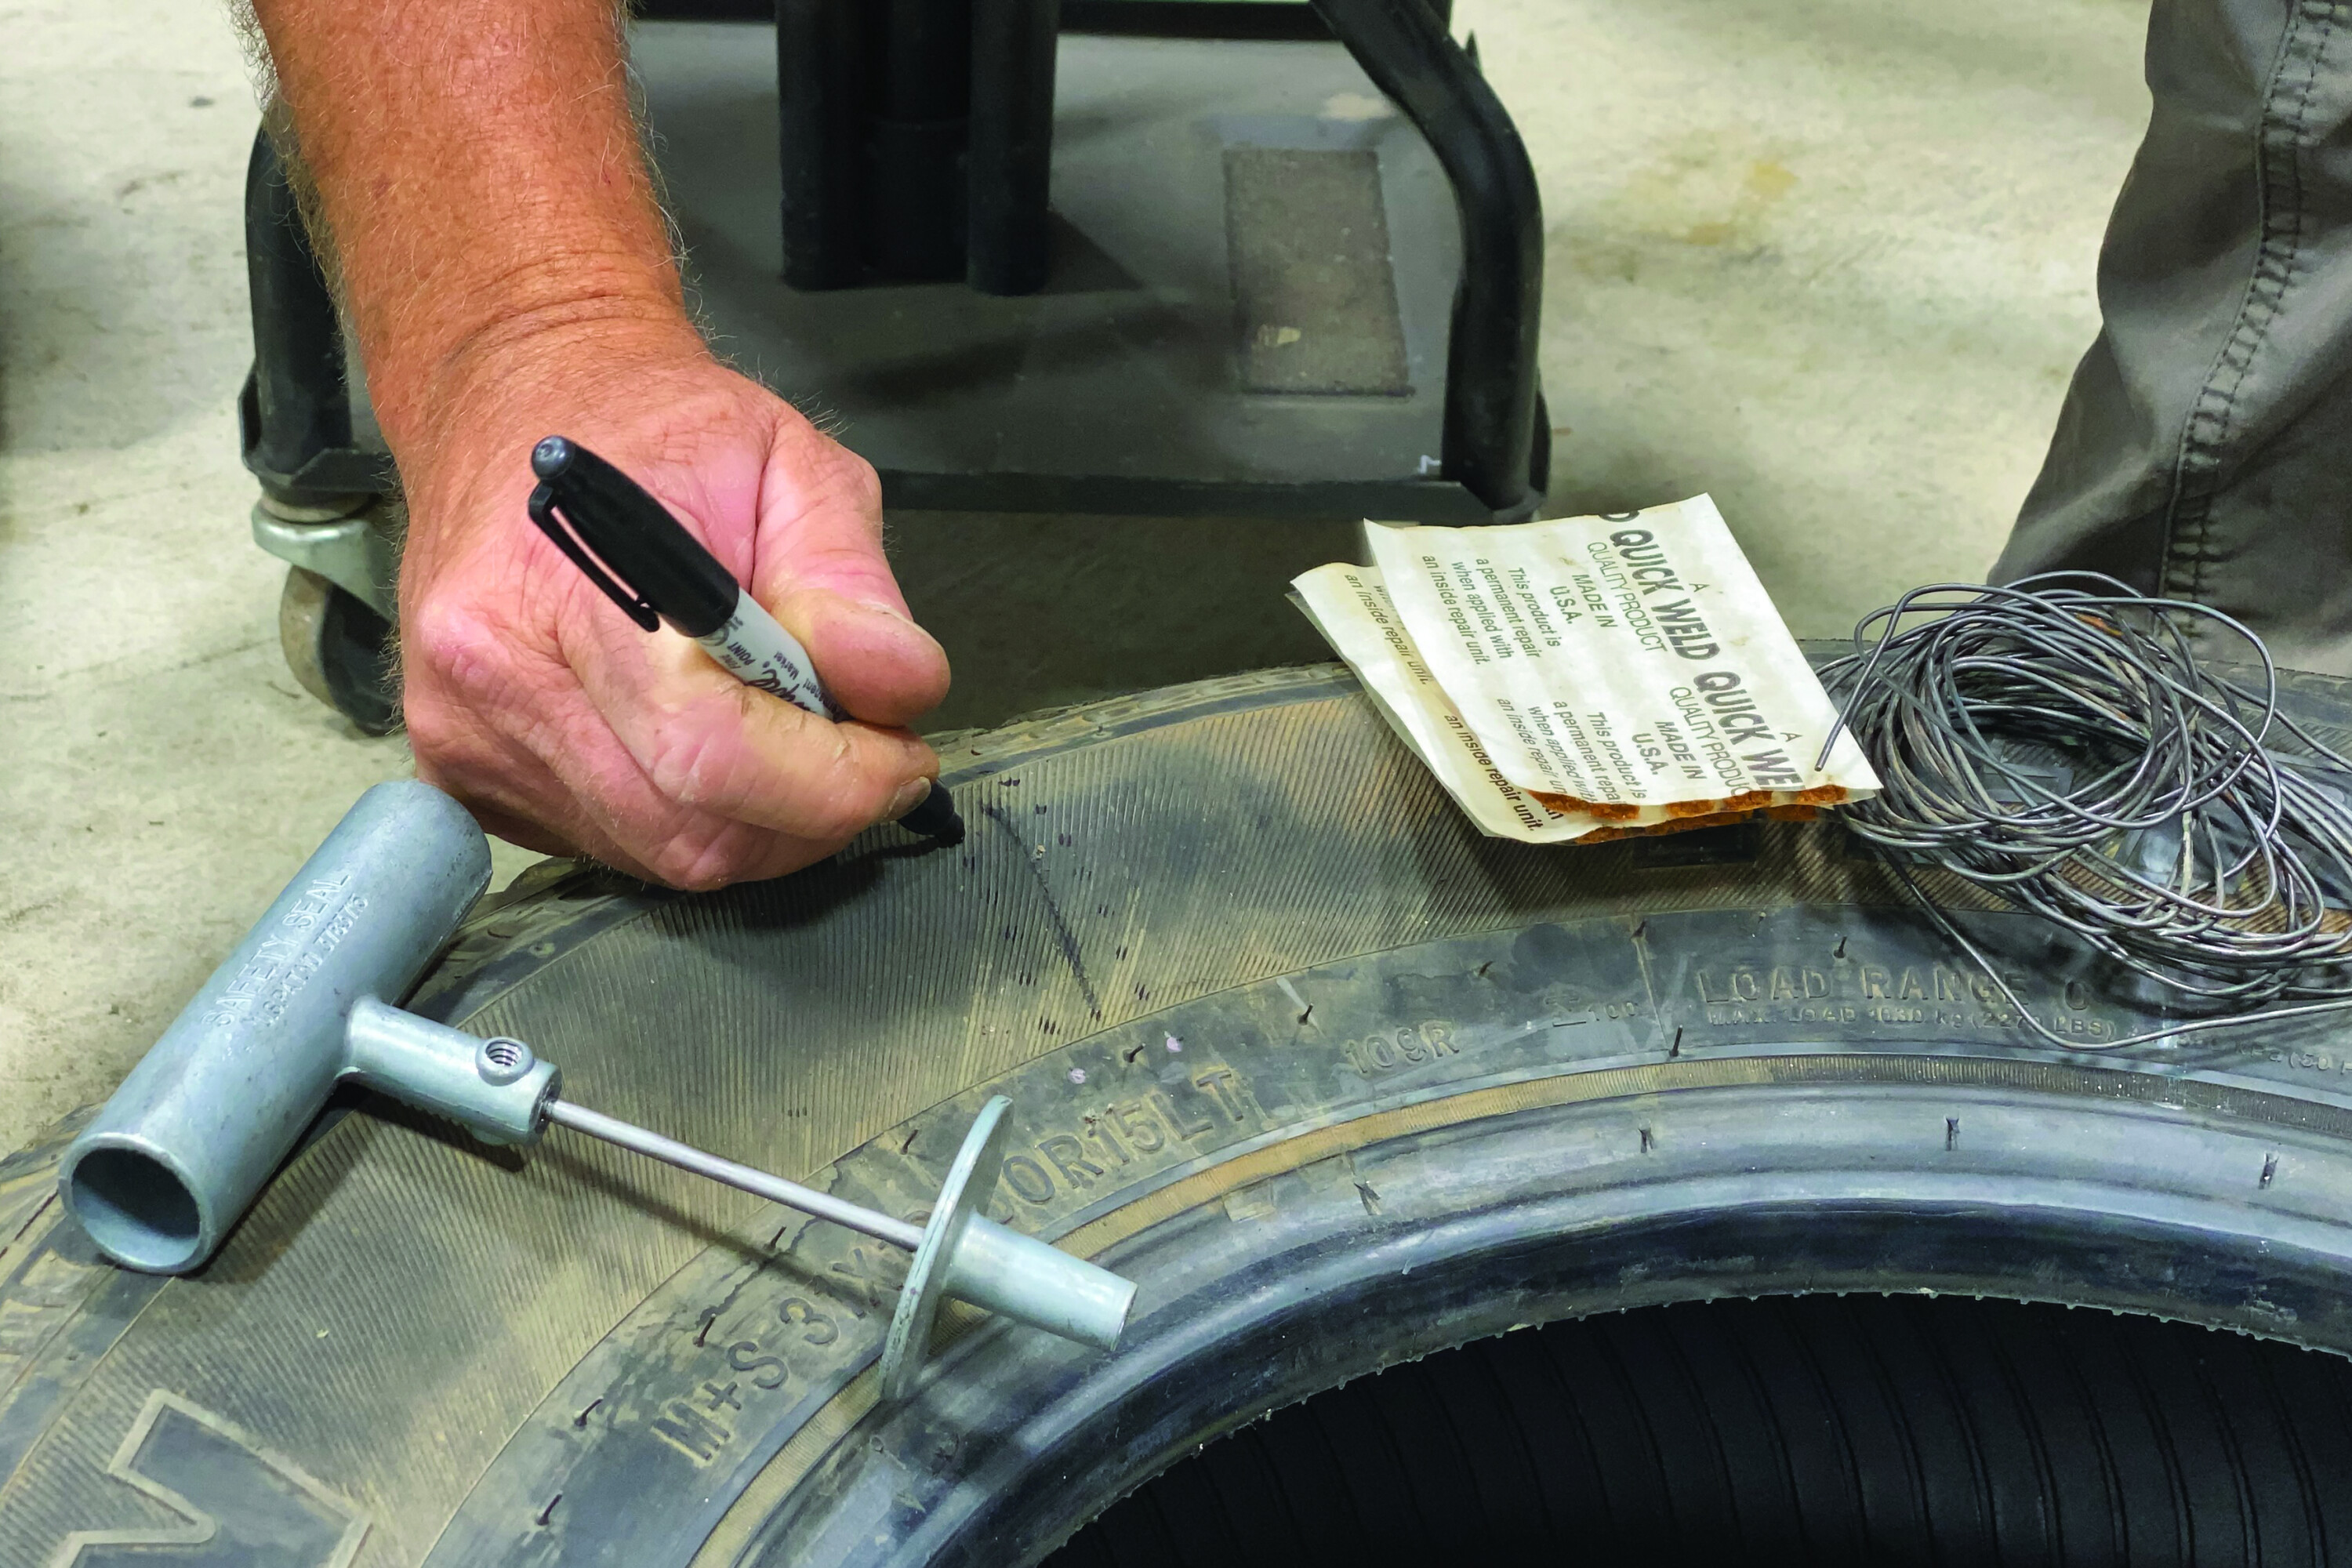
The Plug
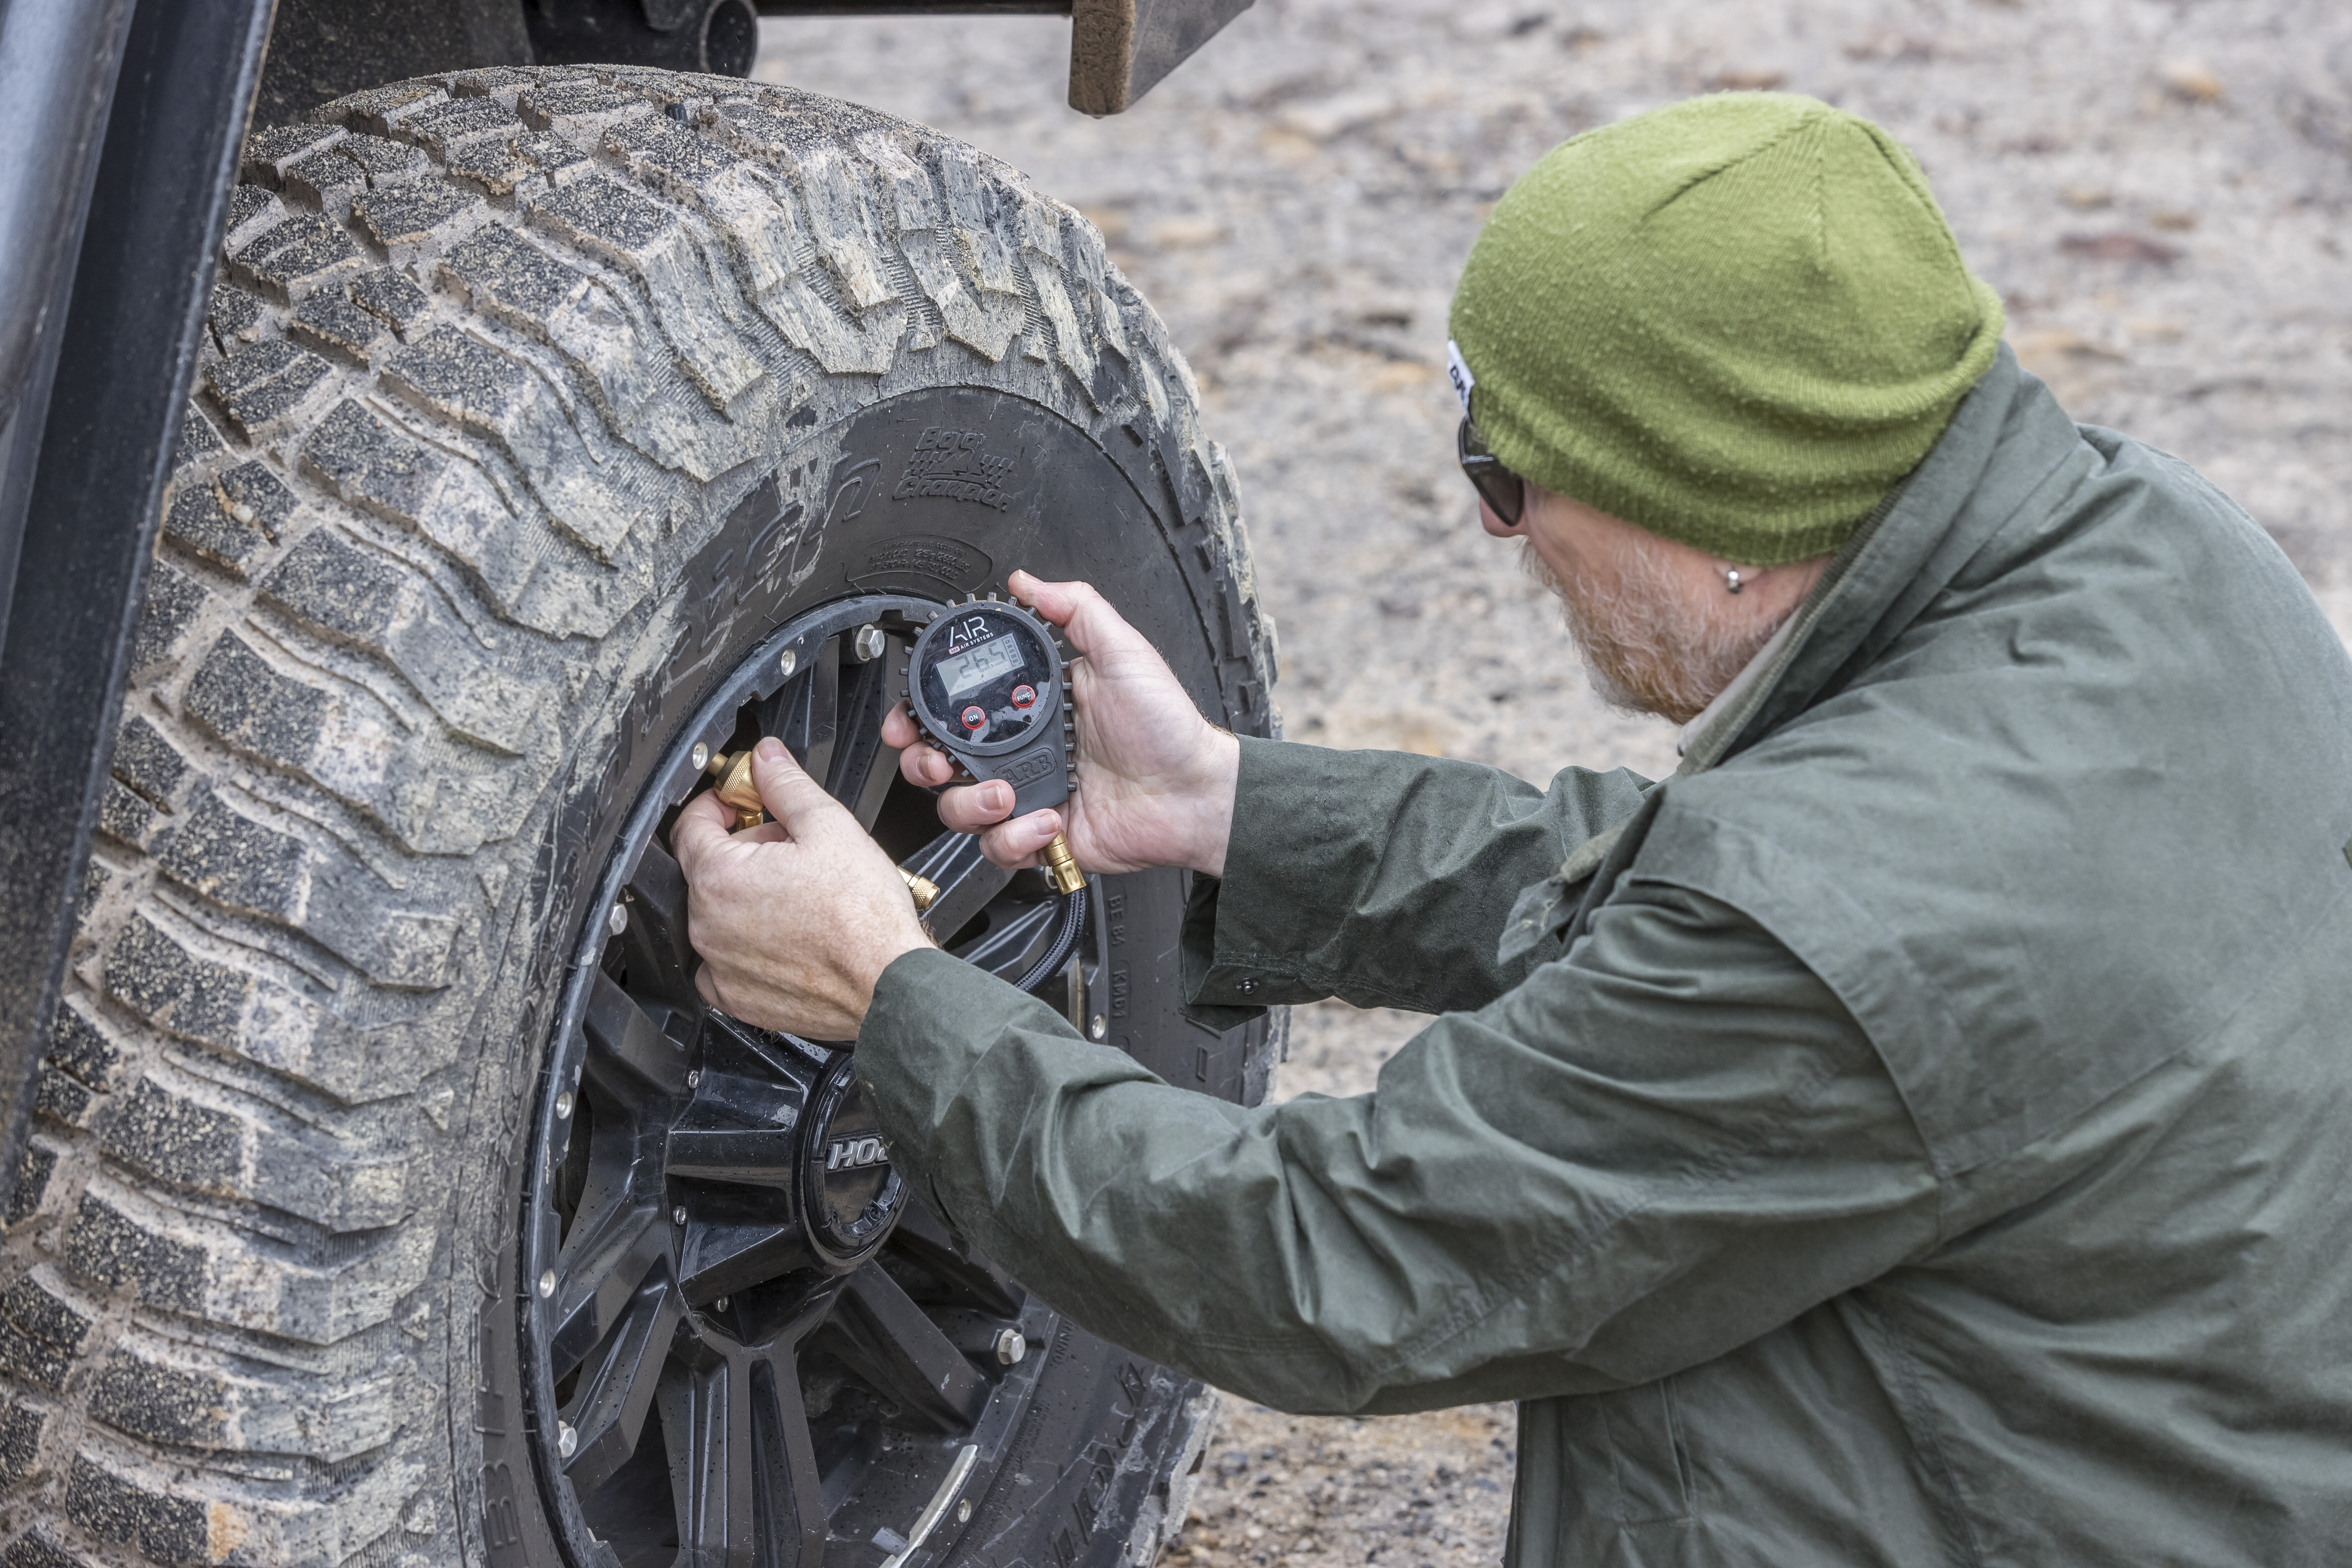
Plugging a tyre is the simplest of trail repairs and can usually be done without removing the wheel.
If you notice a low tyre and don’t hear a hiss, first ensure that the valve core is not leaking. Put a little saliva on your finger, lightly place it on the opening, and look for bubbling.
Also look for any debris that might be jammed between the bead and the wheel. If the cause is a nail, you’ll need to roll the vehicle until the offending object is accessible.
35
TIP: Make sure to insert the reamer on the same angle as the offending object entered the tyre.
35
35
35
TIP: After any tyre repair, pour water over it to check for leaks (bubbling).
35
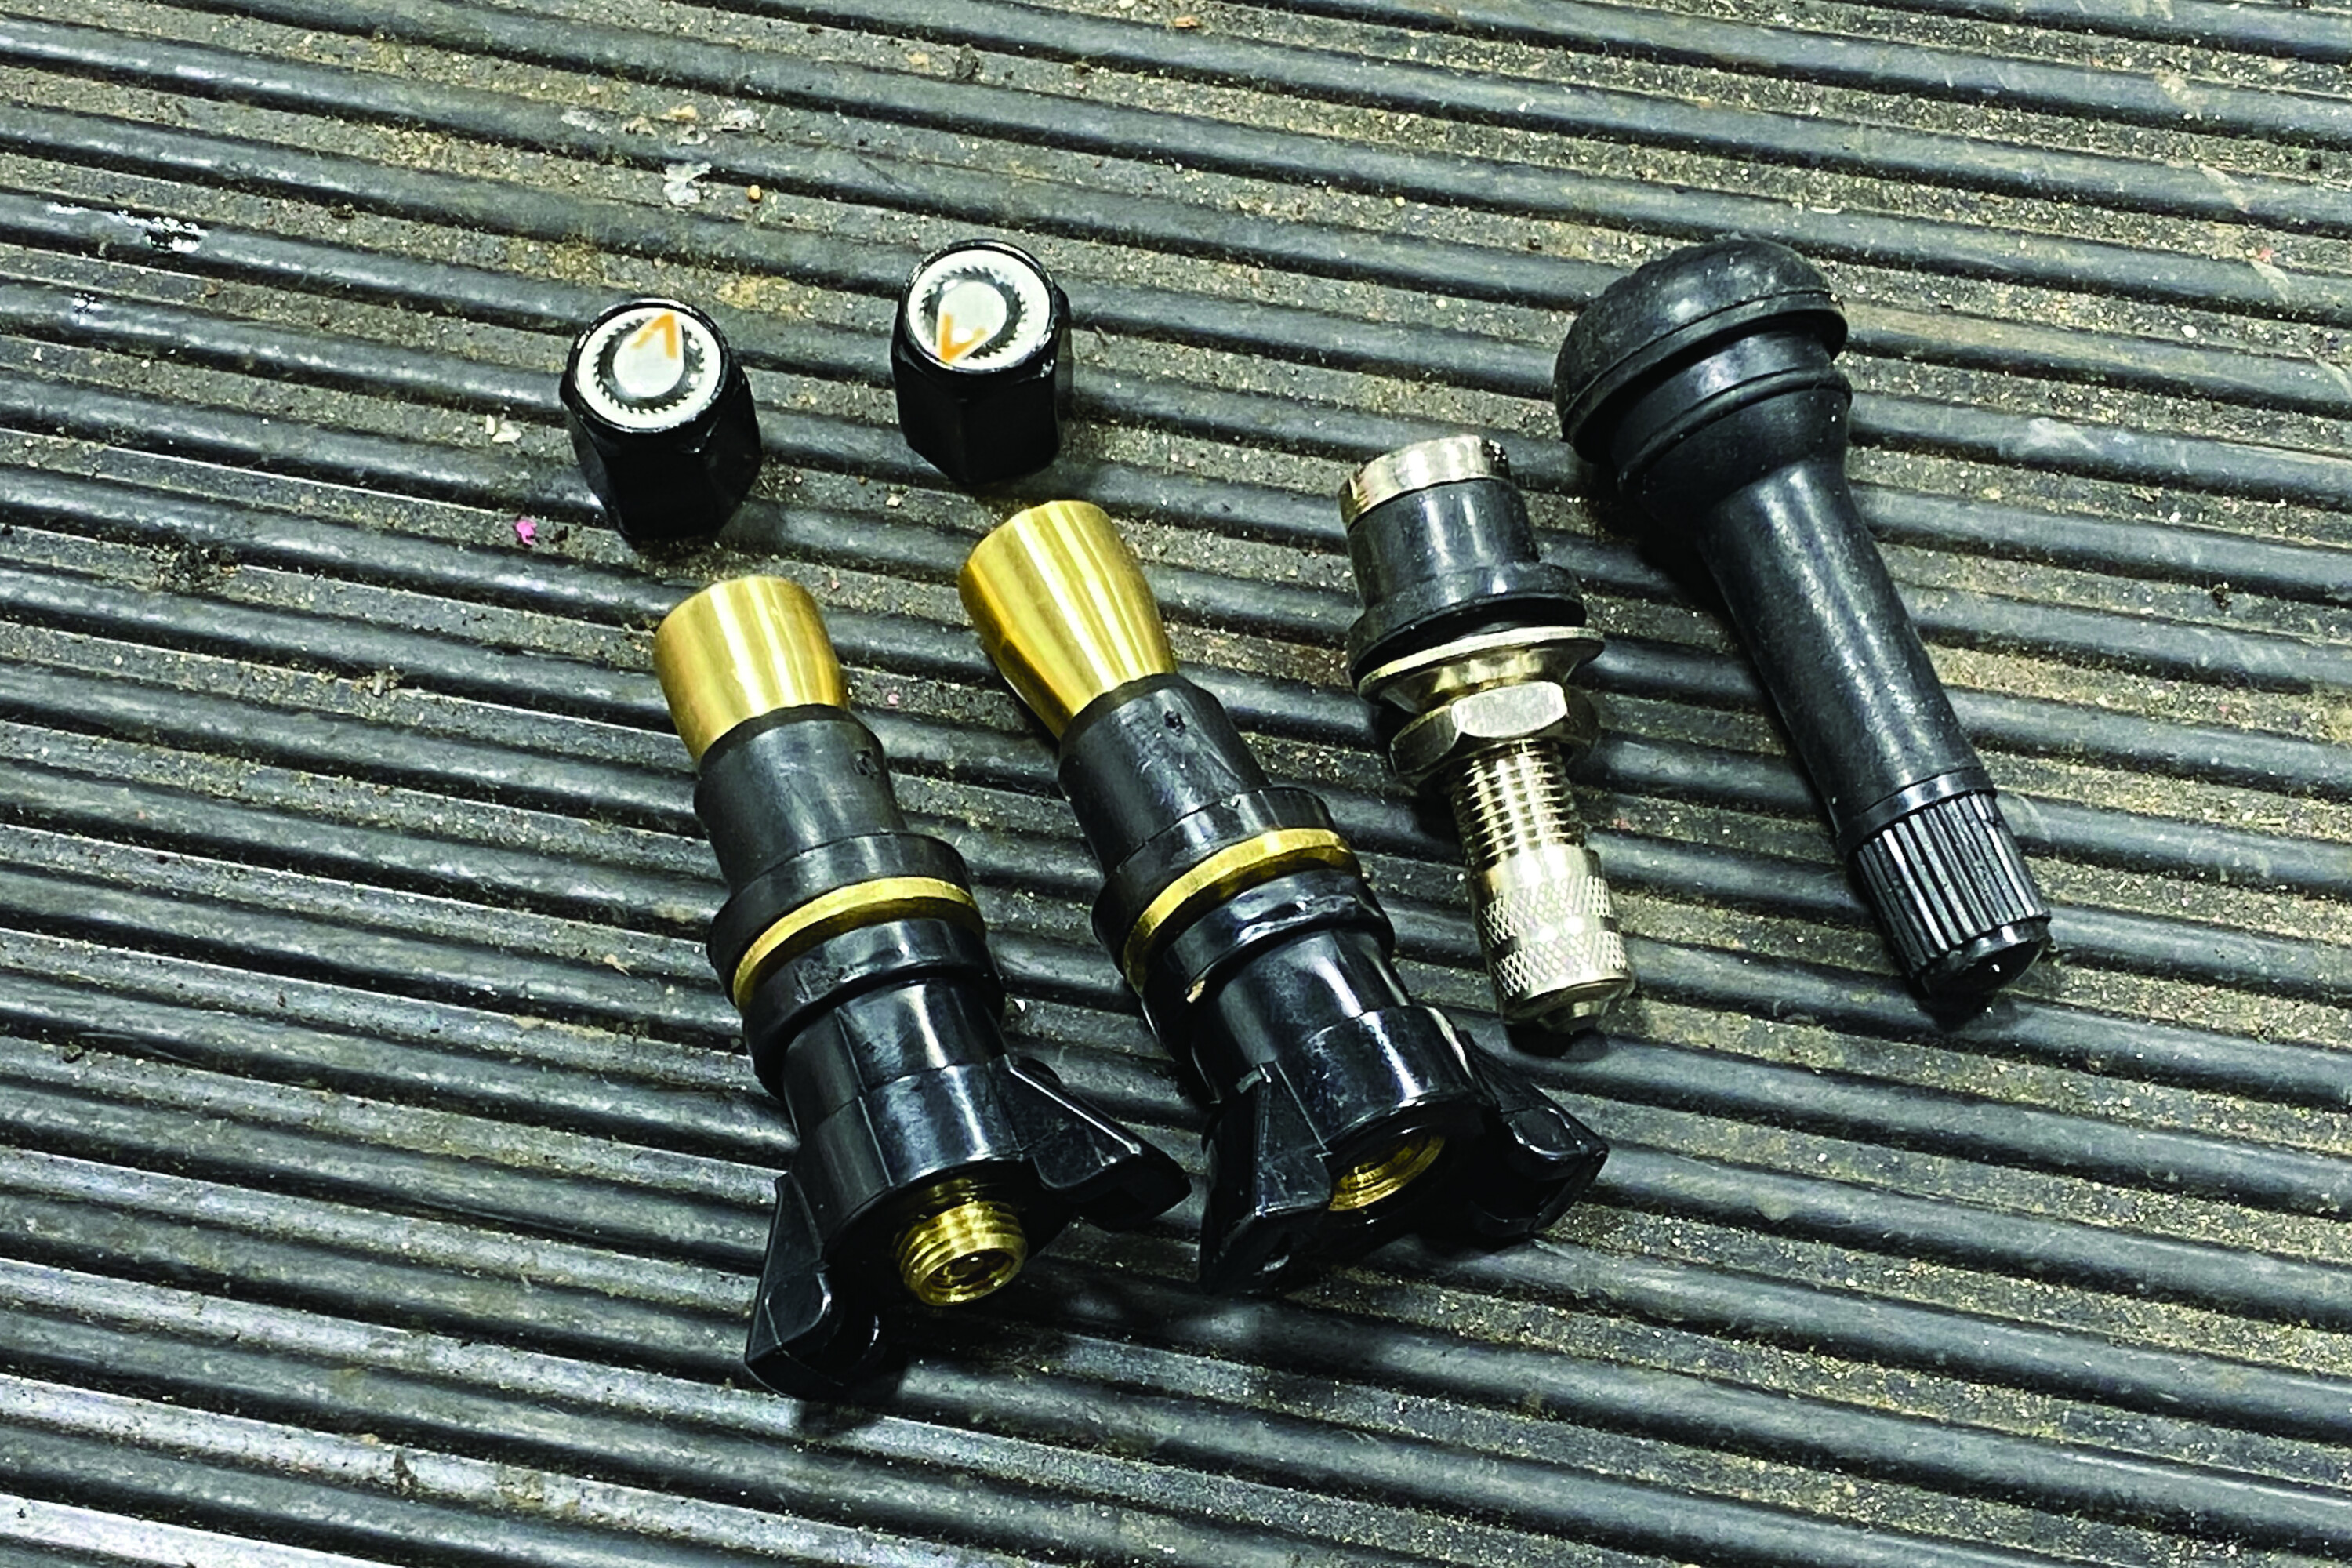
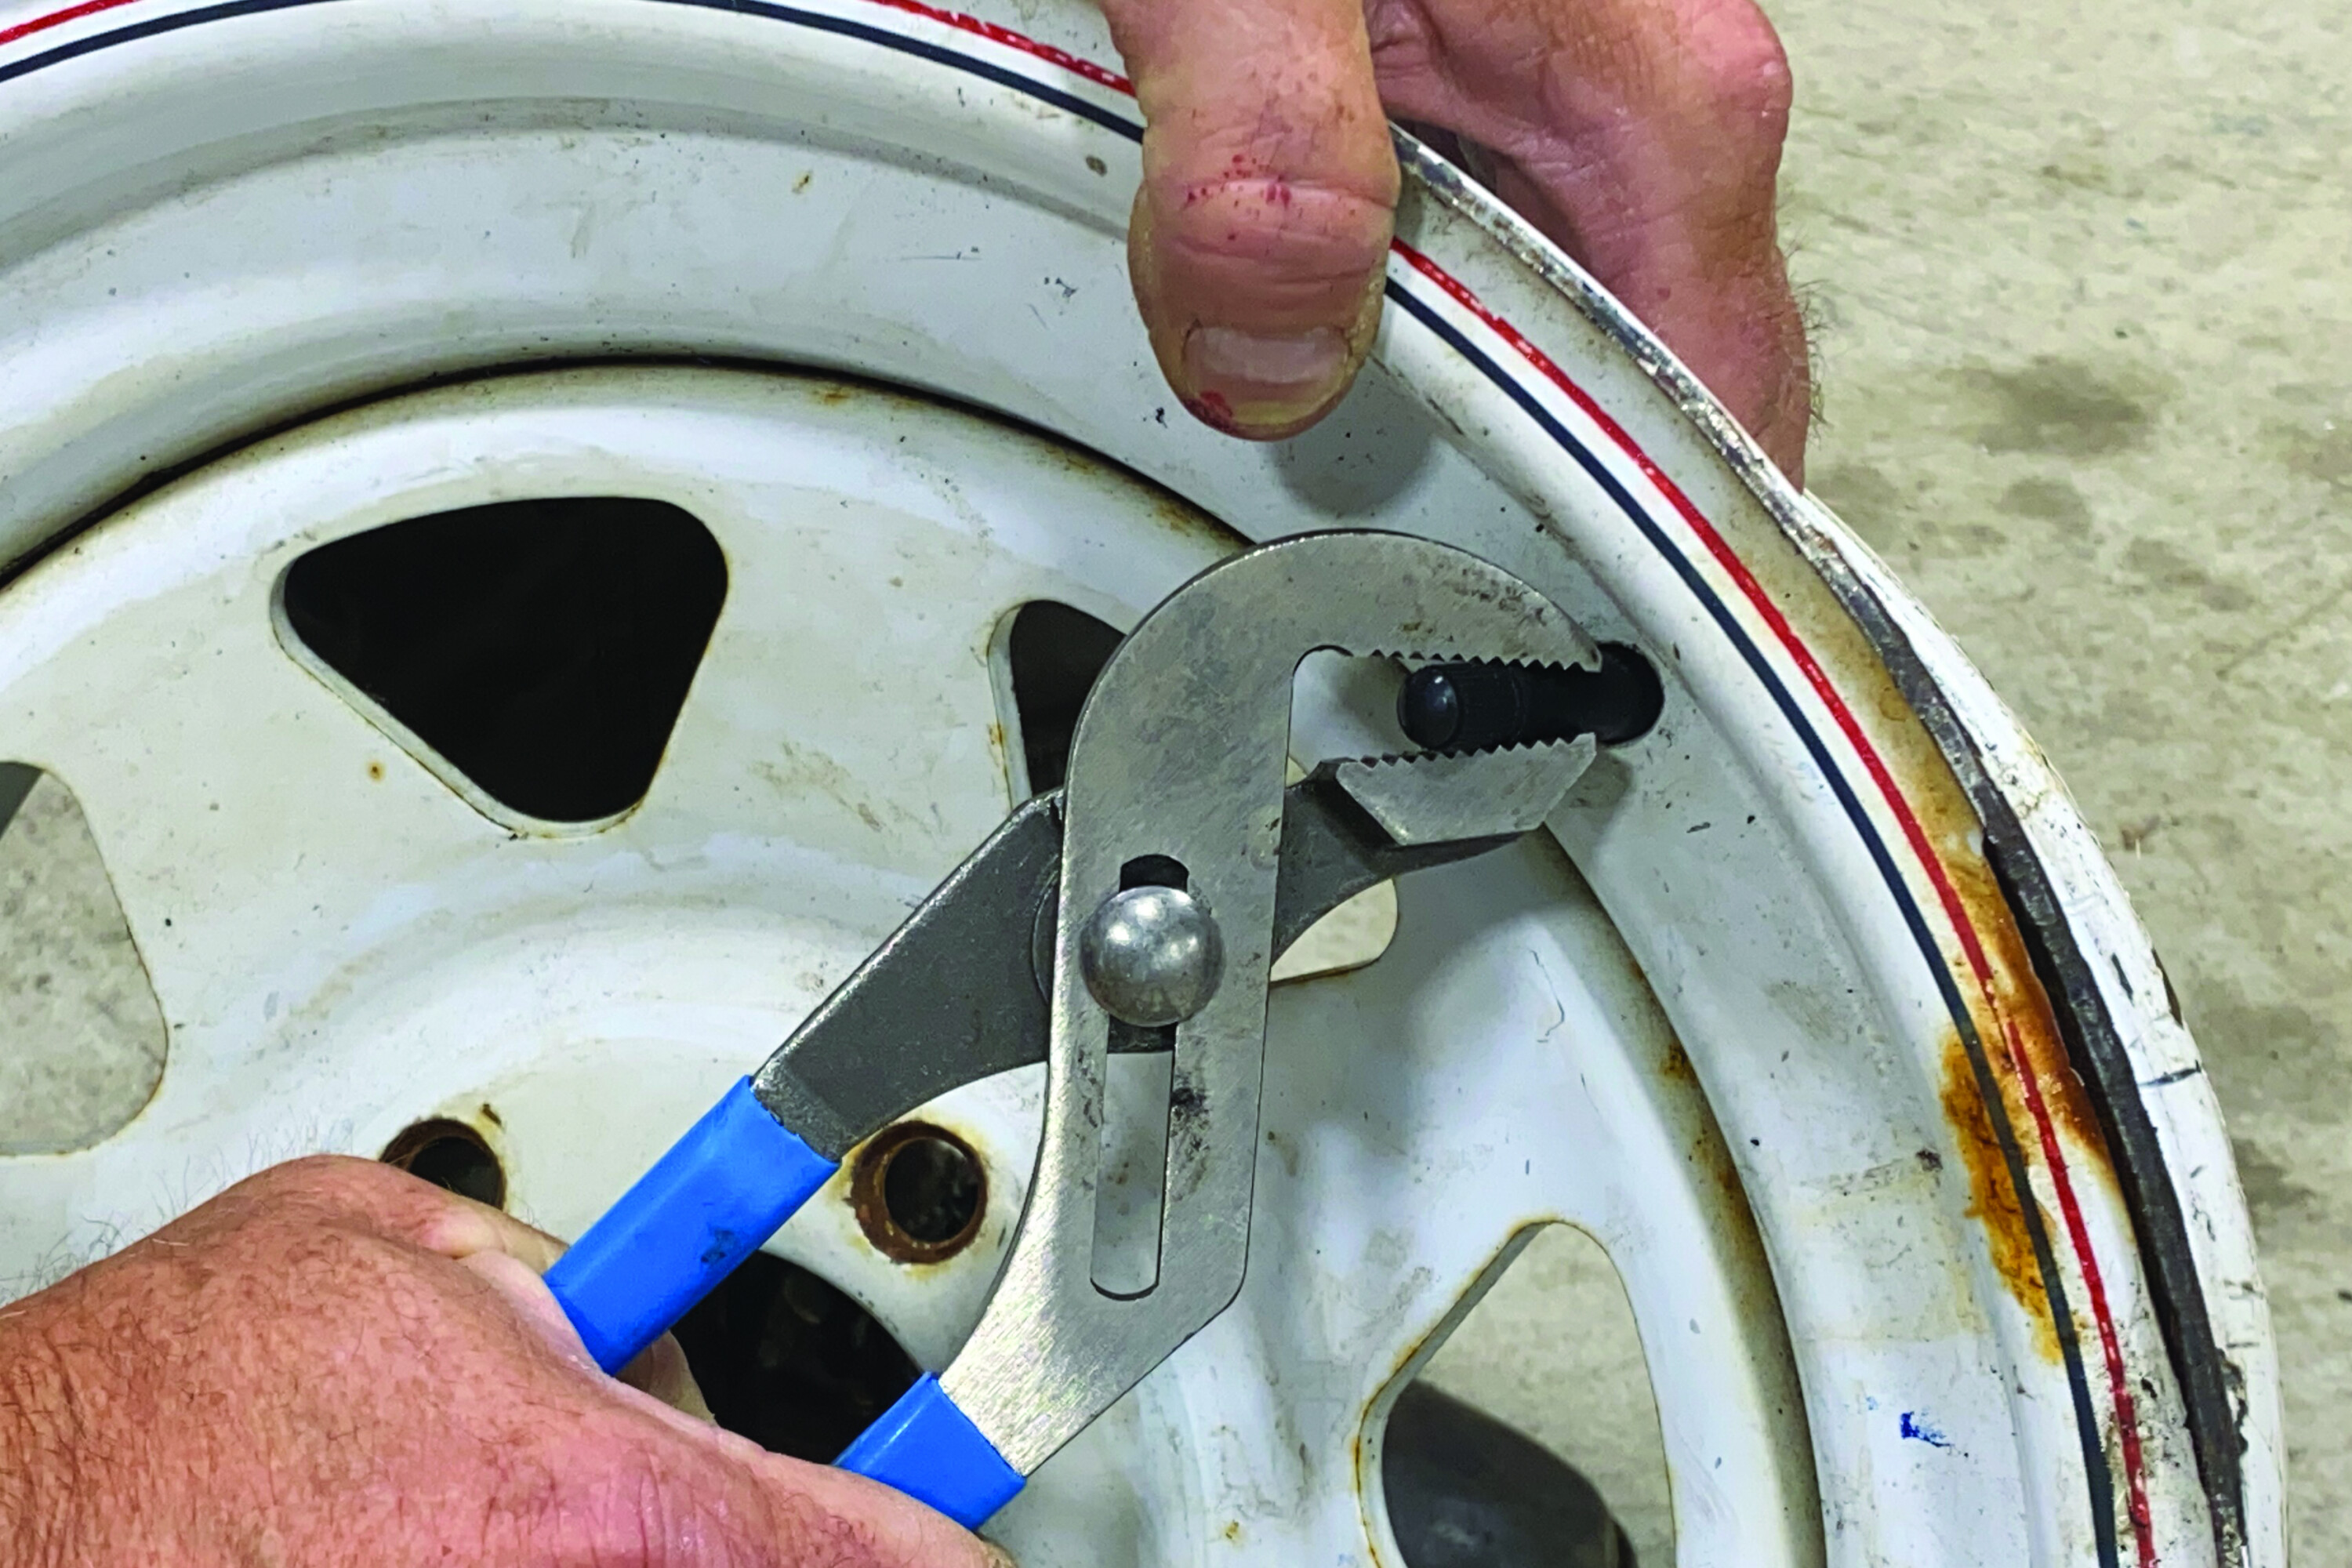
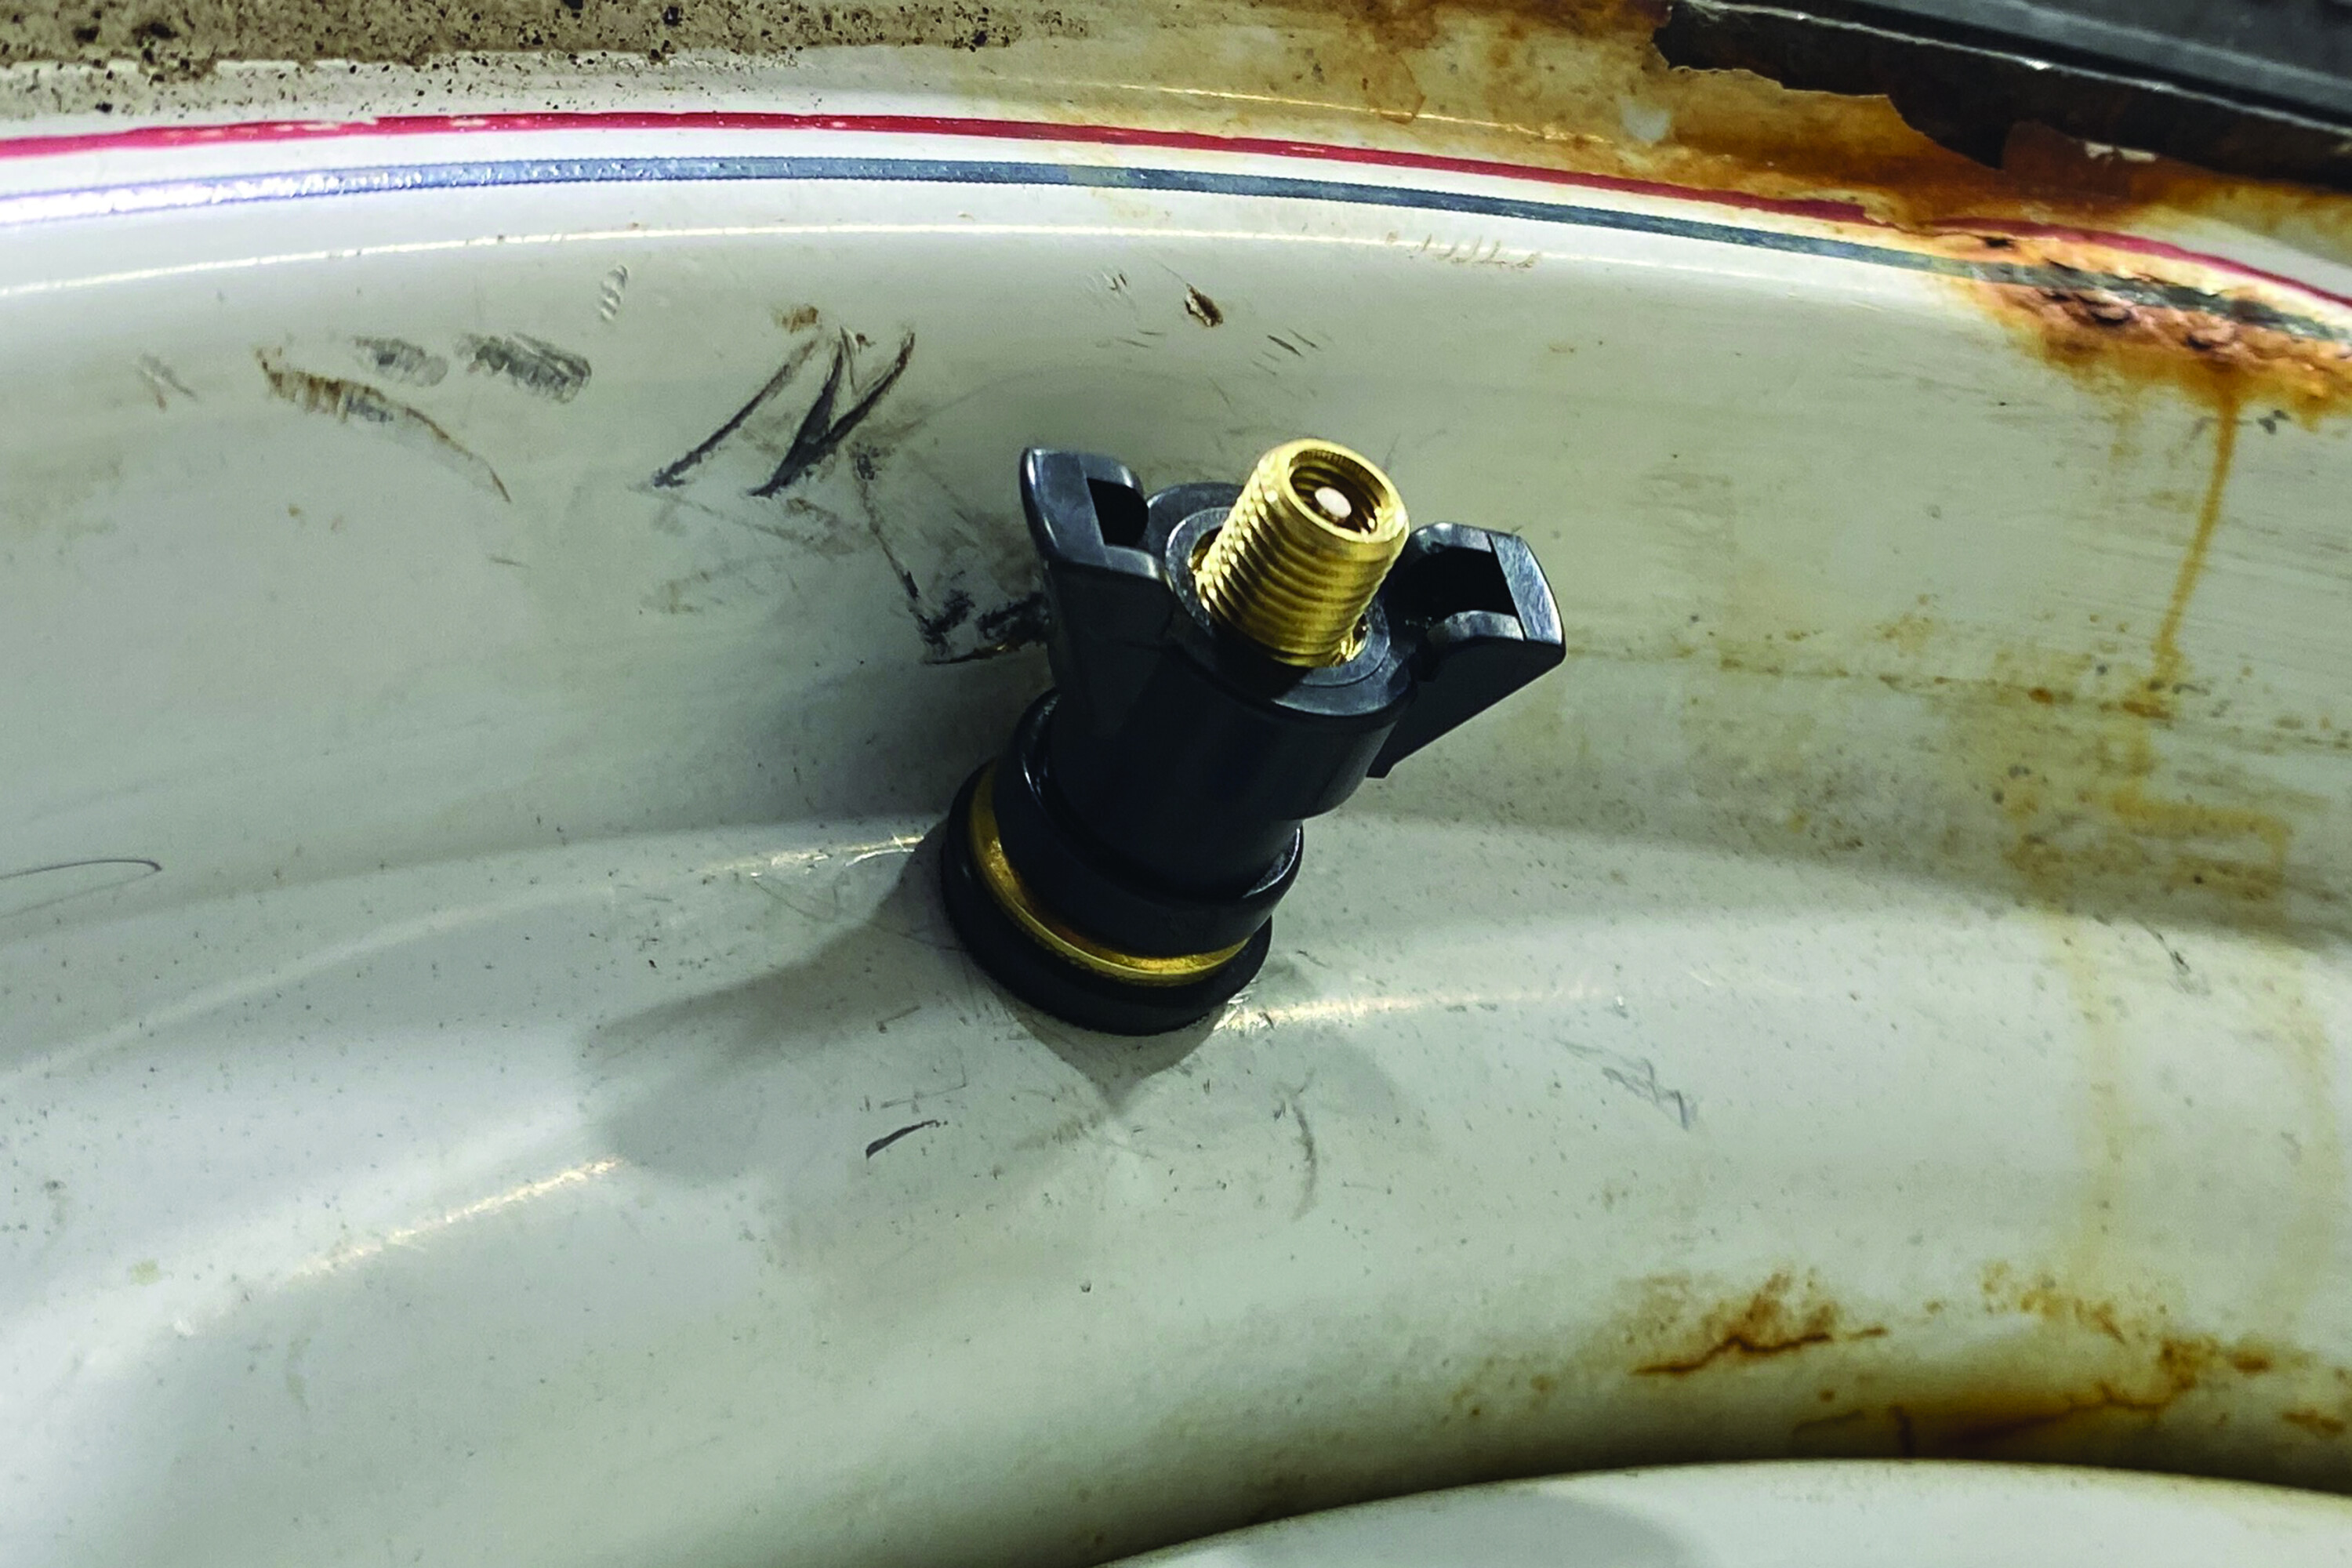
Valve Stem Woes
35
35

35
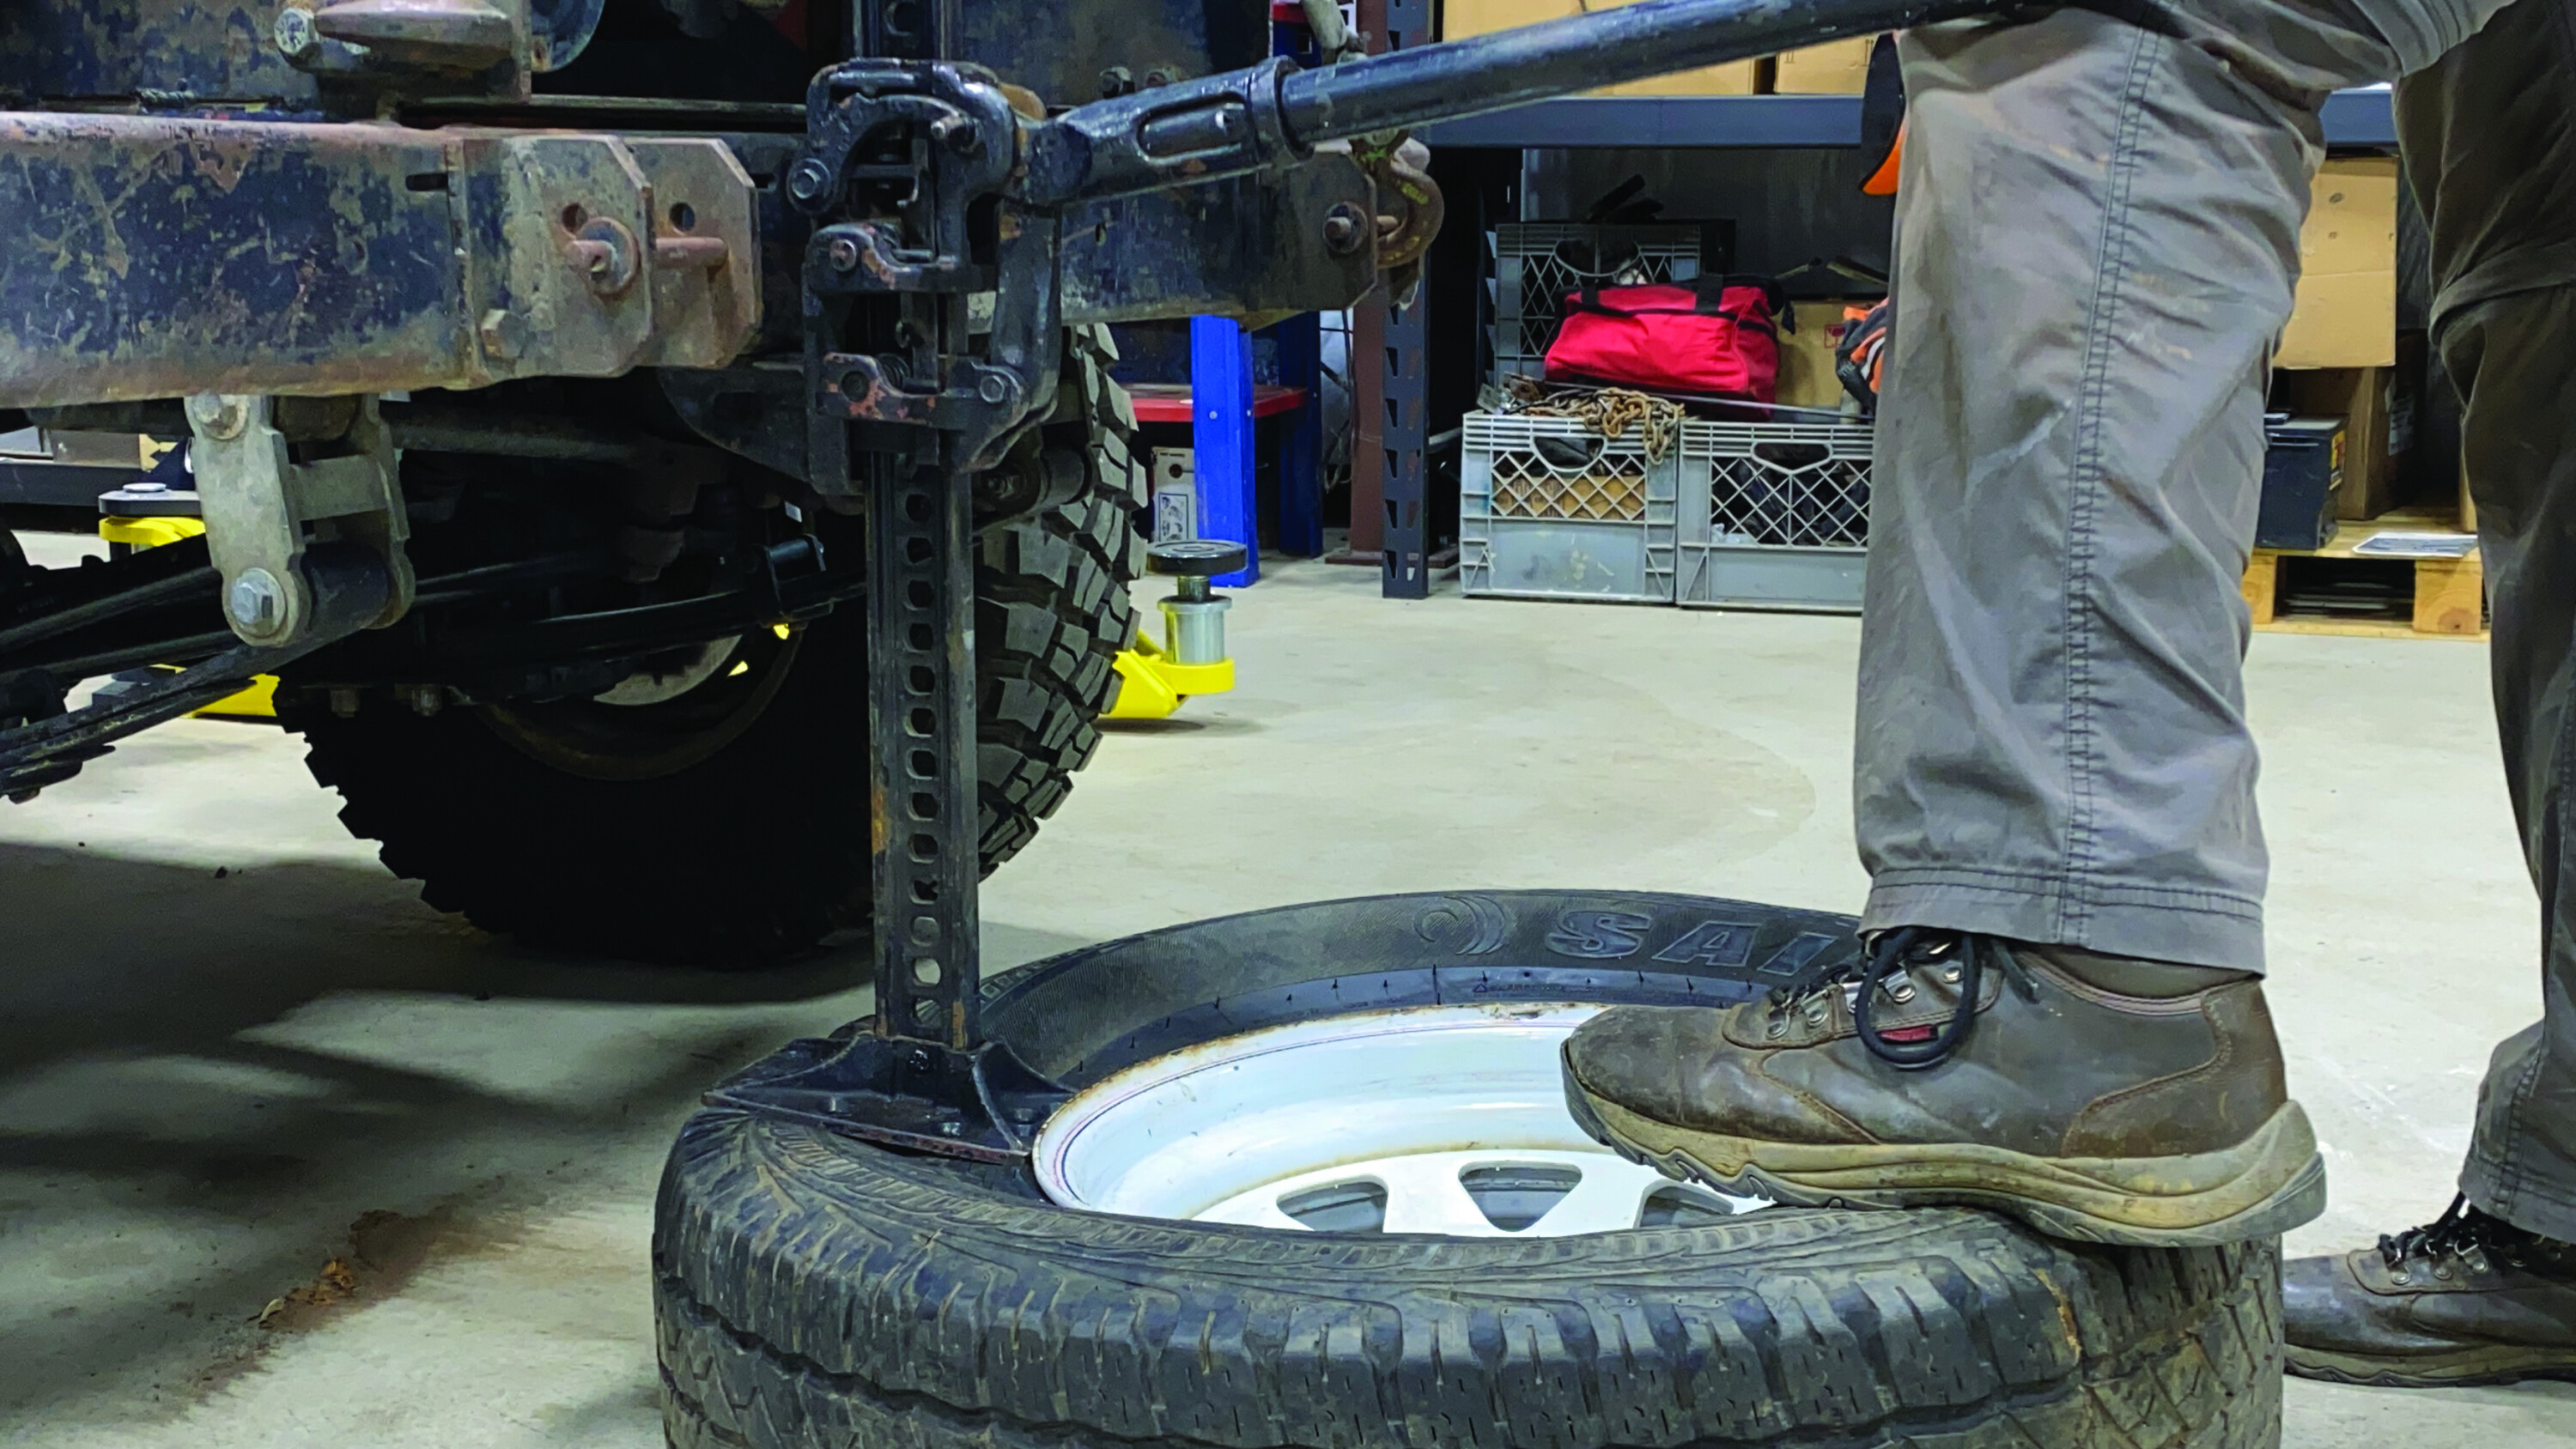
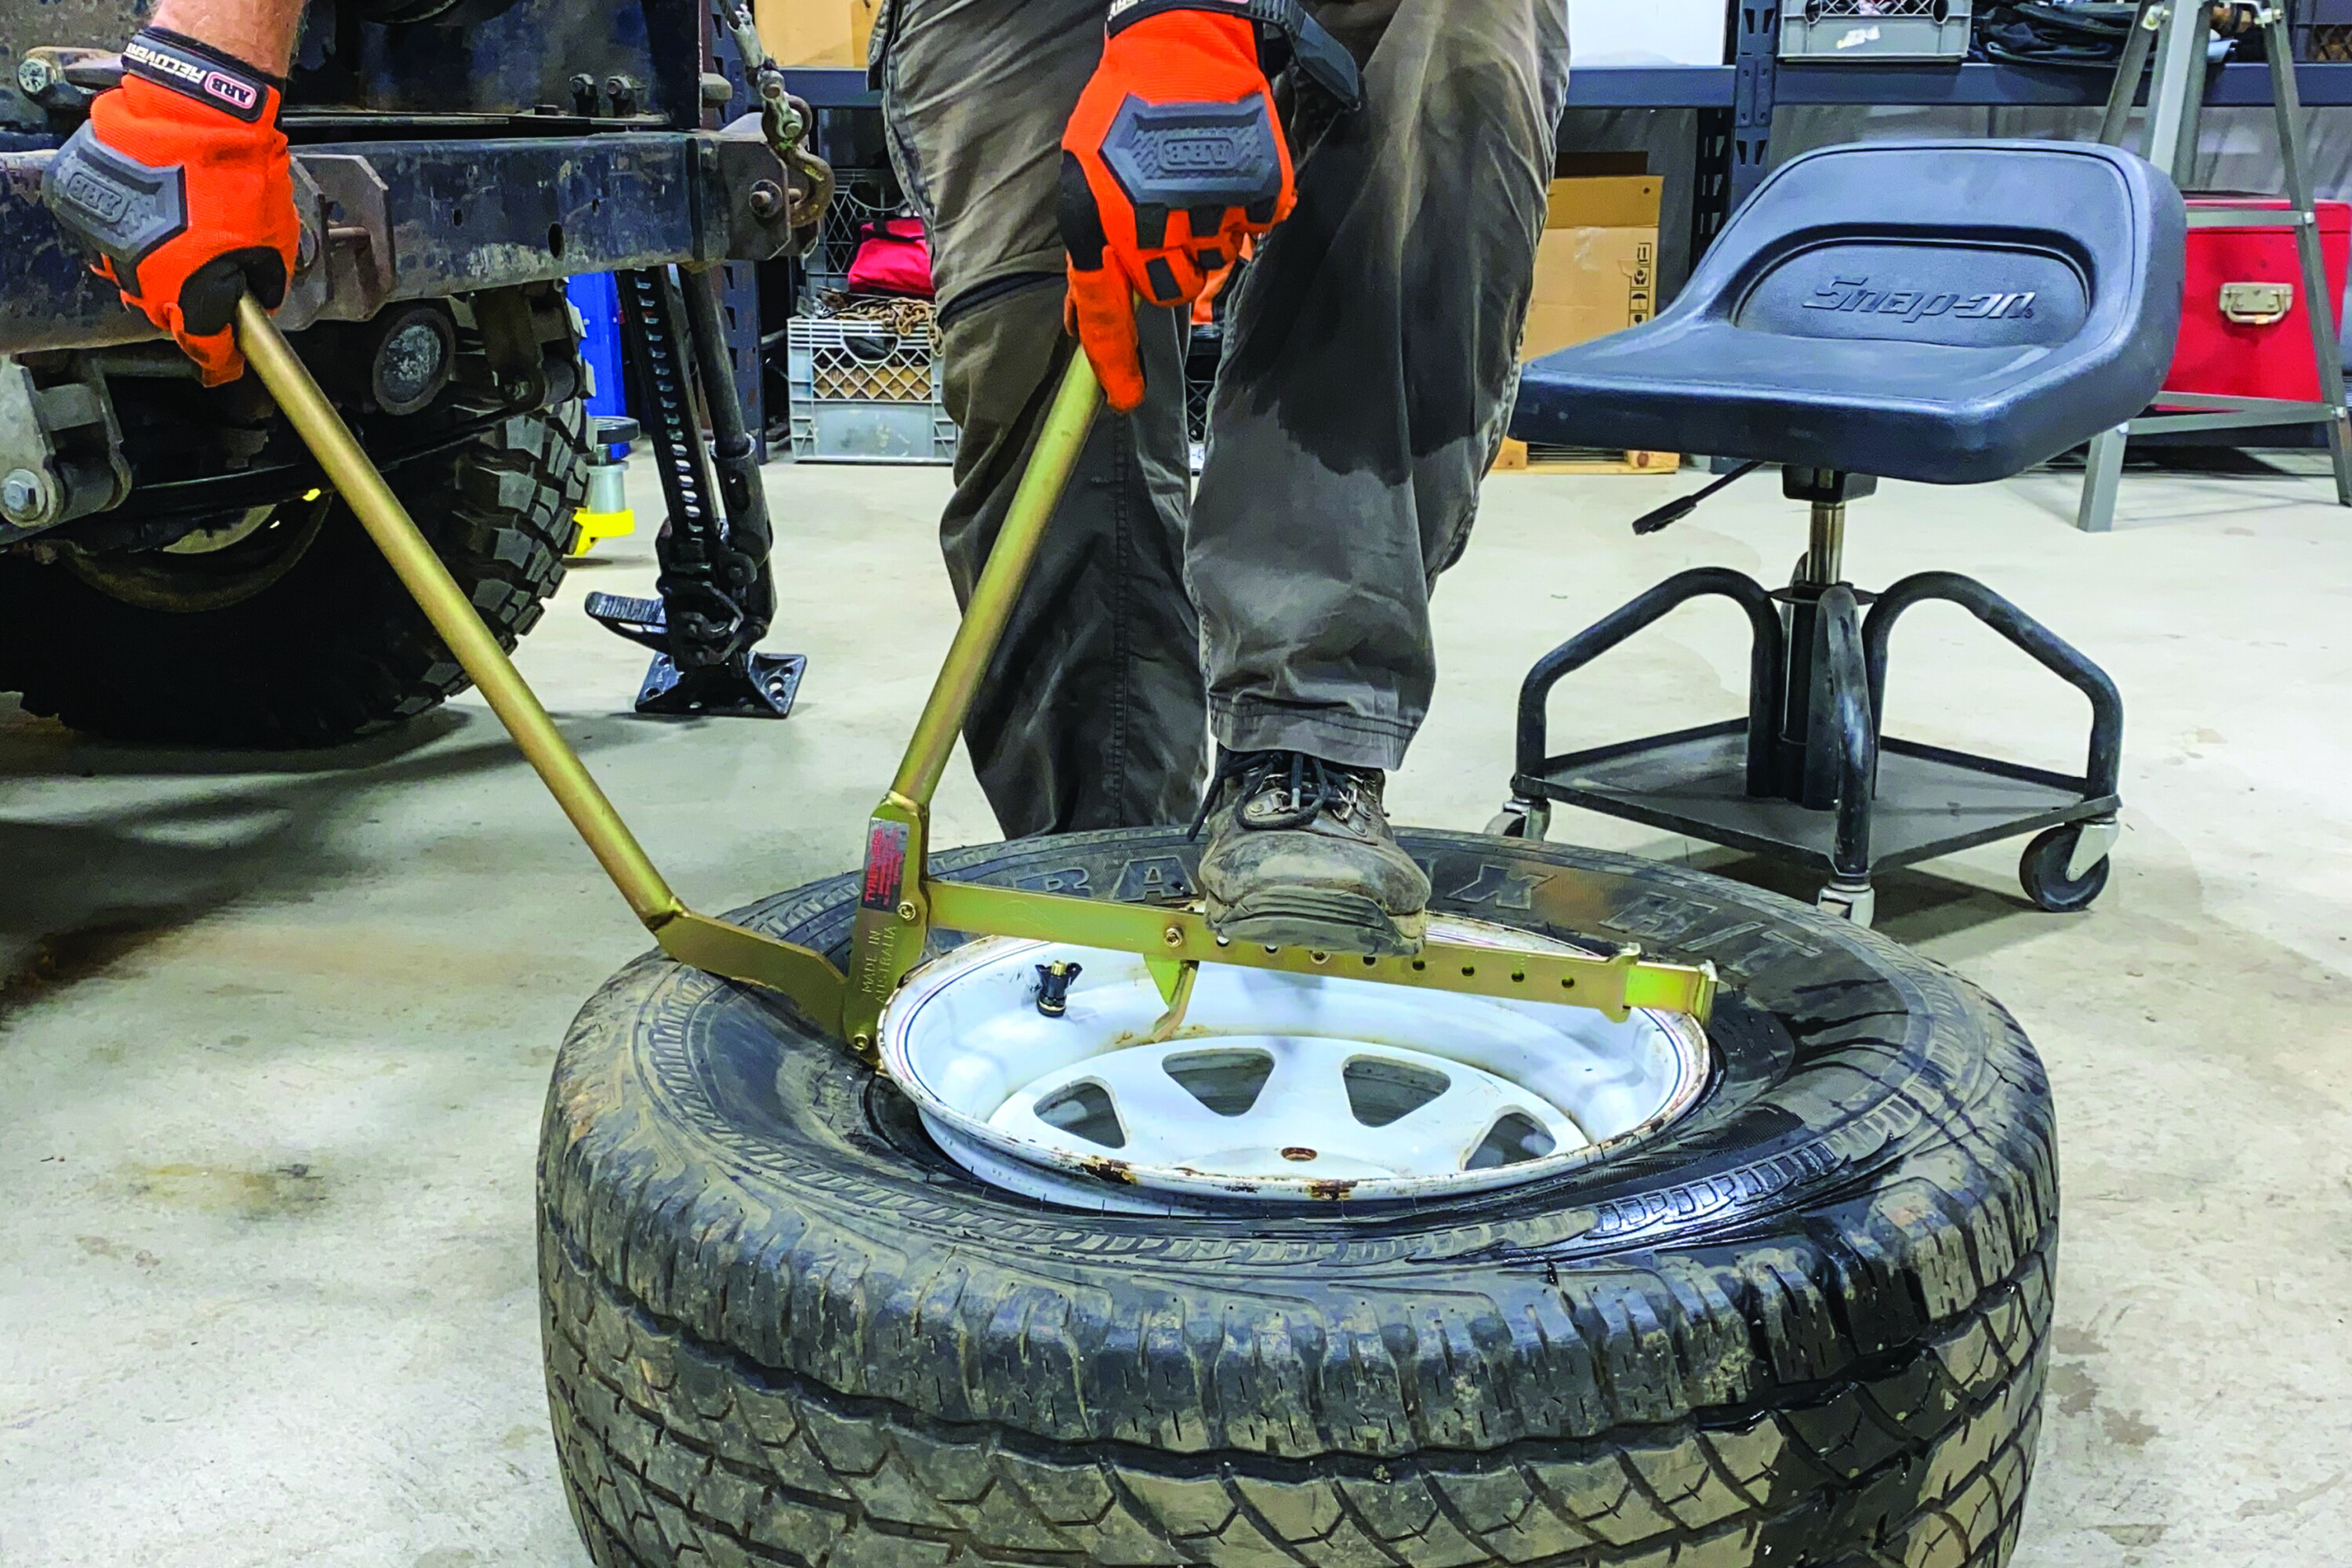
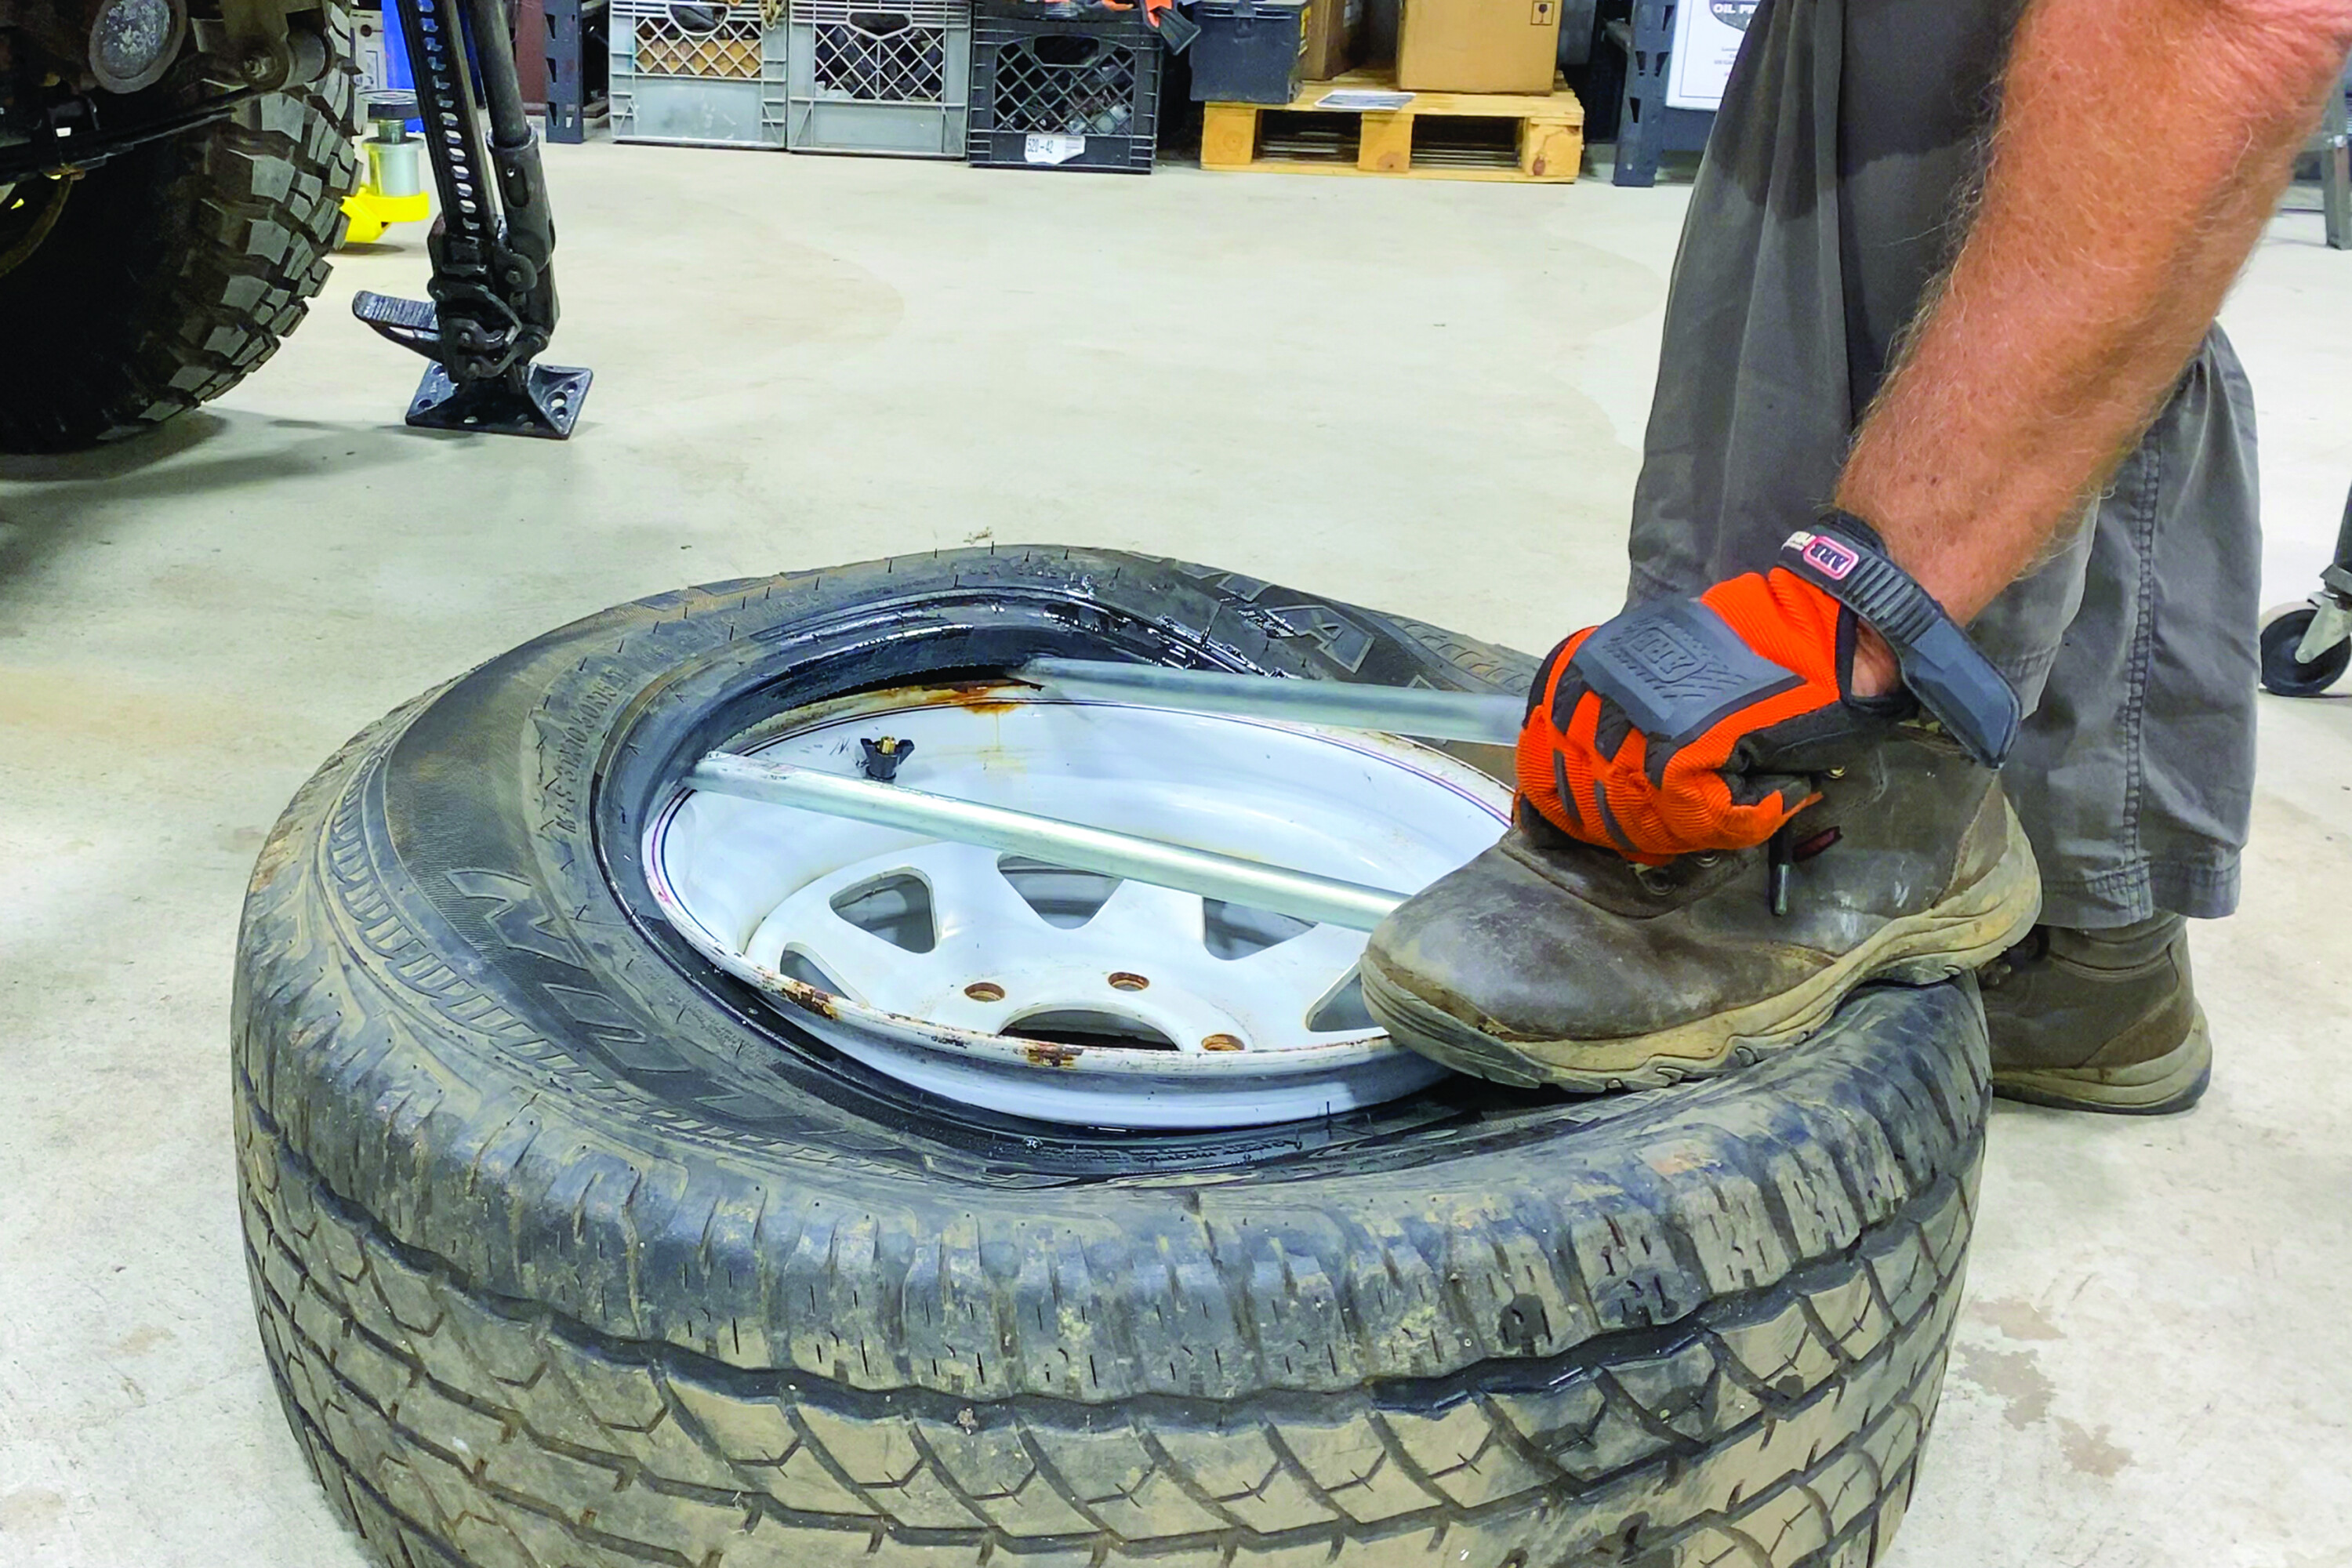
The R & R
That broken stem or a puncture that requires more than plugs to fix will necessitate dismounting the tyre from the rim.
Tools needed are a set of Tyrepliers or a Hi-Lift jack, and tyre irons, also called tyre spoons. You can get by with just the spoons and a Hi-Lift jack, but Tyrepliers makes the job much easier. Before you start, be sure the tyre is fully deflated and put a chalk mark on the tyre where the valve stem is.
Matching these marks when remounting will help to keep it semi-balanced. Also, have a squirt bottle of water or Campsuds on-hand to keep tyre/bead contact surfaces lubricated.
35
35
35
TIP: Lubricating the tyre/bead interface with soapy water will make dismounting and mounting much easier.
35
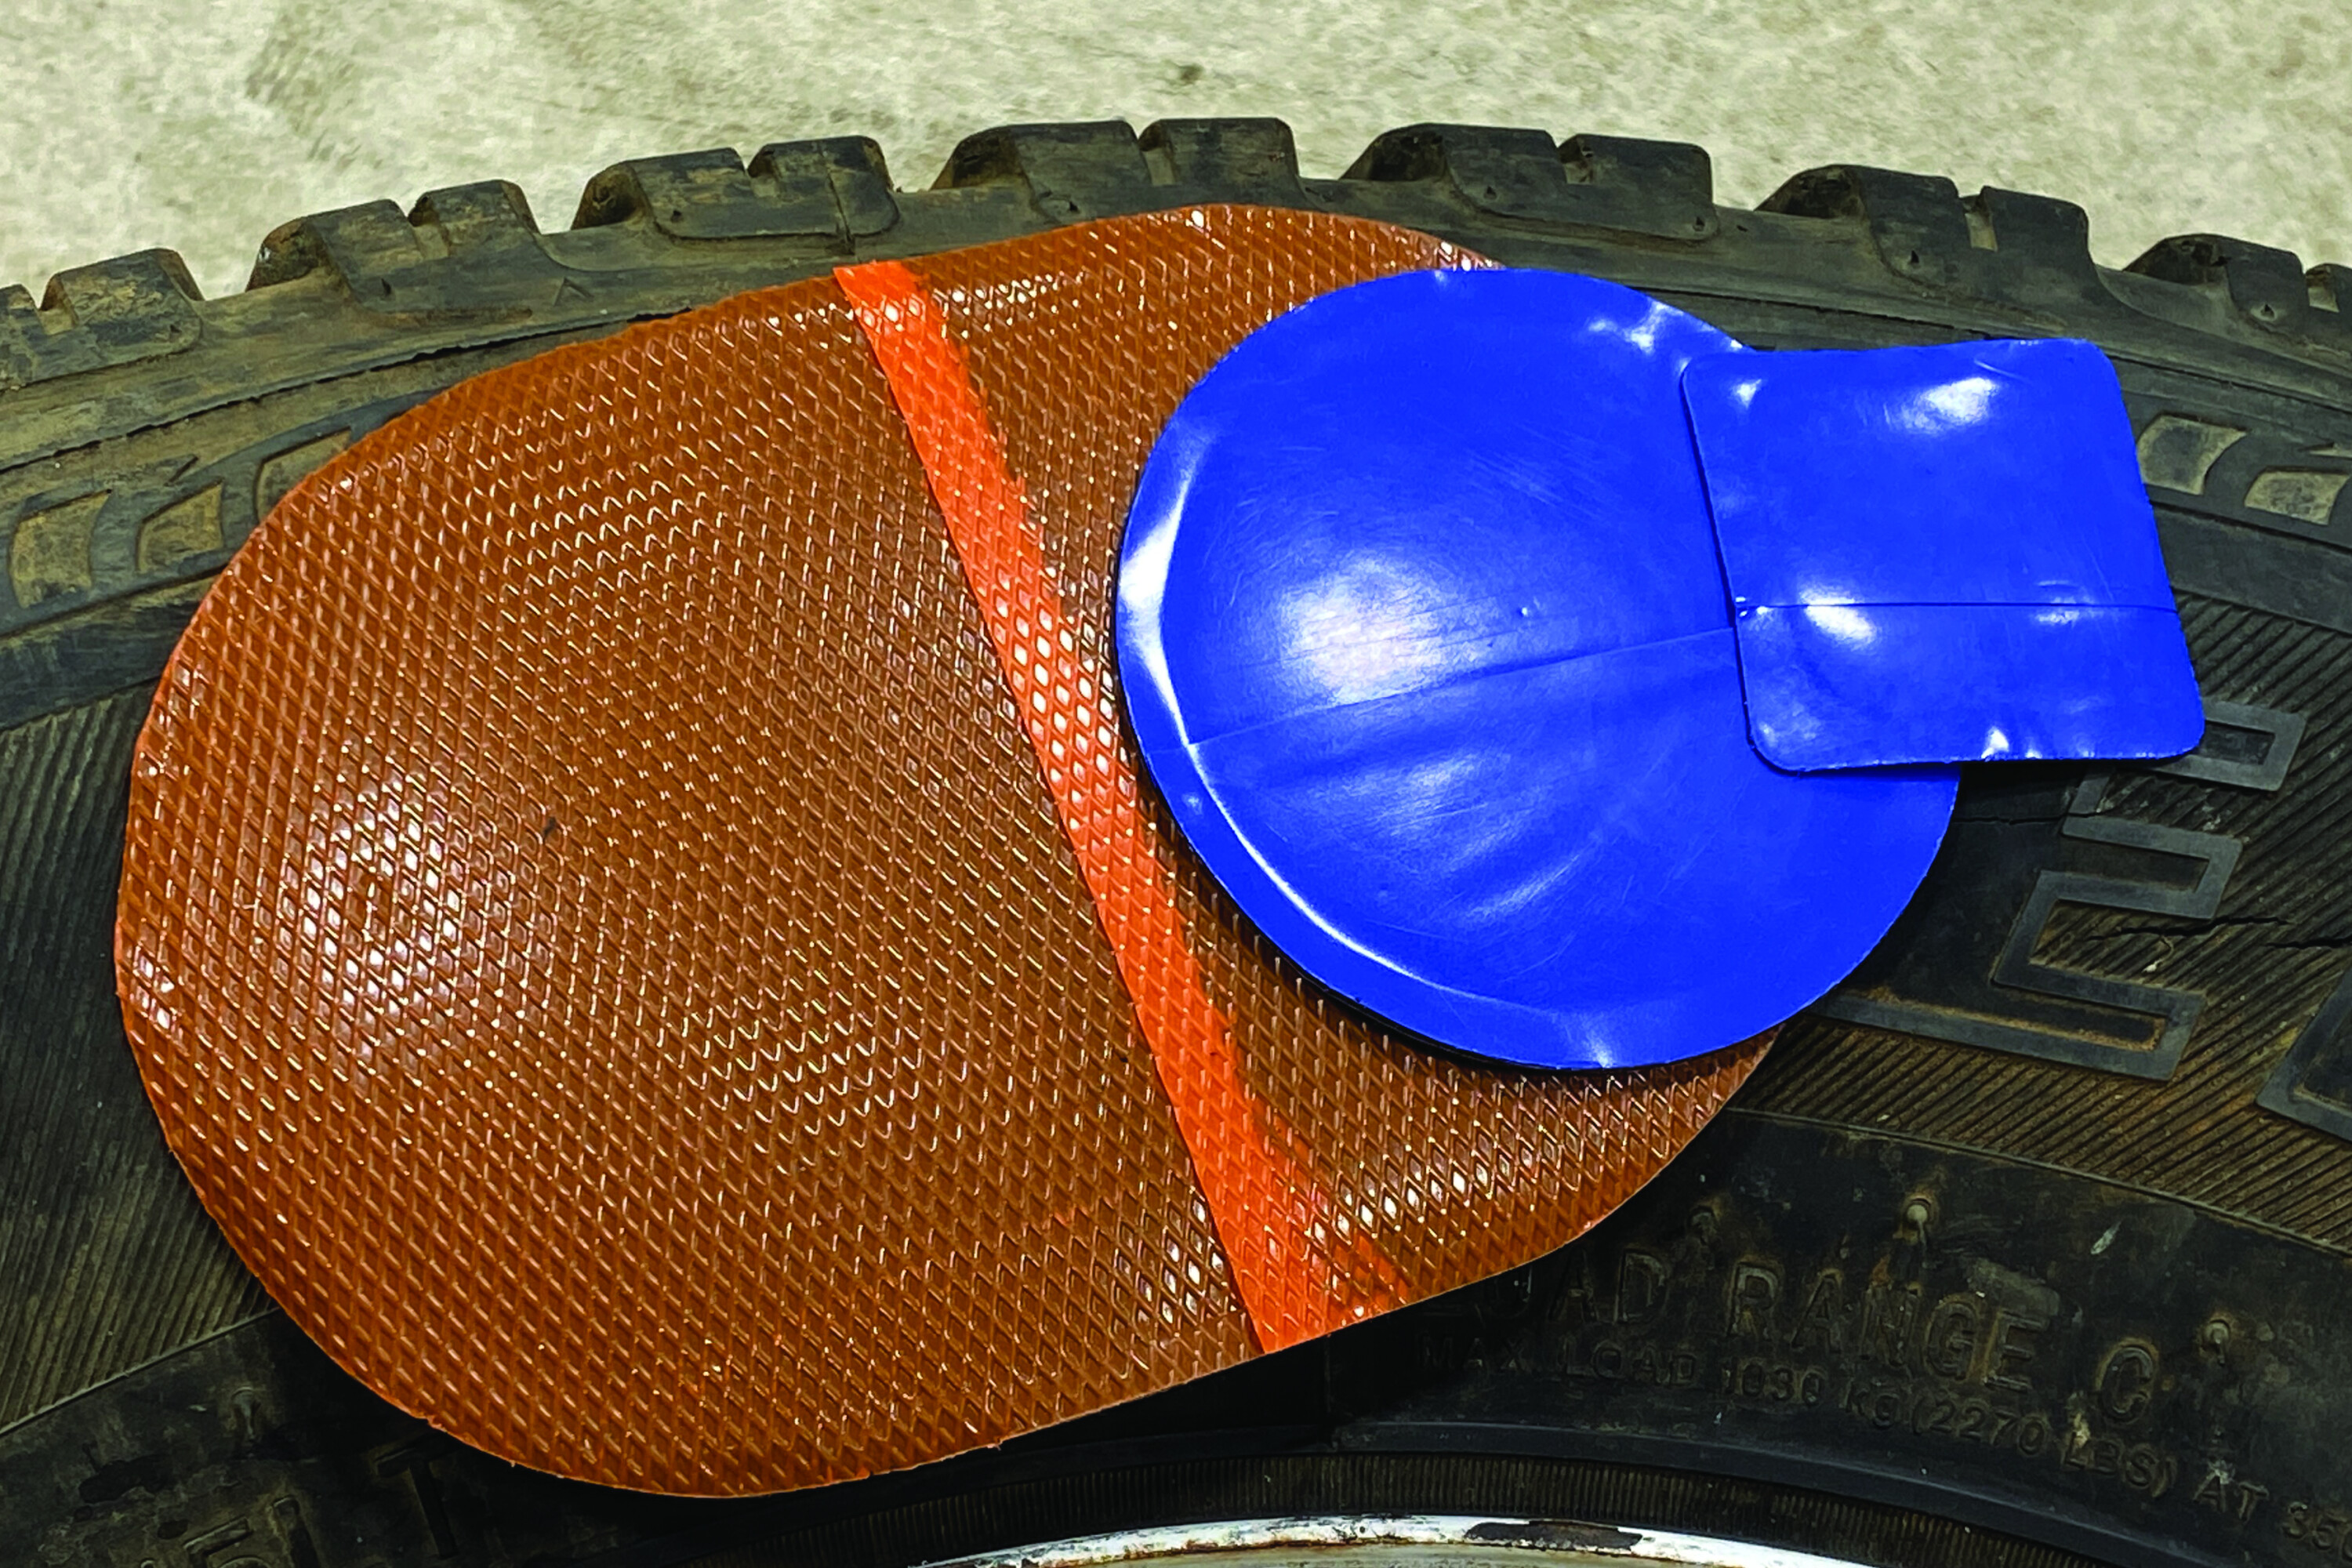
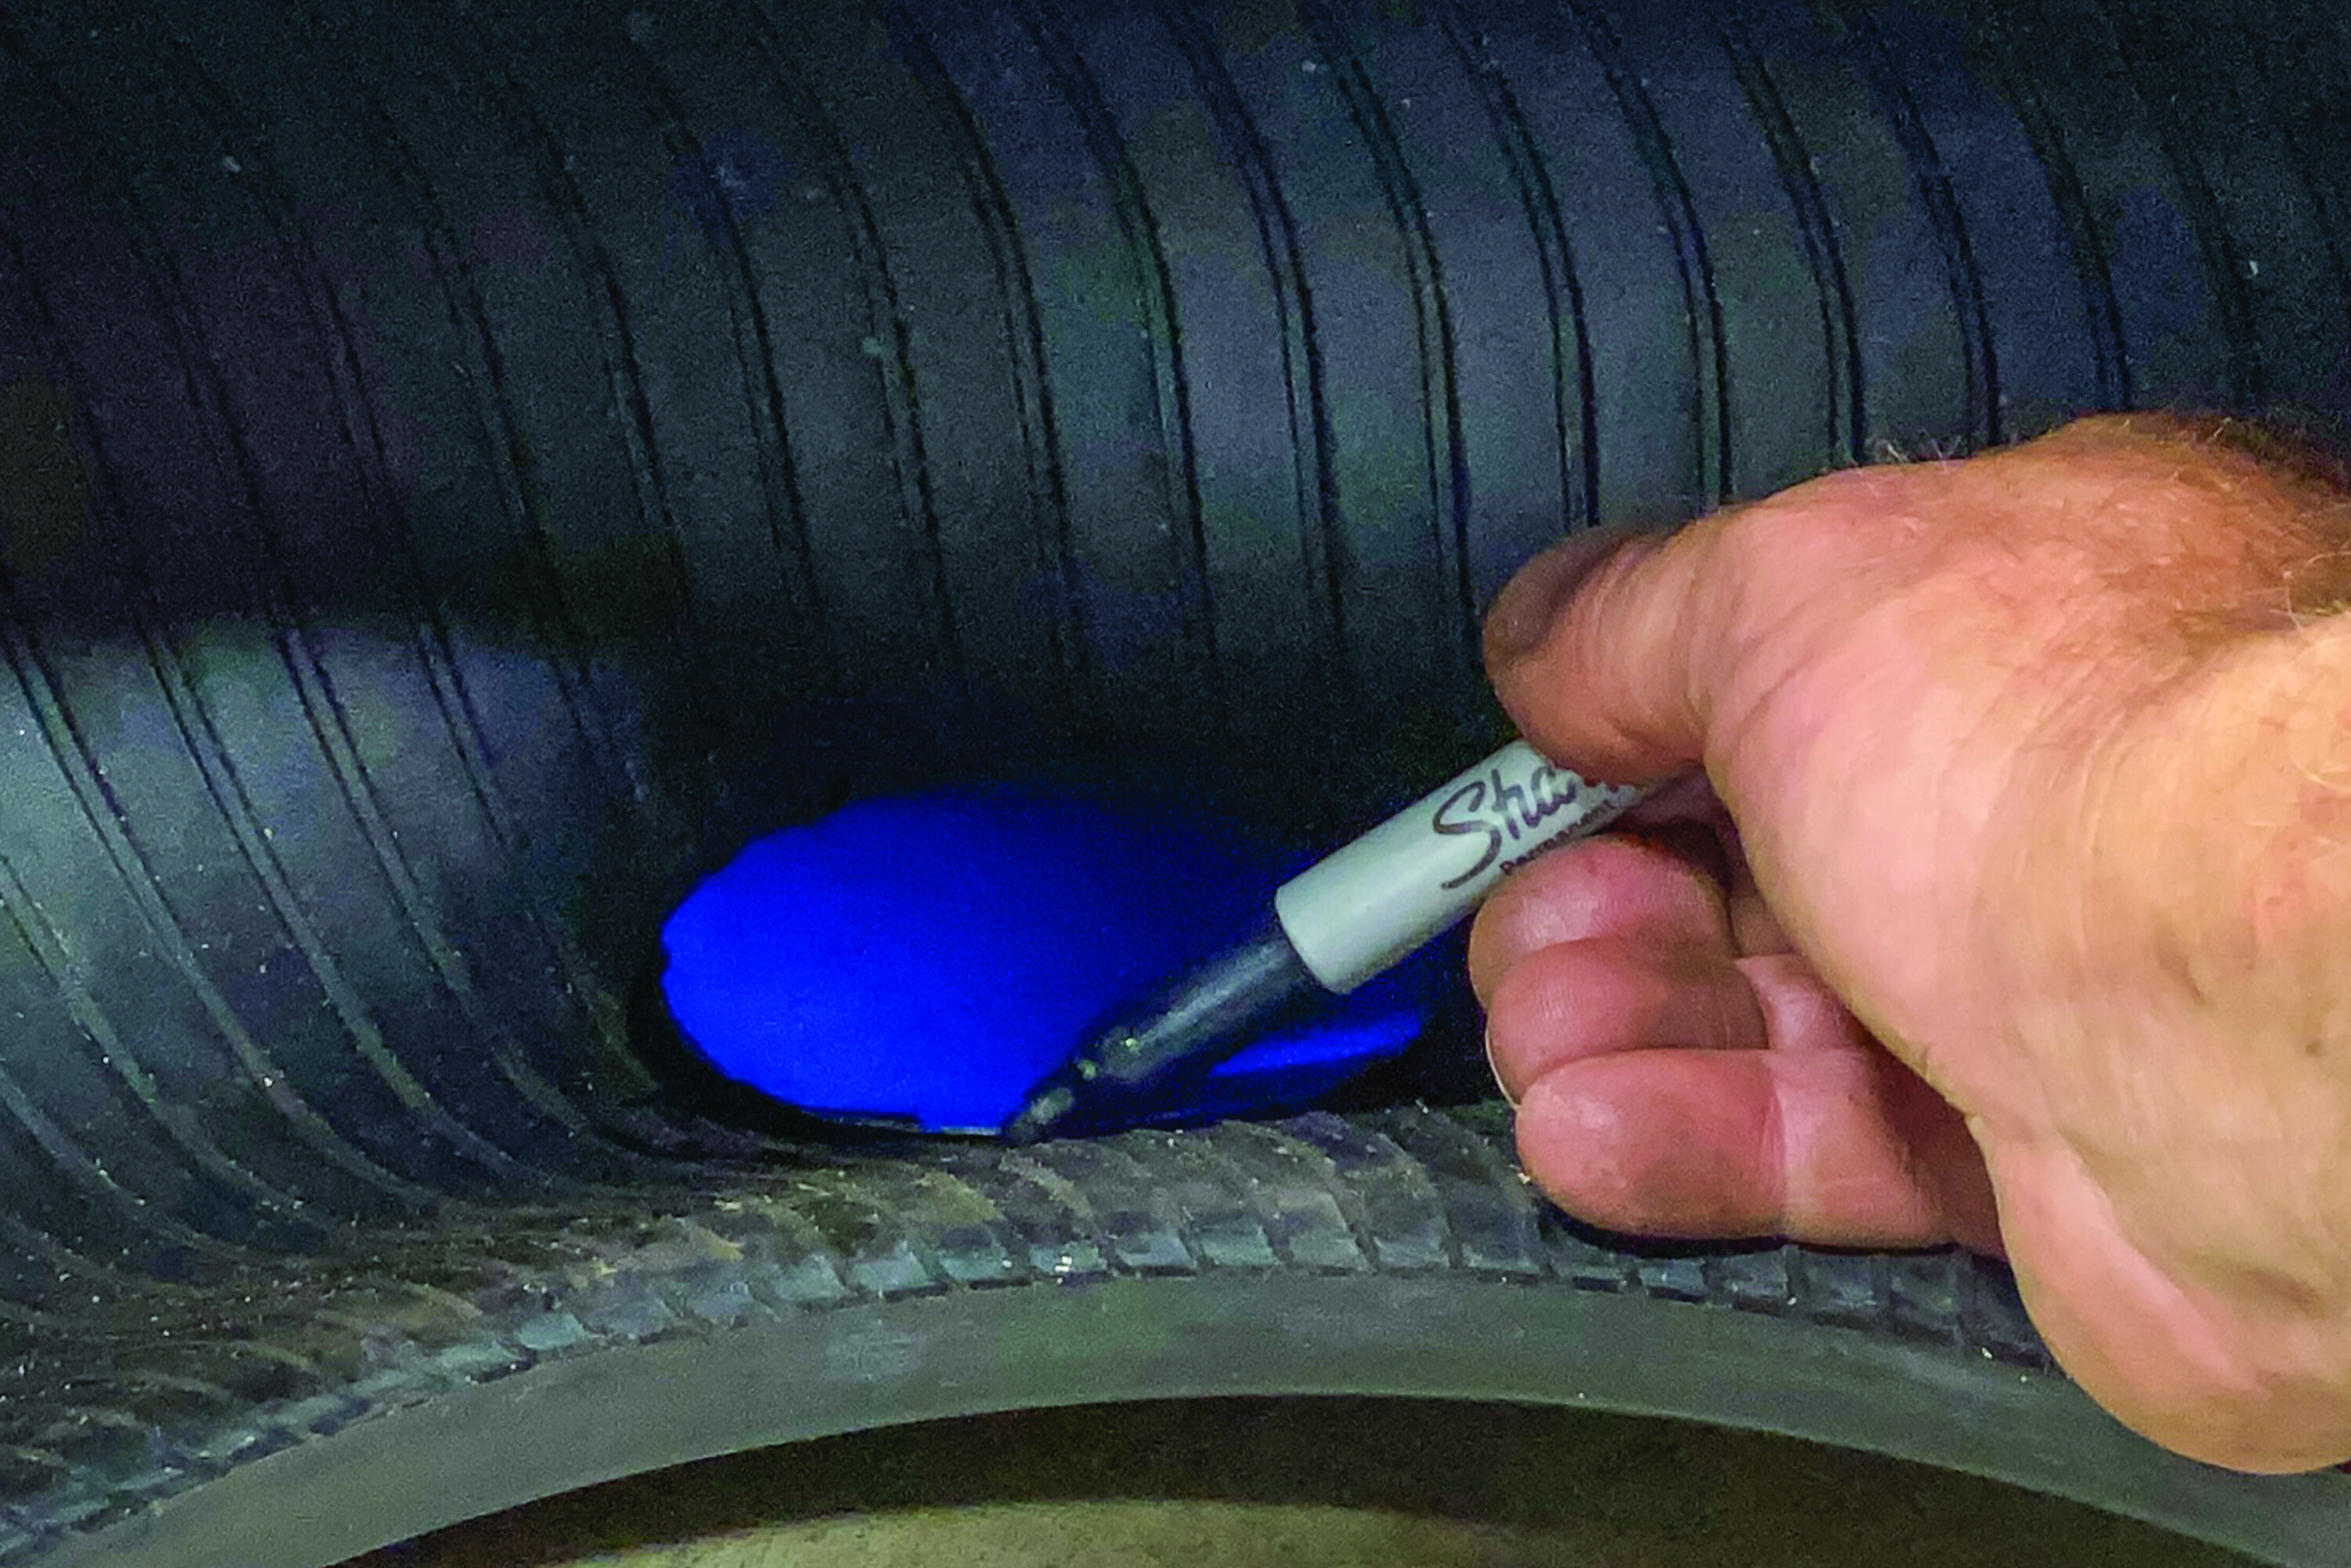
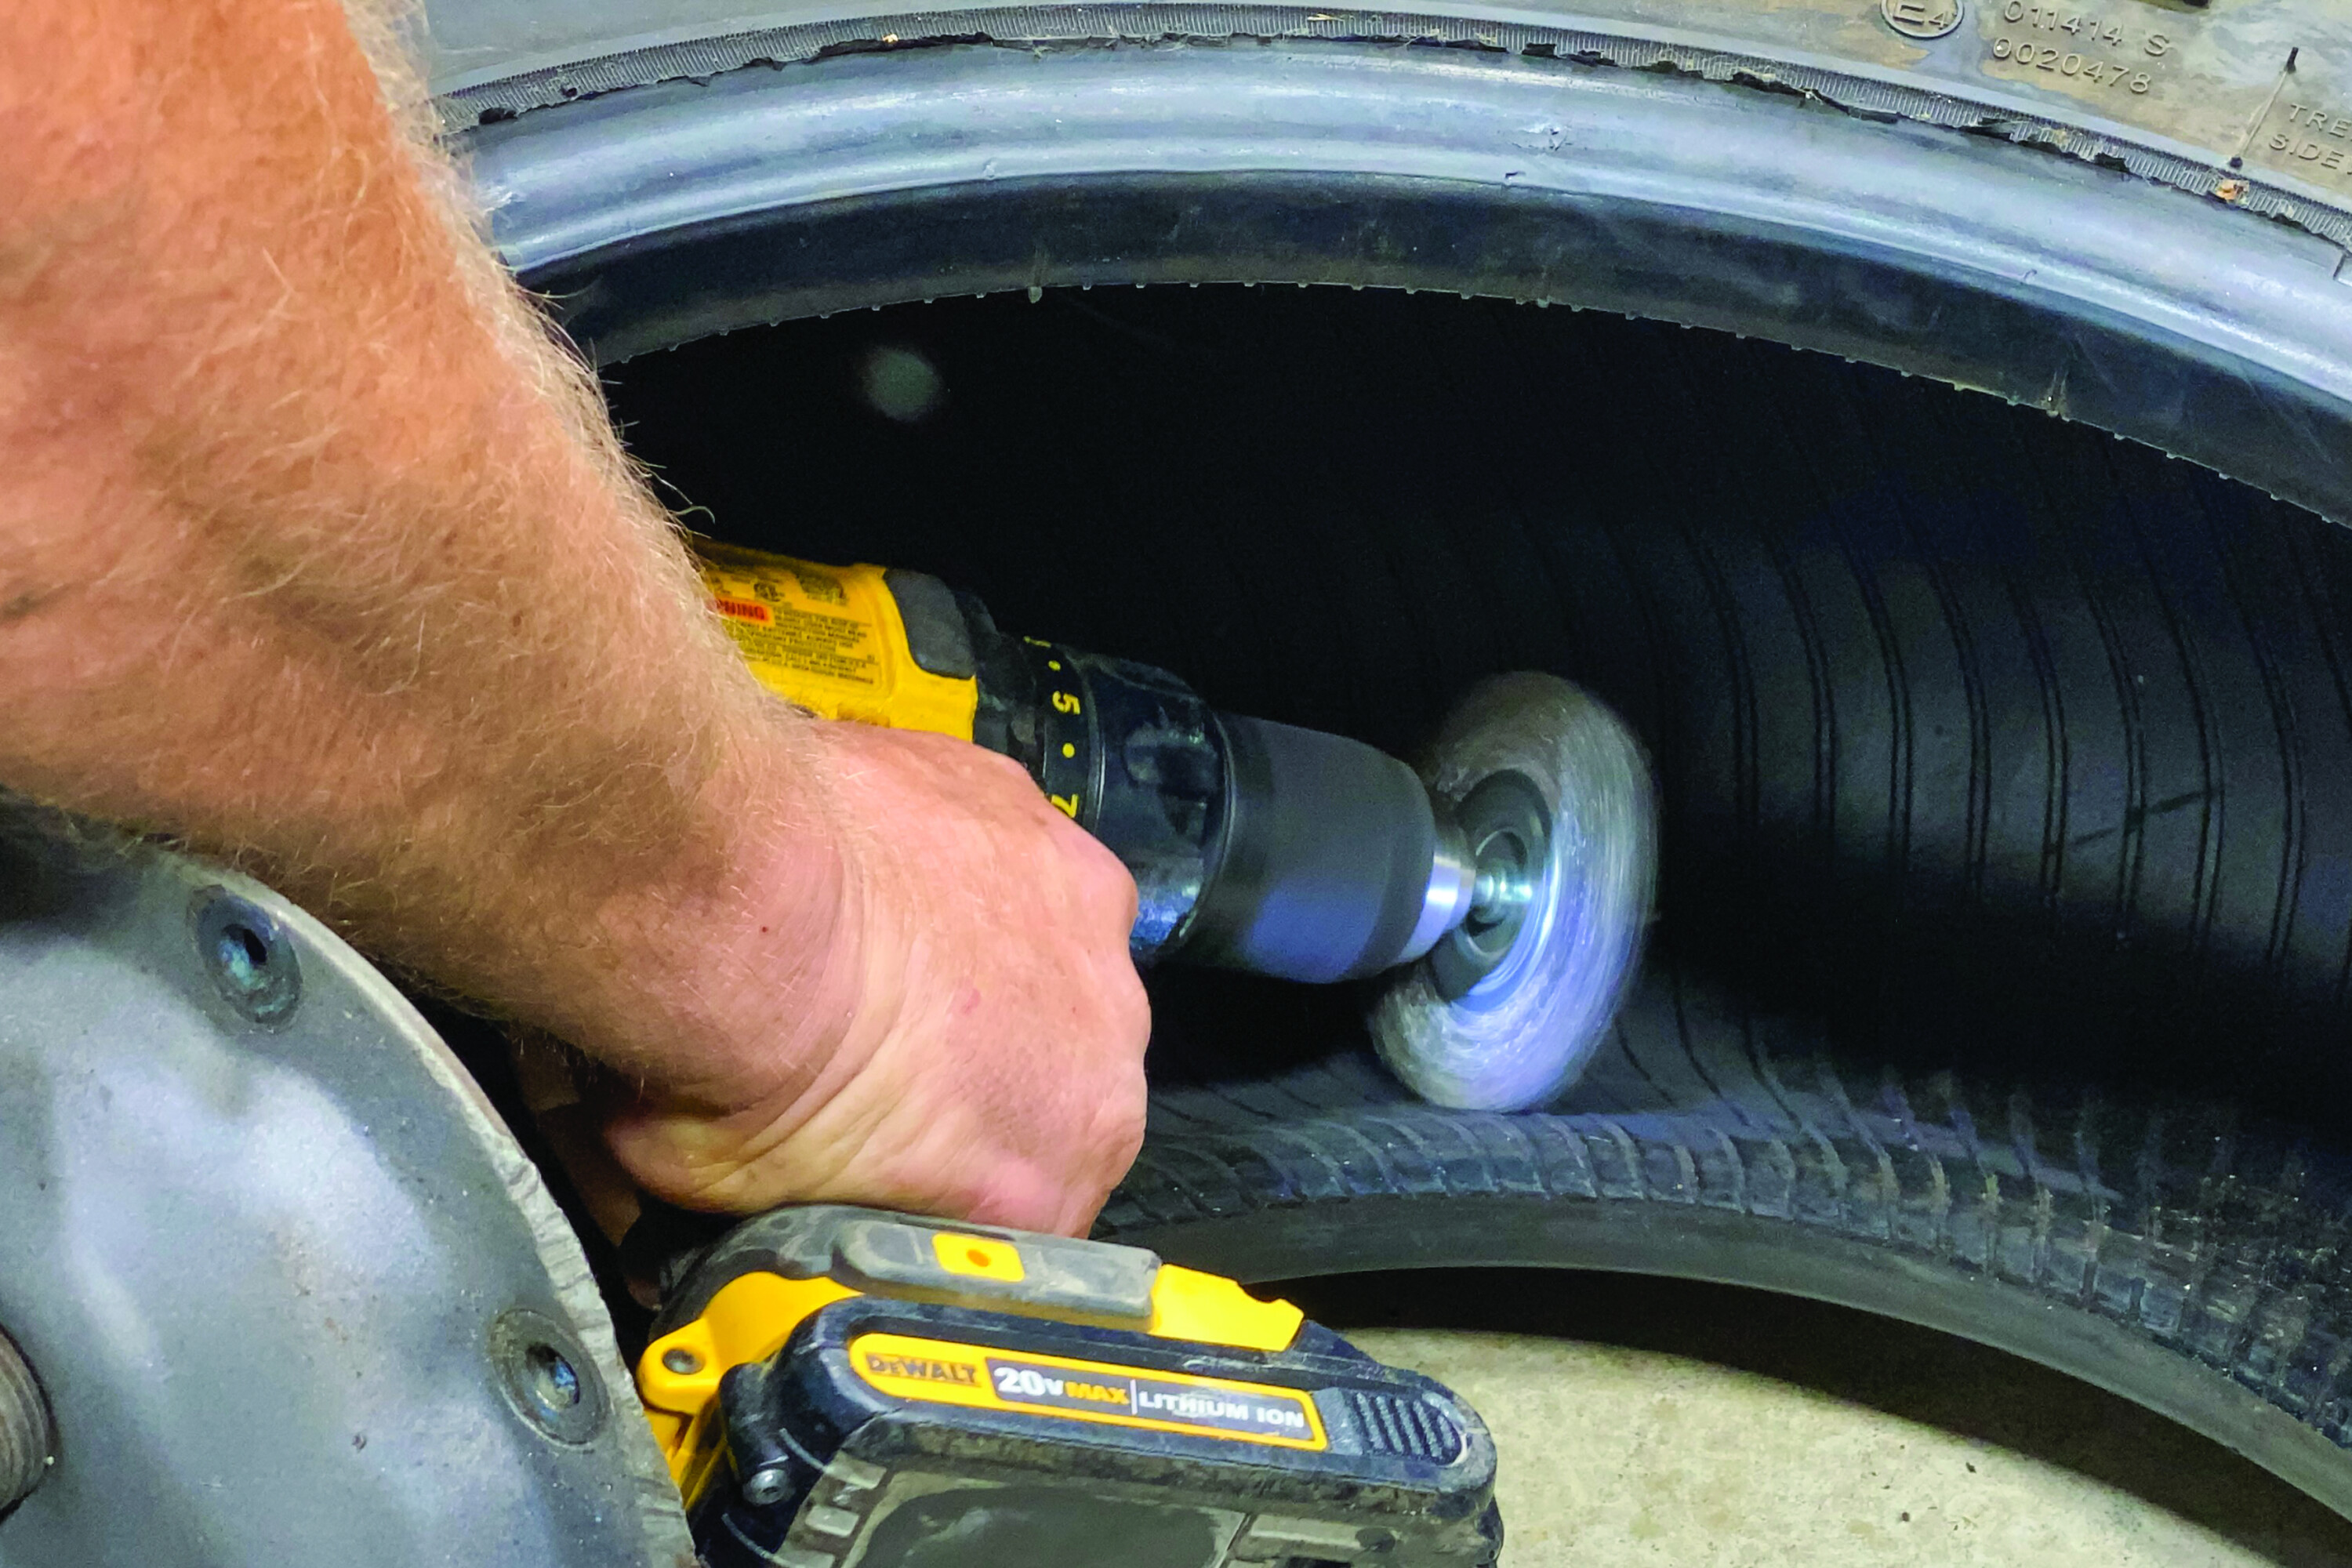
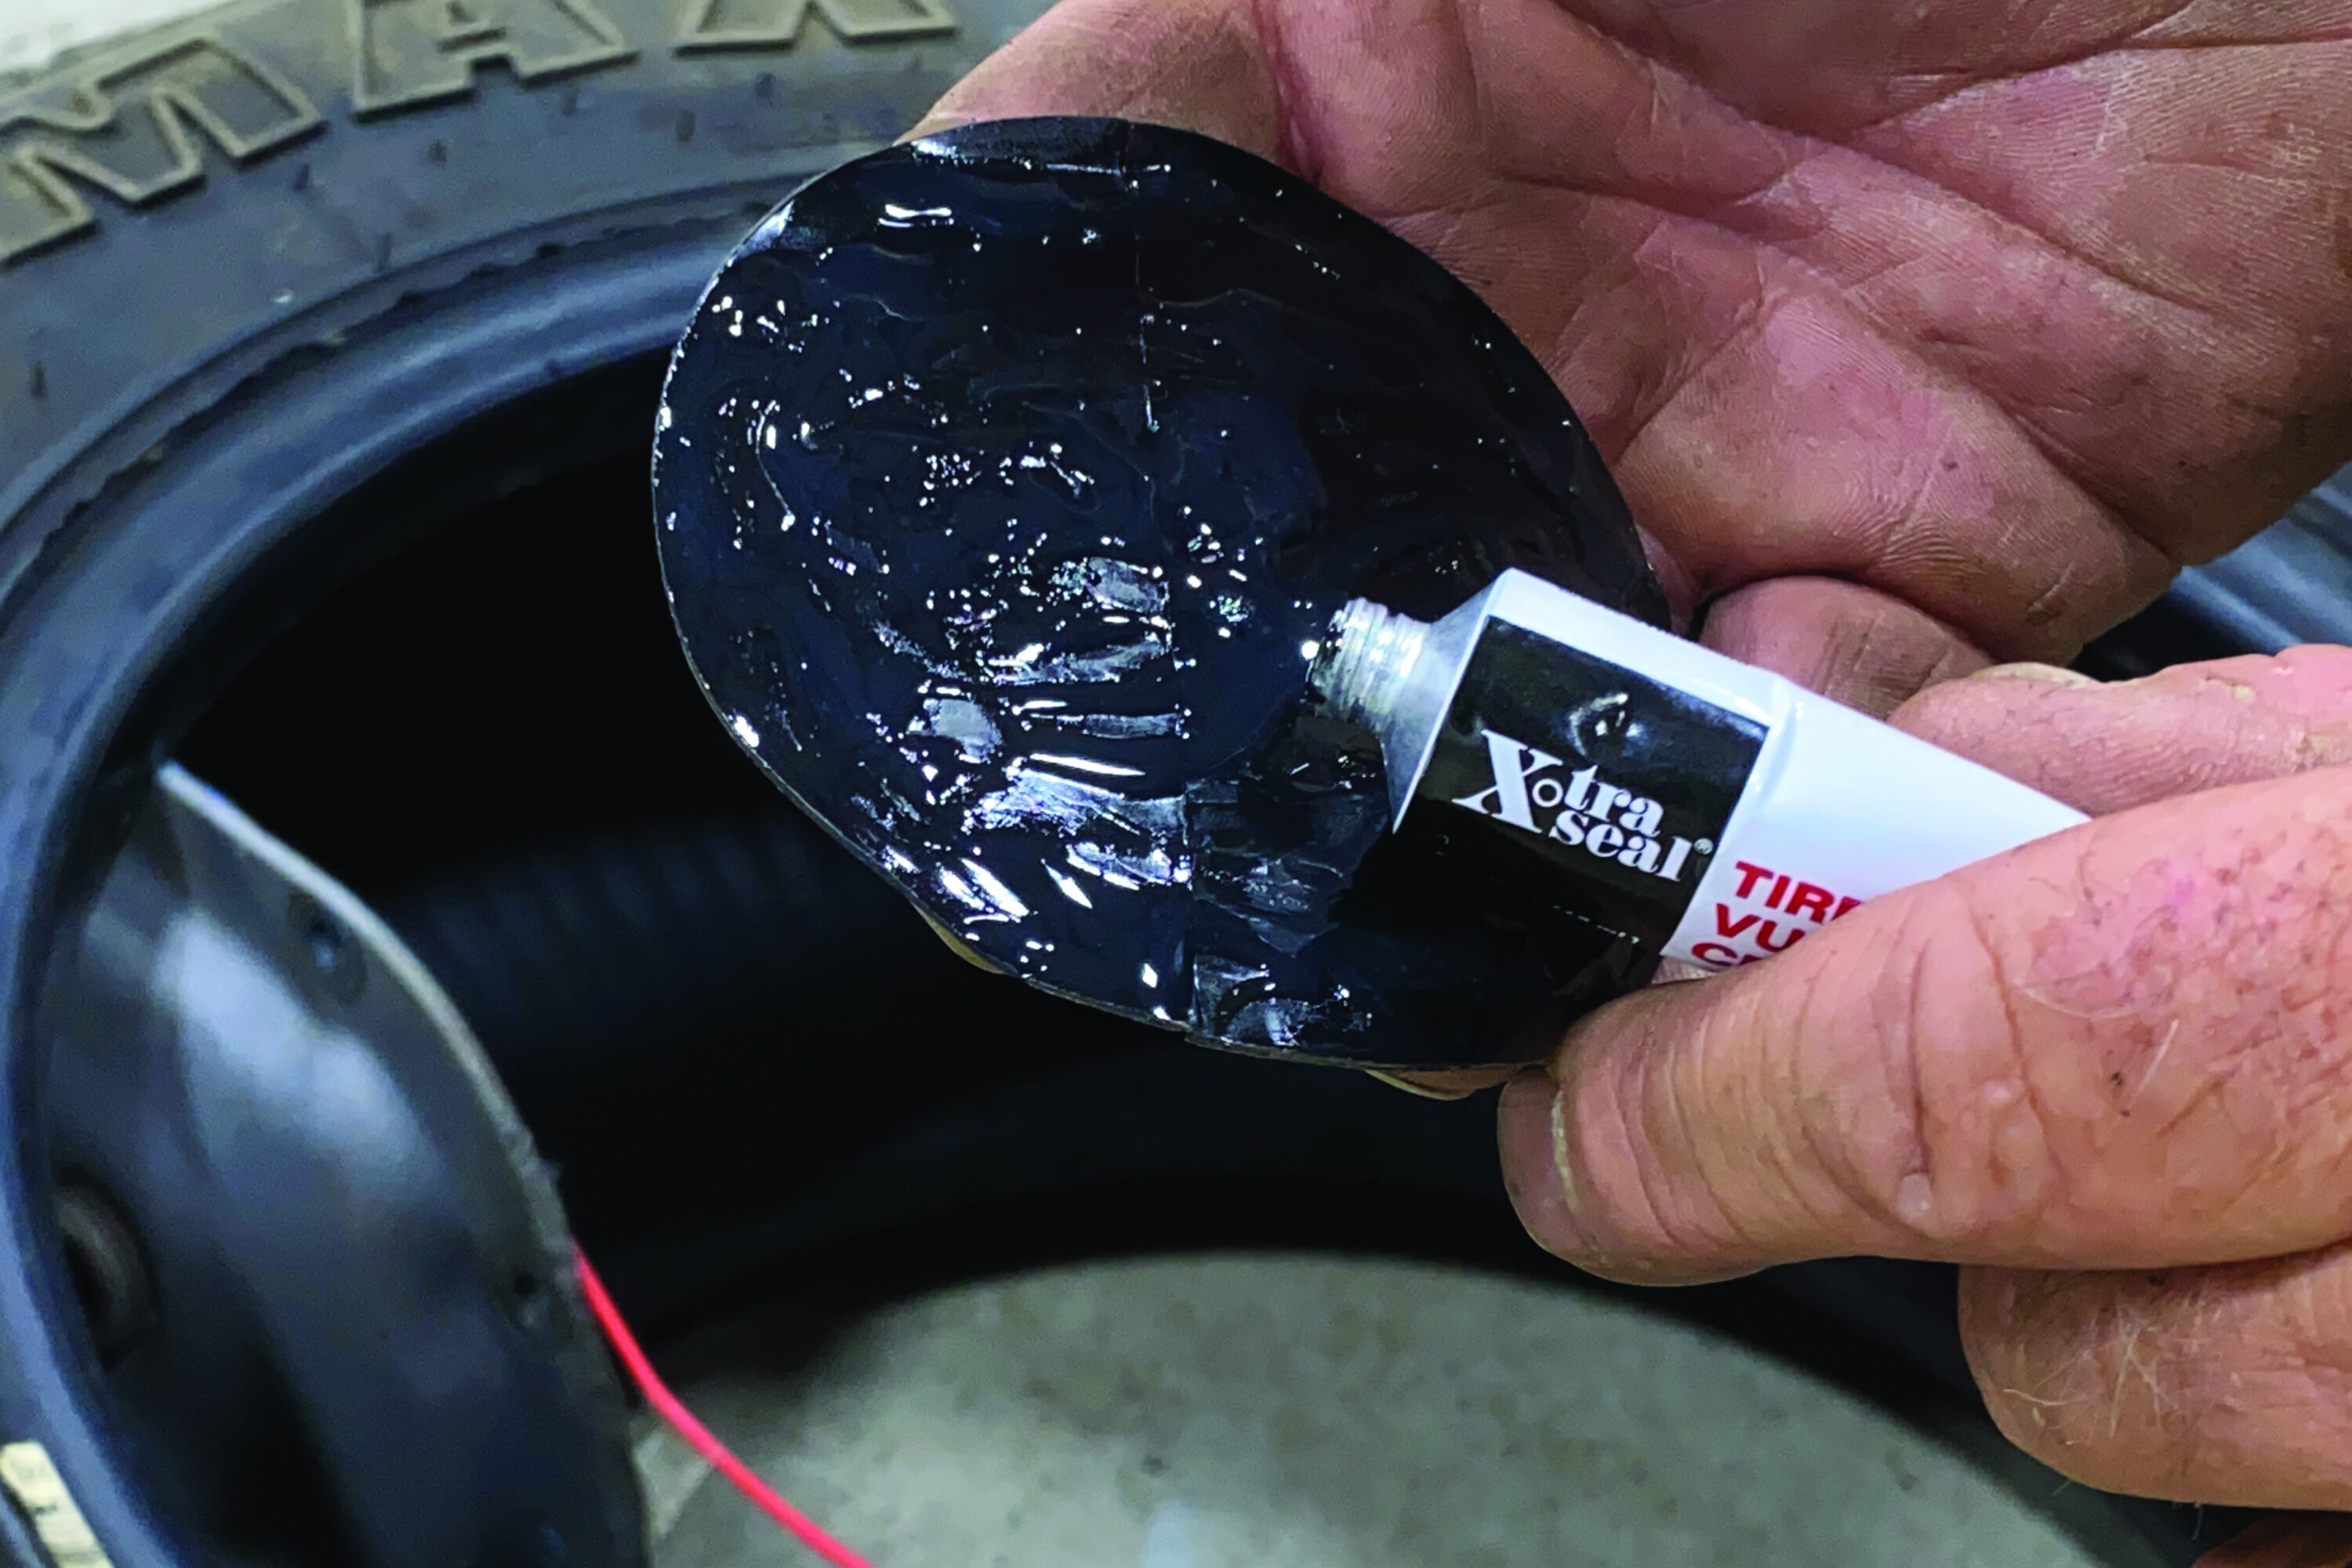
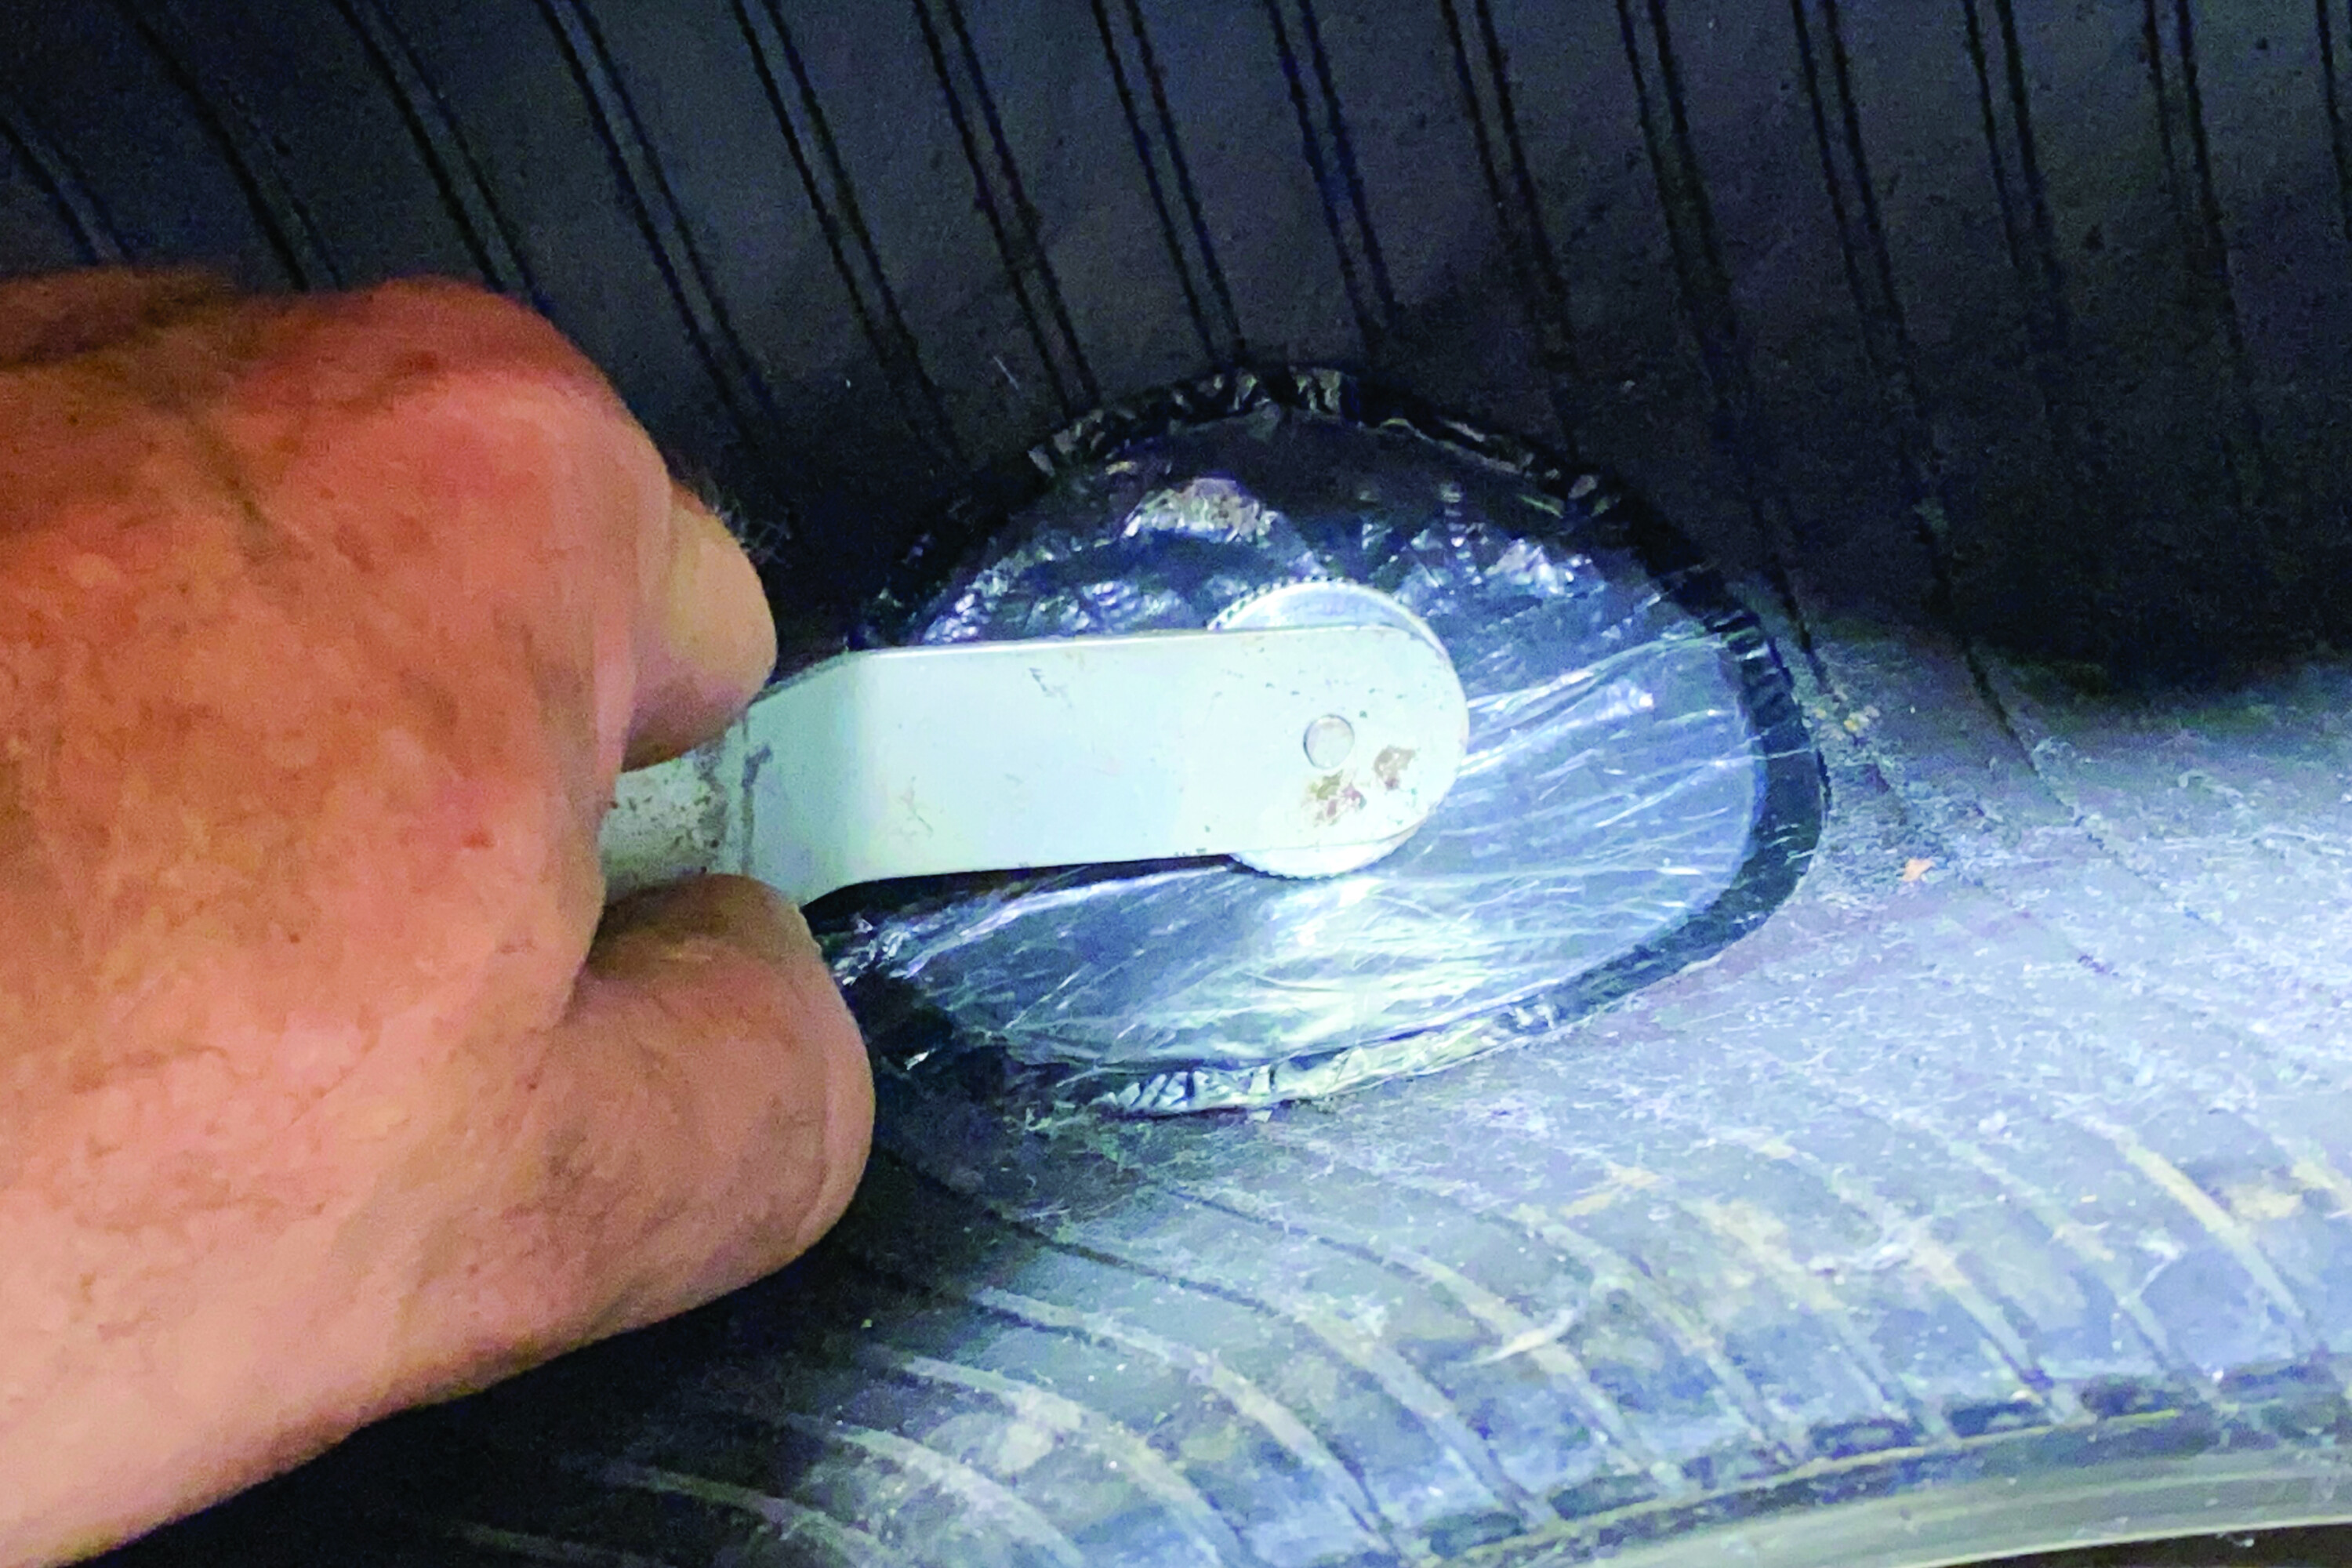
We Don’t Need No Stinking Patches?
35
35
35
35
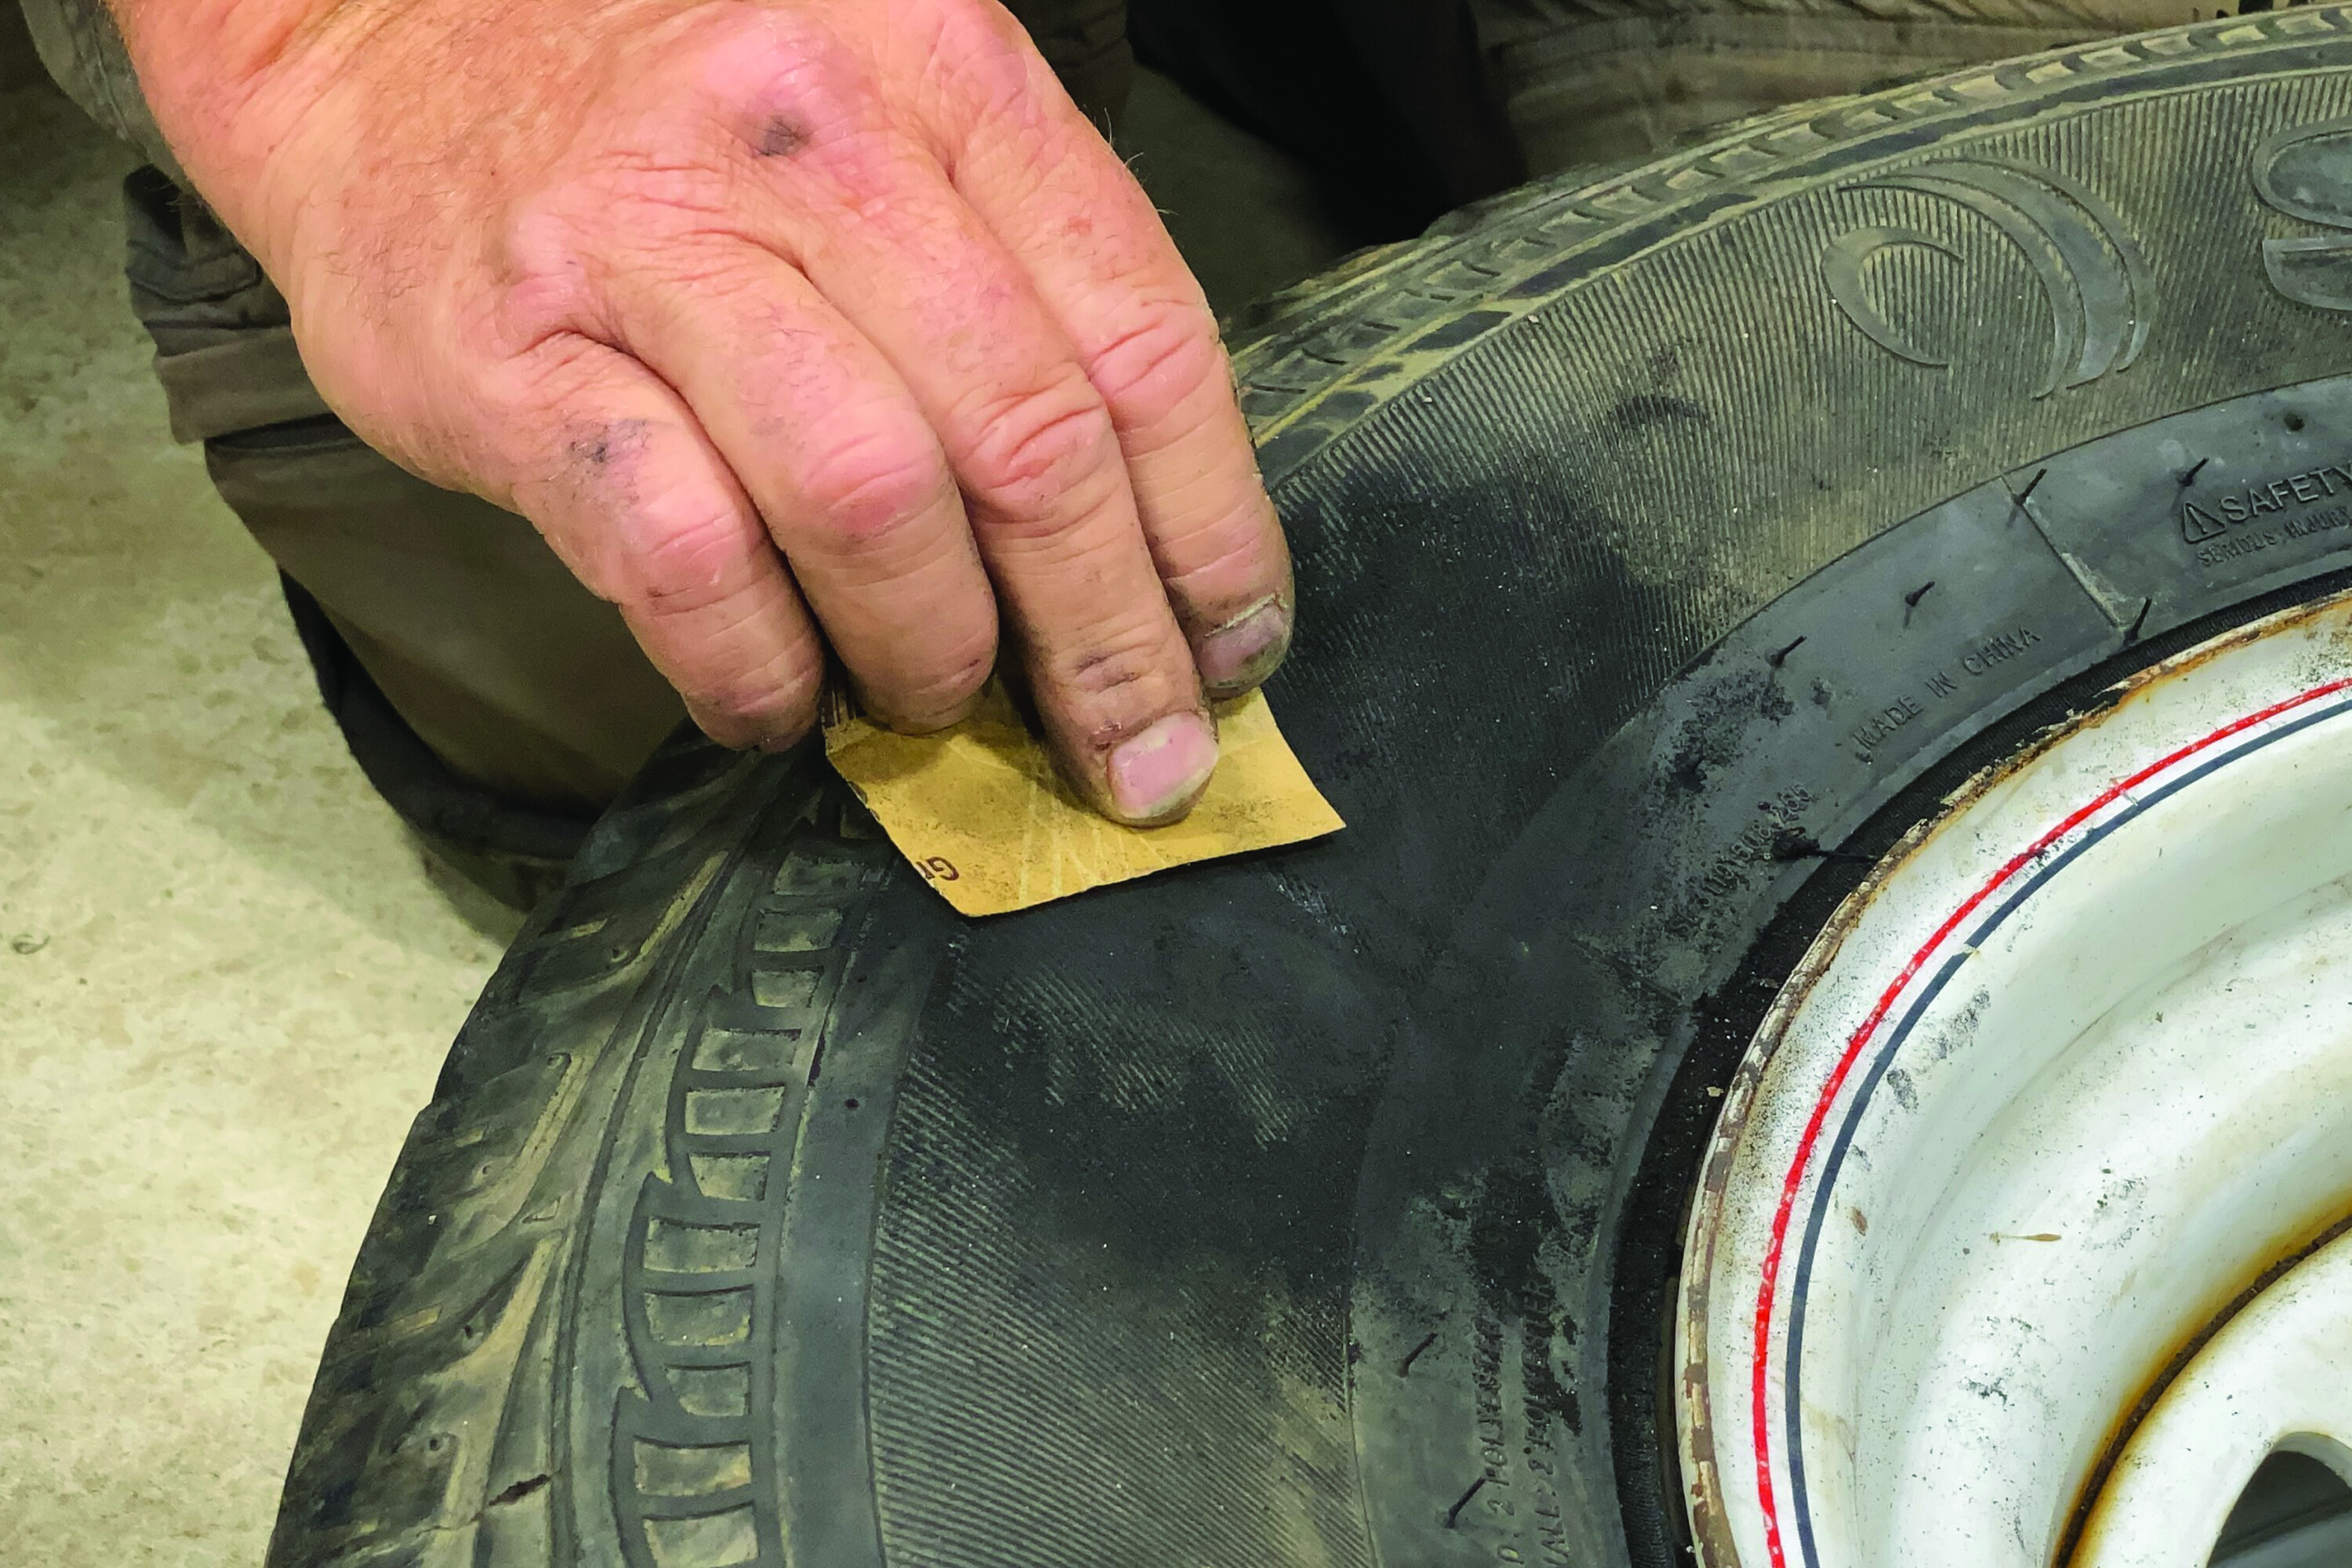
TIP: Be sure to fully remove membrane from patch area prior to applying a patch.
35
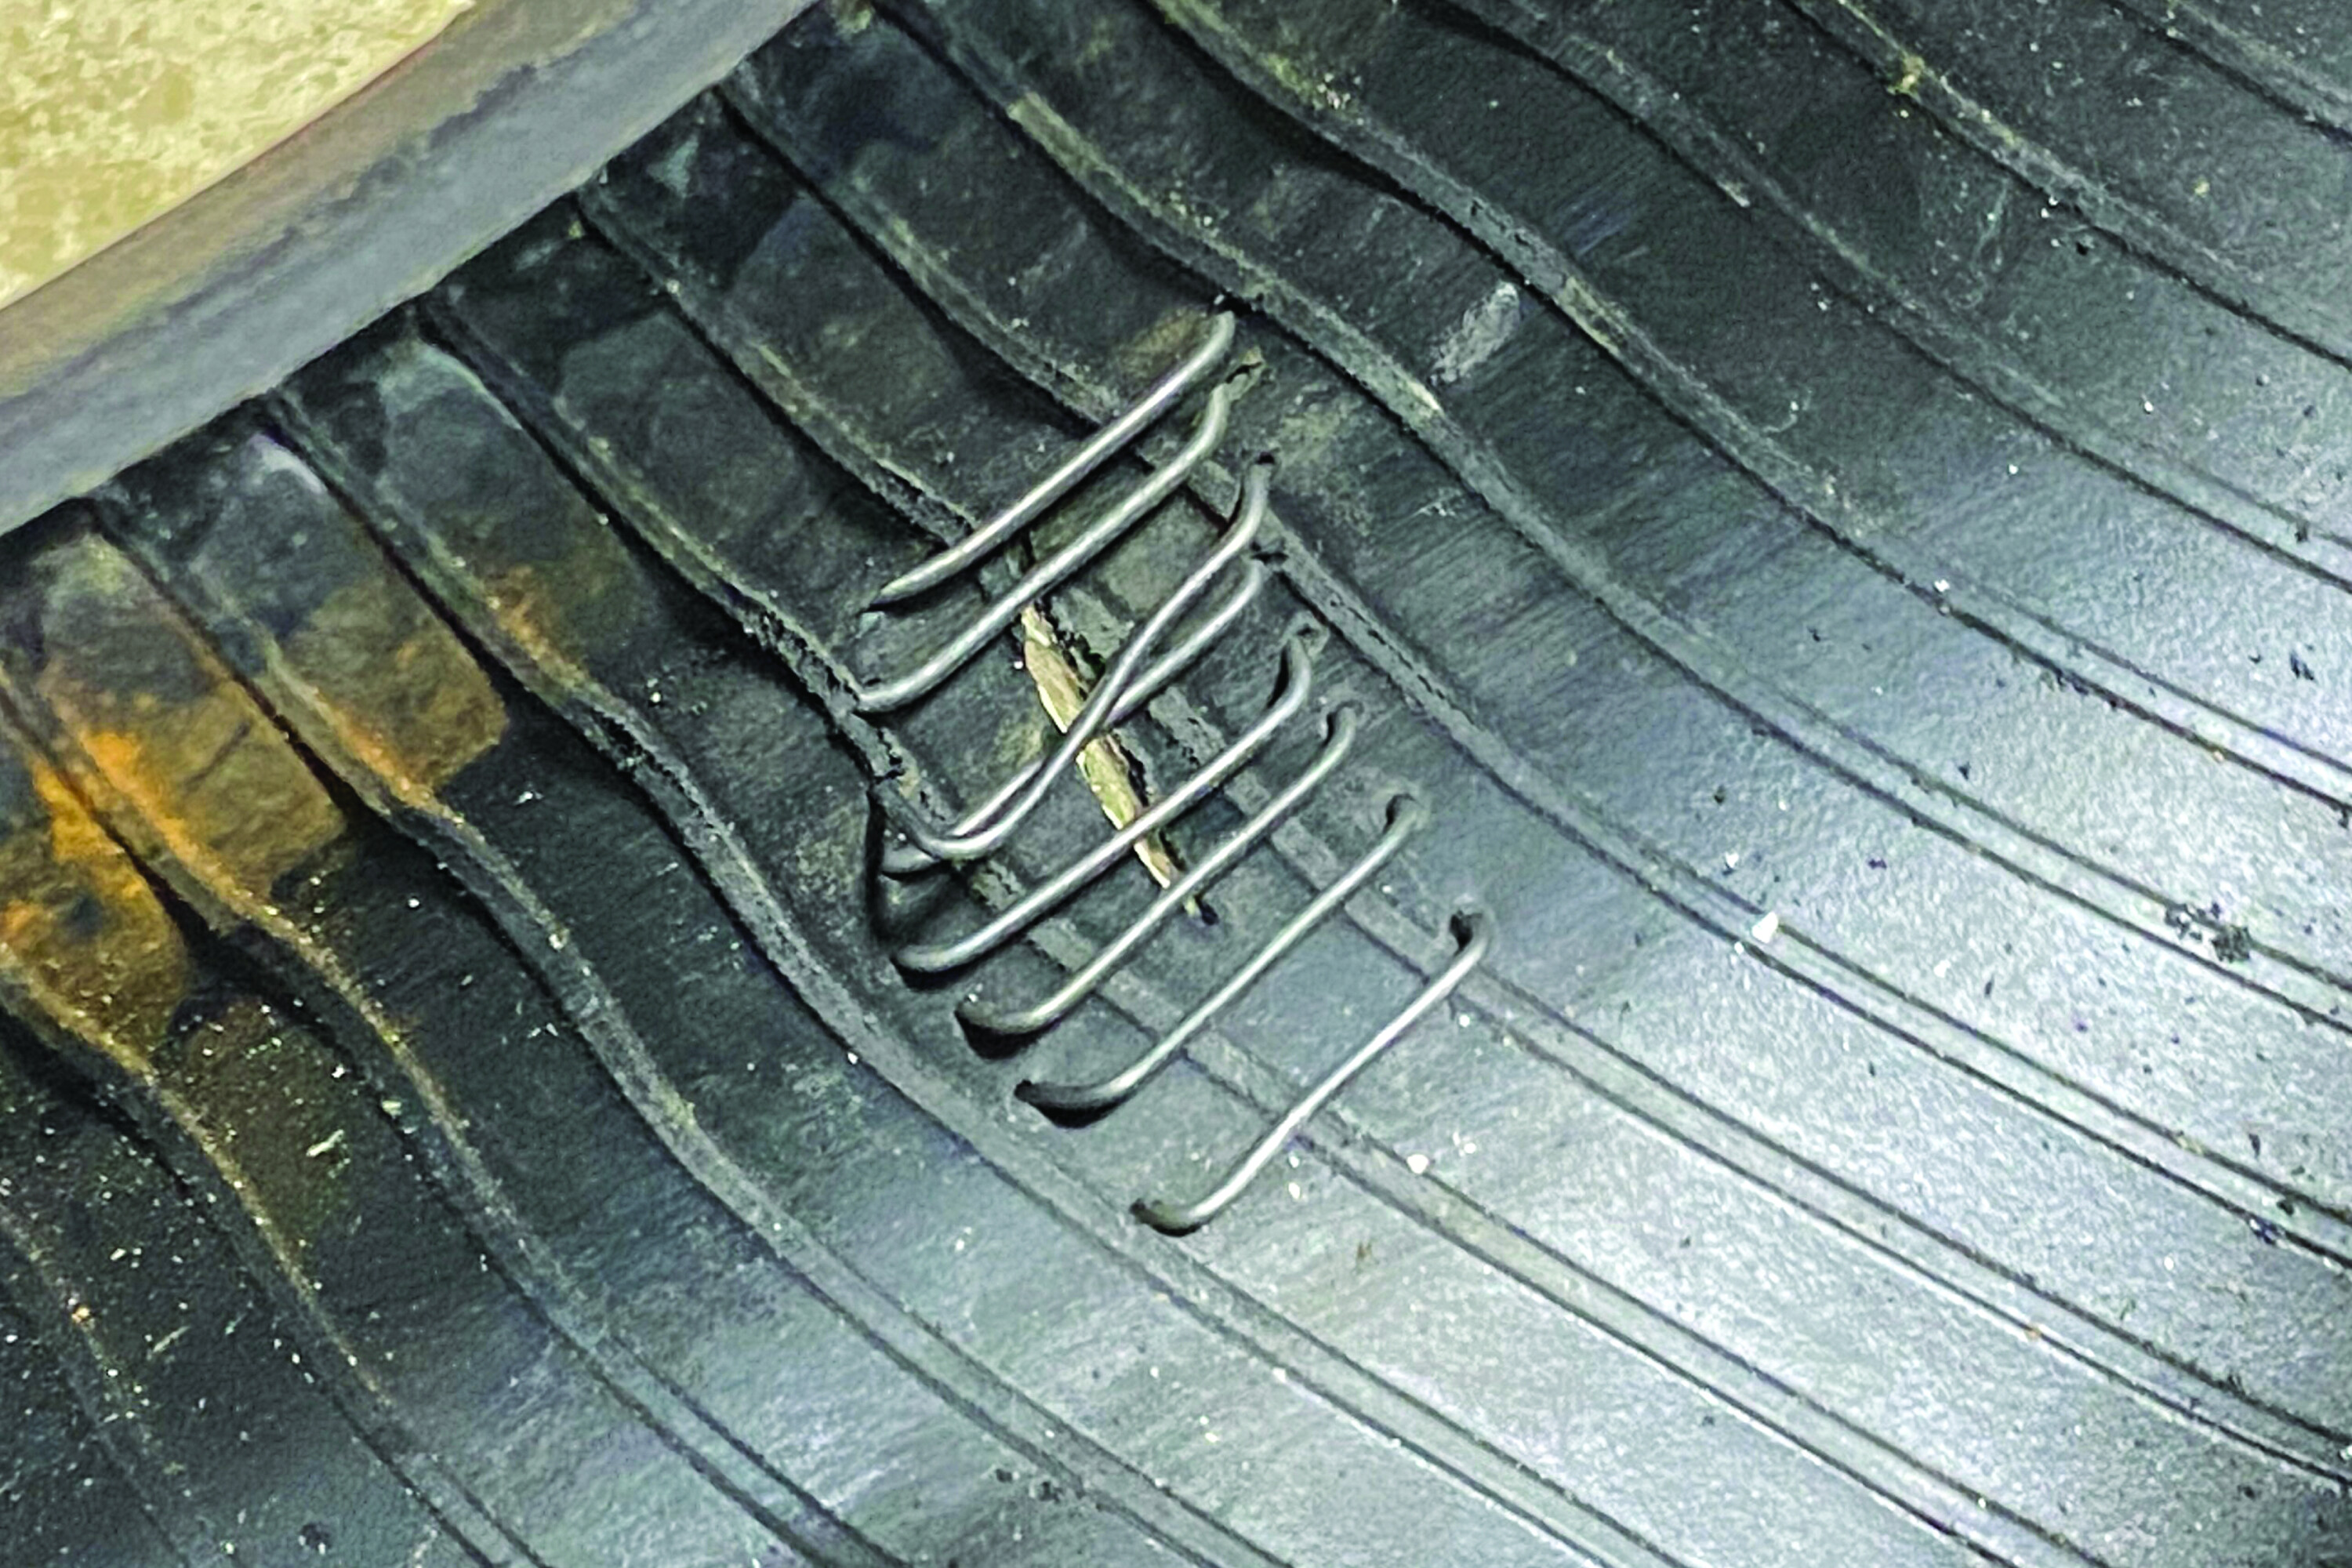
Life Support
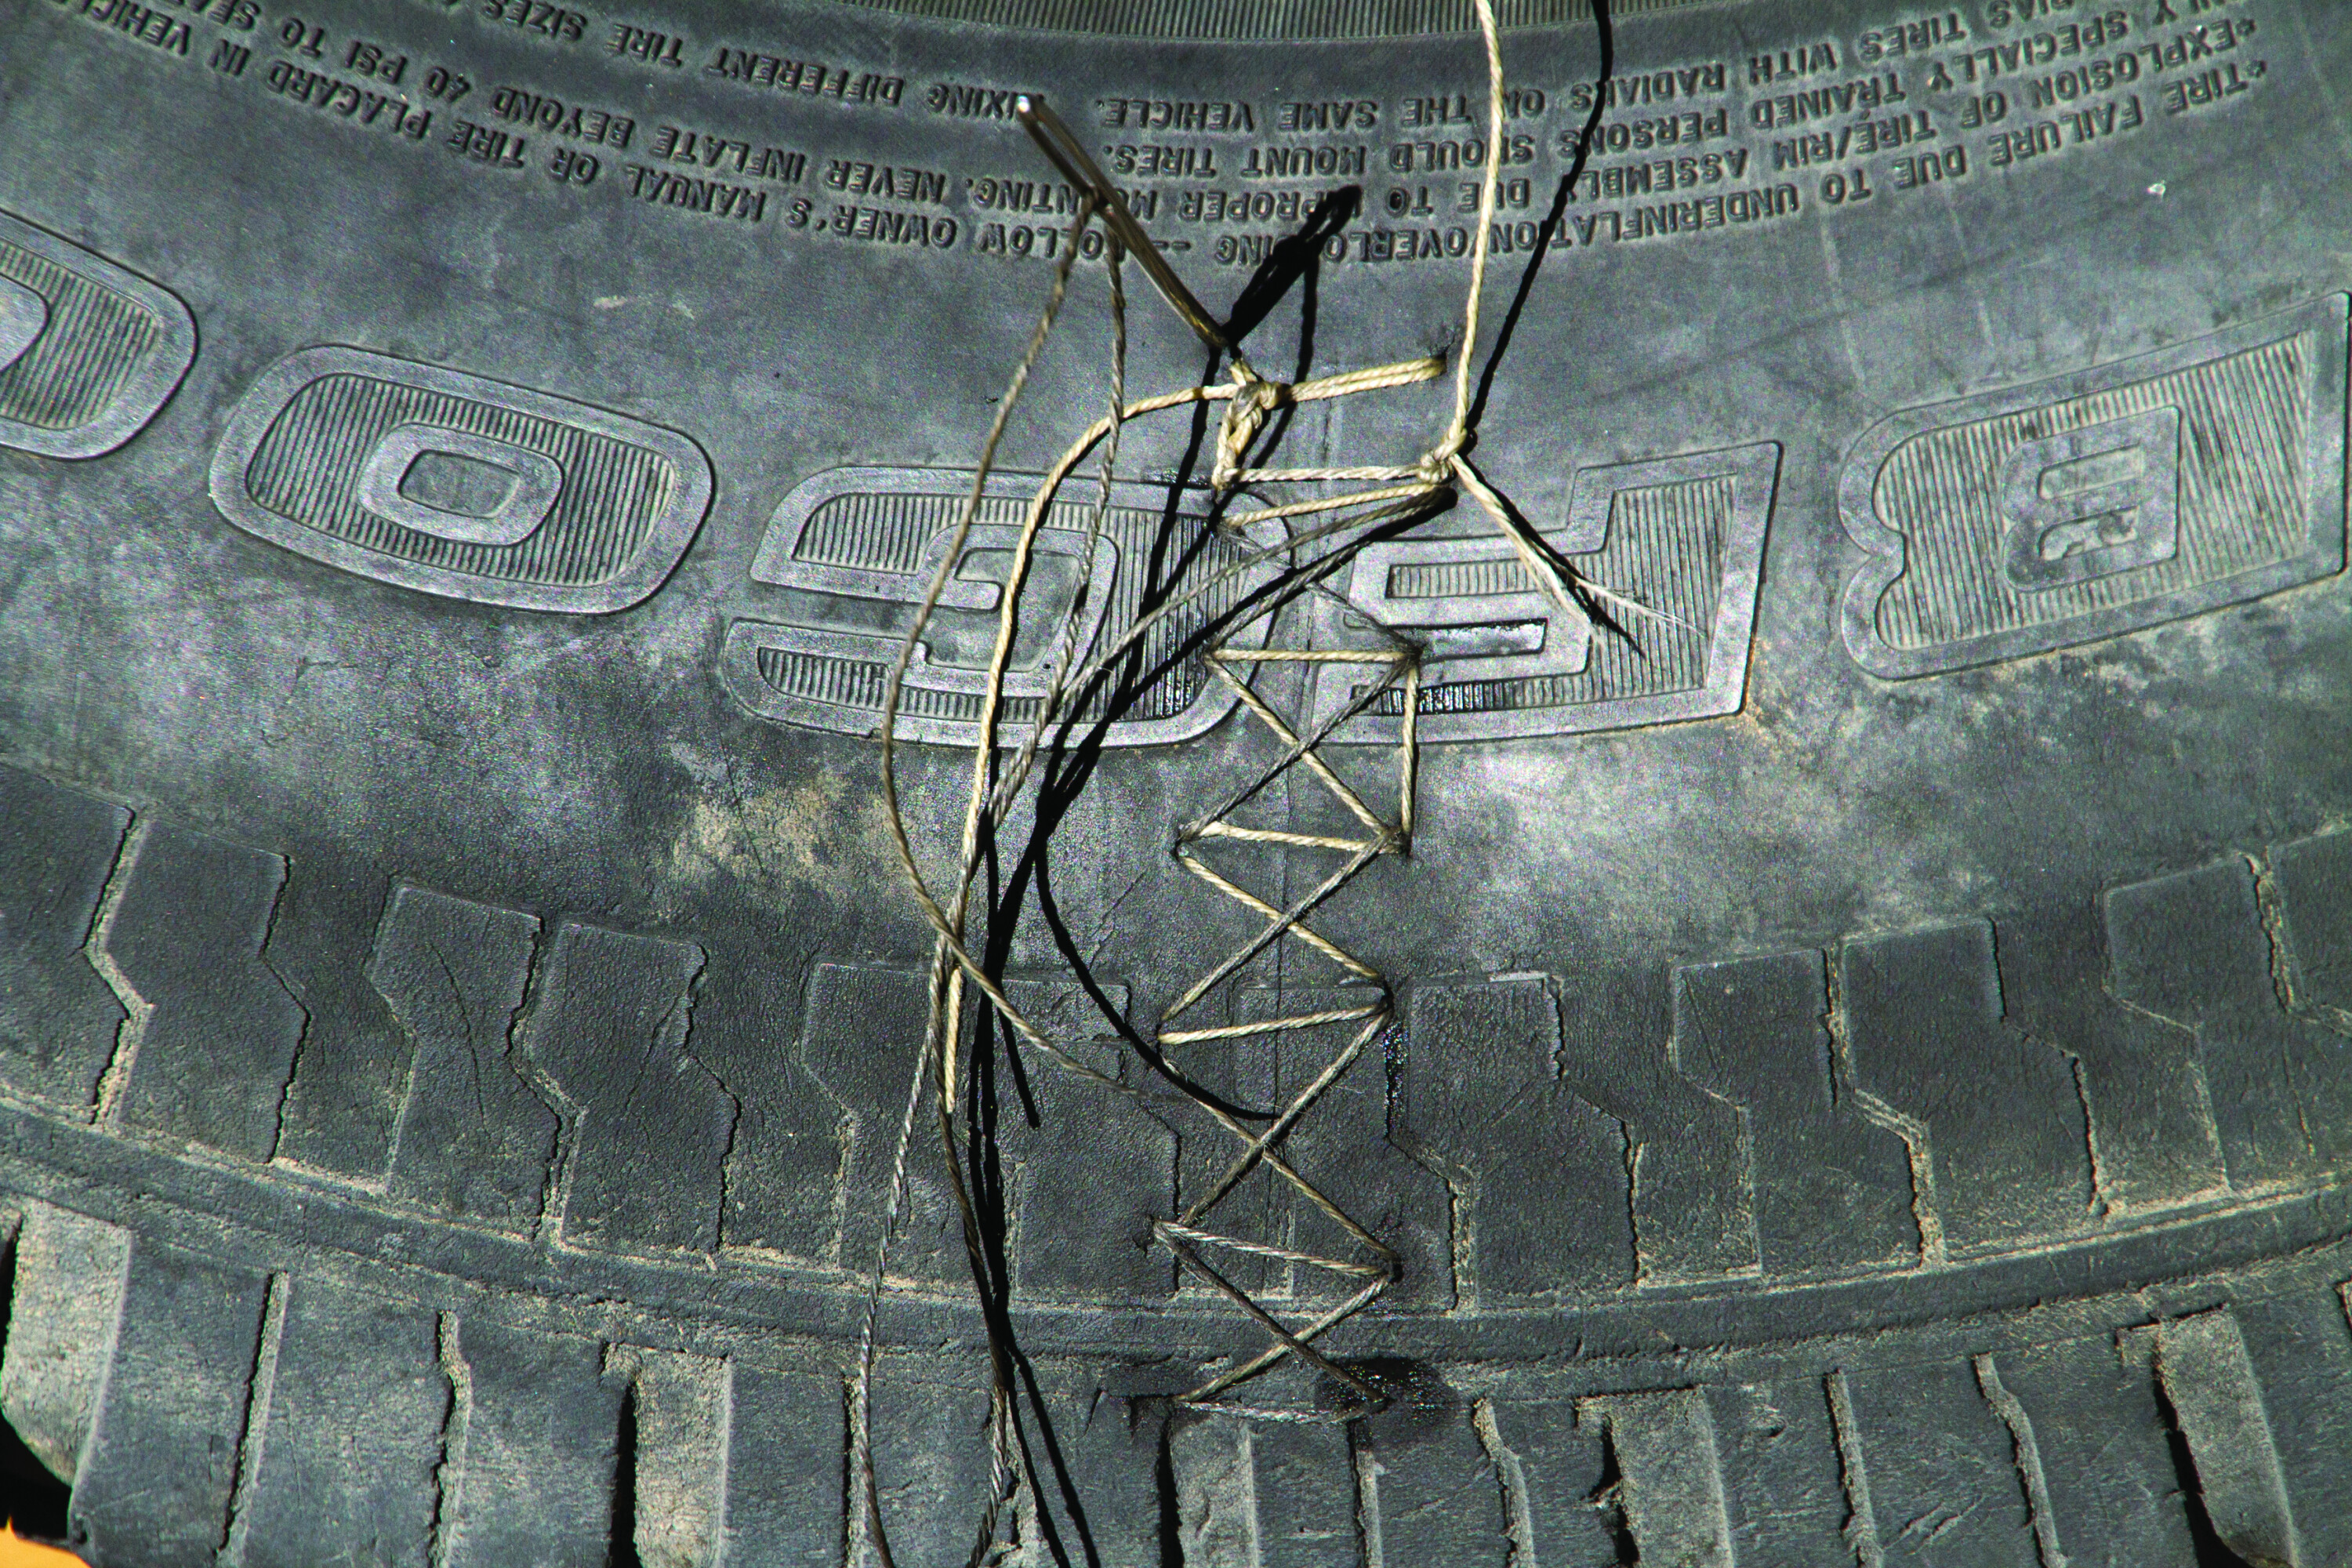
If welding with batteries is the Holy Grail of backcountry repairs, stitching a torn sidewall is a close second.
The Extreme Outback and Power Tank kits come with thread and stainless-steel wire respectively, but surgery can be accomplished with bailing wire, plugs and silicon. For this exercise we cut a 75mm slice in the sidewall, and the repair process is akin to suturing a laceration in the skin… but with a little less finesse.
35
35

35
35
Whichever method you use (wire or thread) sidewall flex can be detrimental to this repair.
Reinflated to the point that flex under a load is limited, but not the point that the repair area bulges too much (pressure will depend on tyre, wheel diameter, vehicle weight, etc.).
So it holds air under a load (it will probably have slow leaks), great, now swap it out for your spare. This Frankenstein fix will not be pretty, but at least you will have a usable spare if things go pear-shaped… again.
If you must use the repaired tyre, avoid rubbing it against rocks, tree branches or anything.
TIP: Shoulder and sidewall repairs are not permitted for vehicles driven on public roads.
Super Glue?
35
35
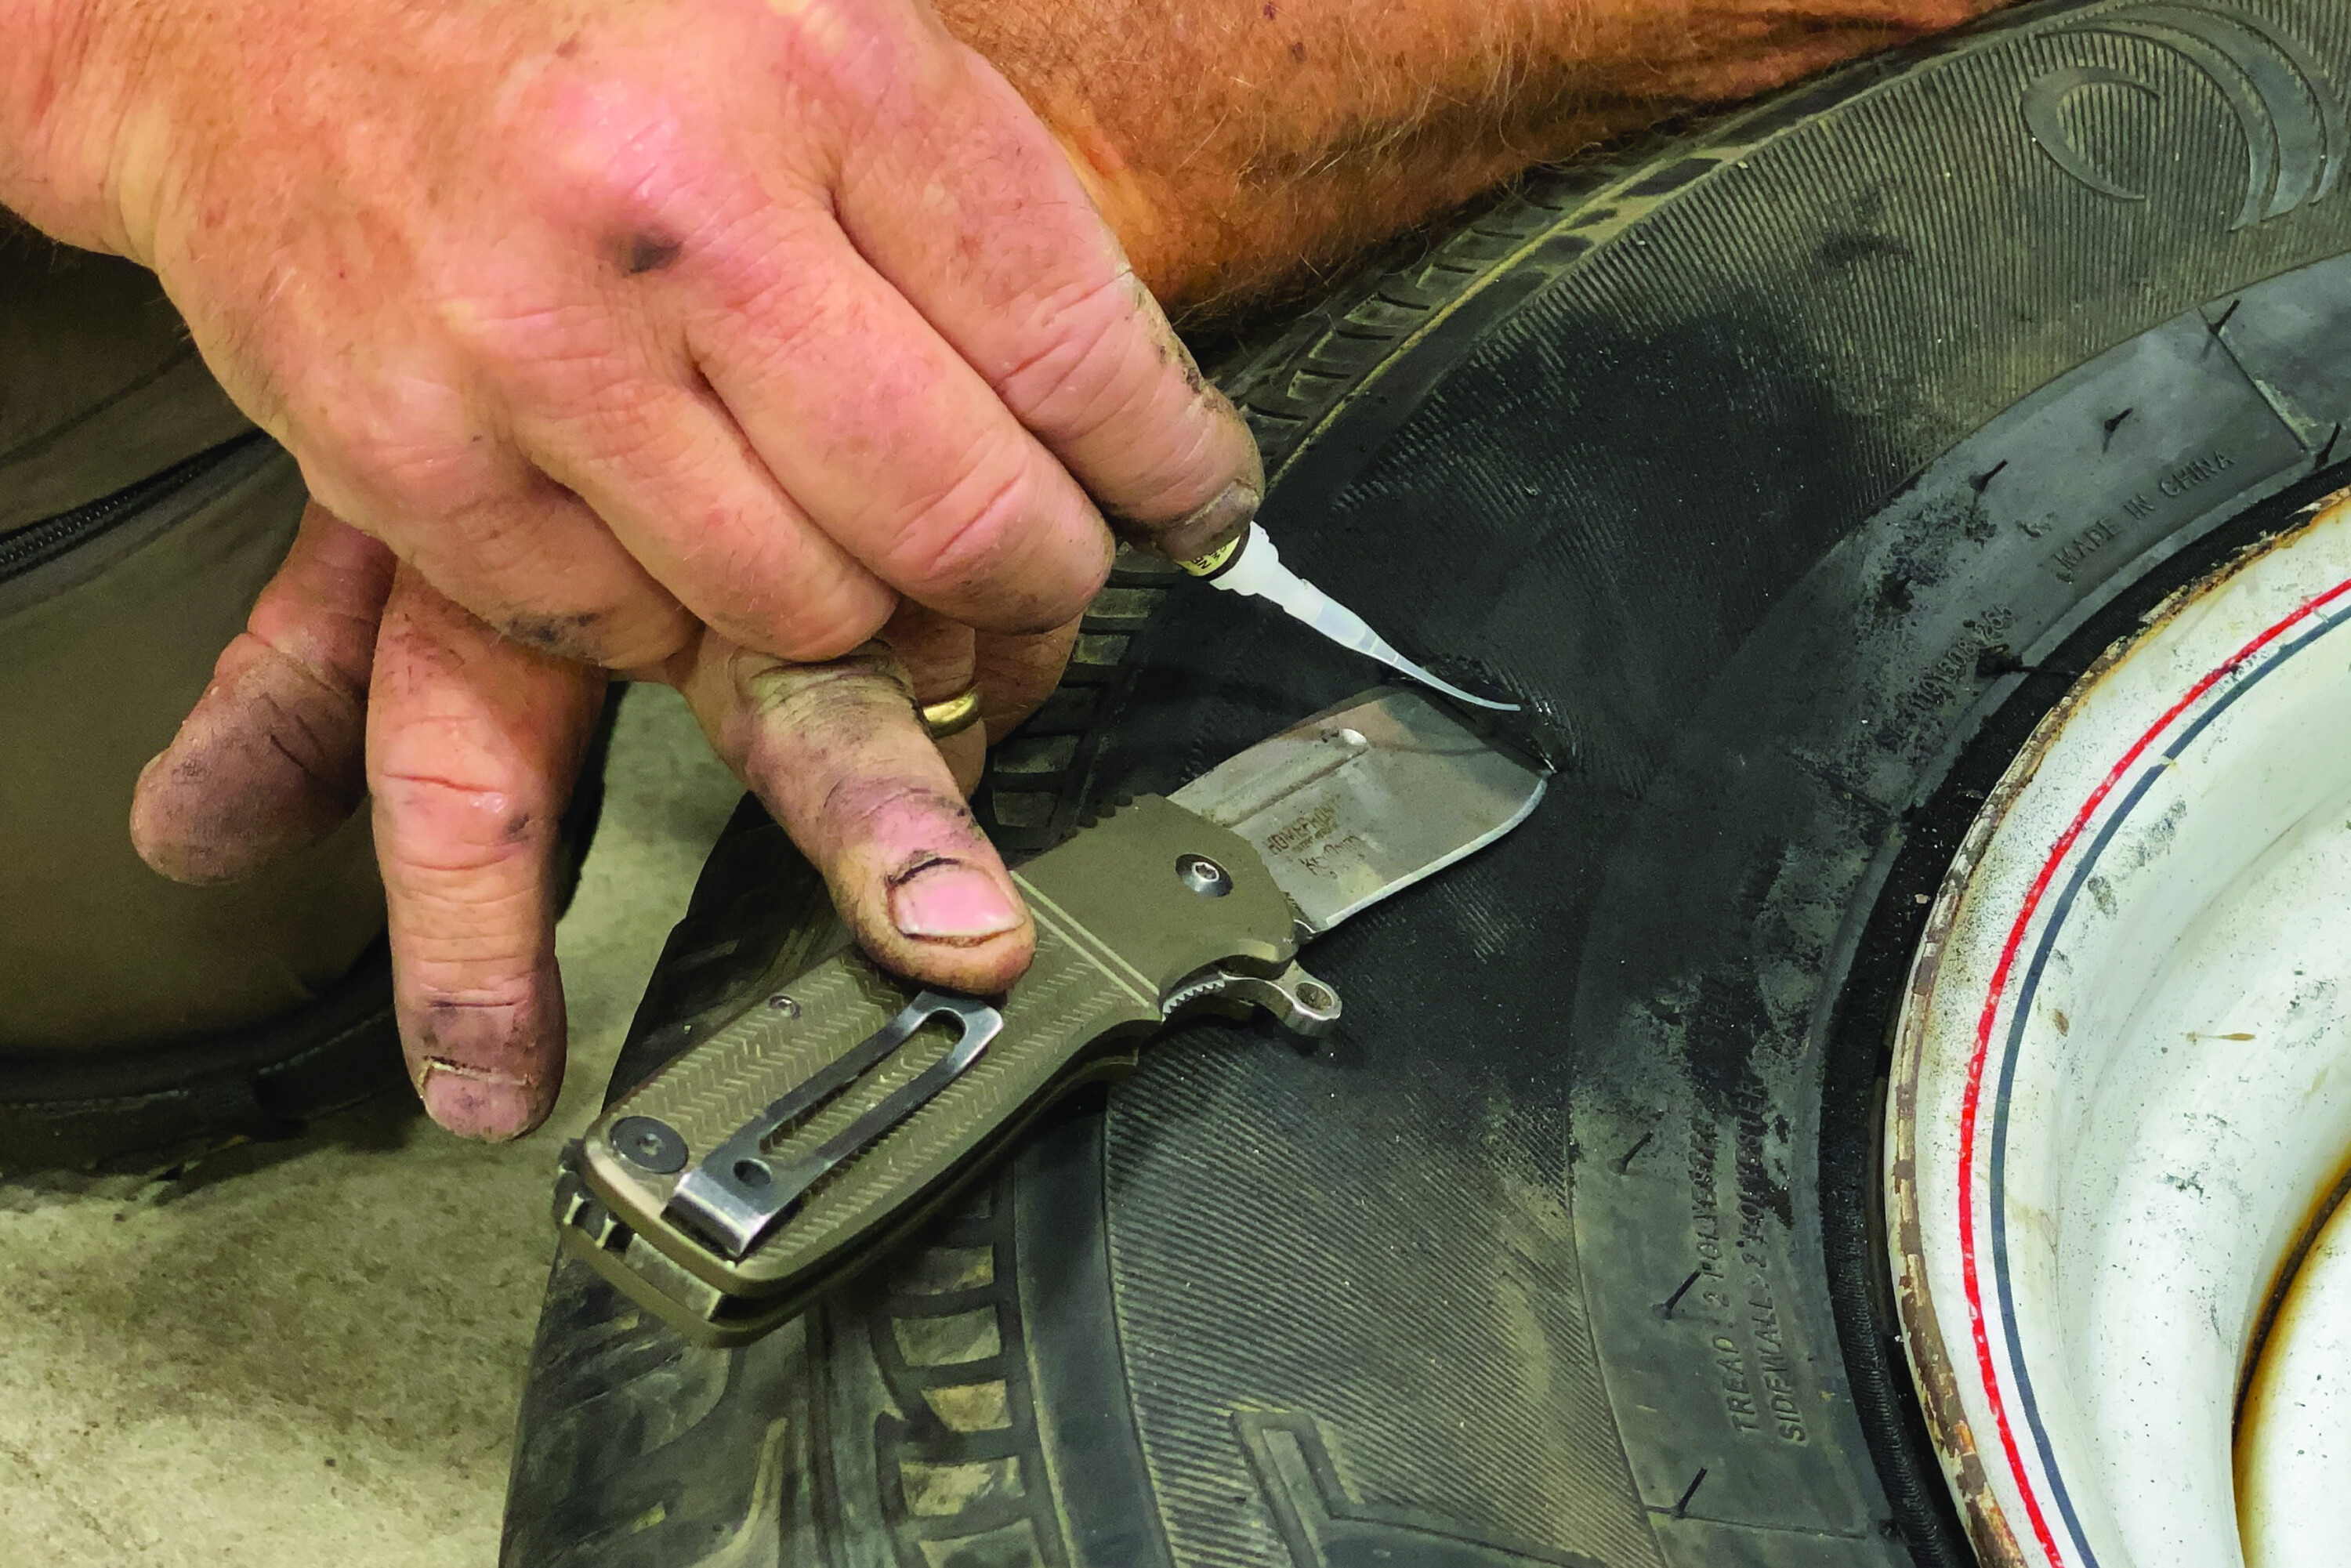
35
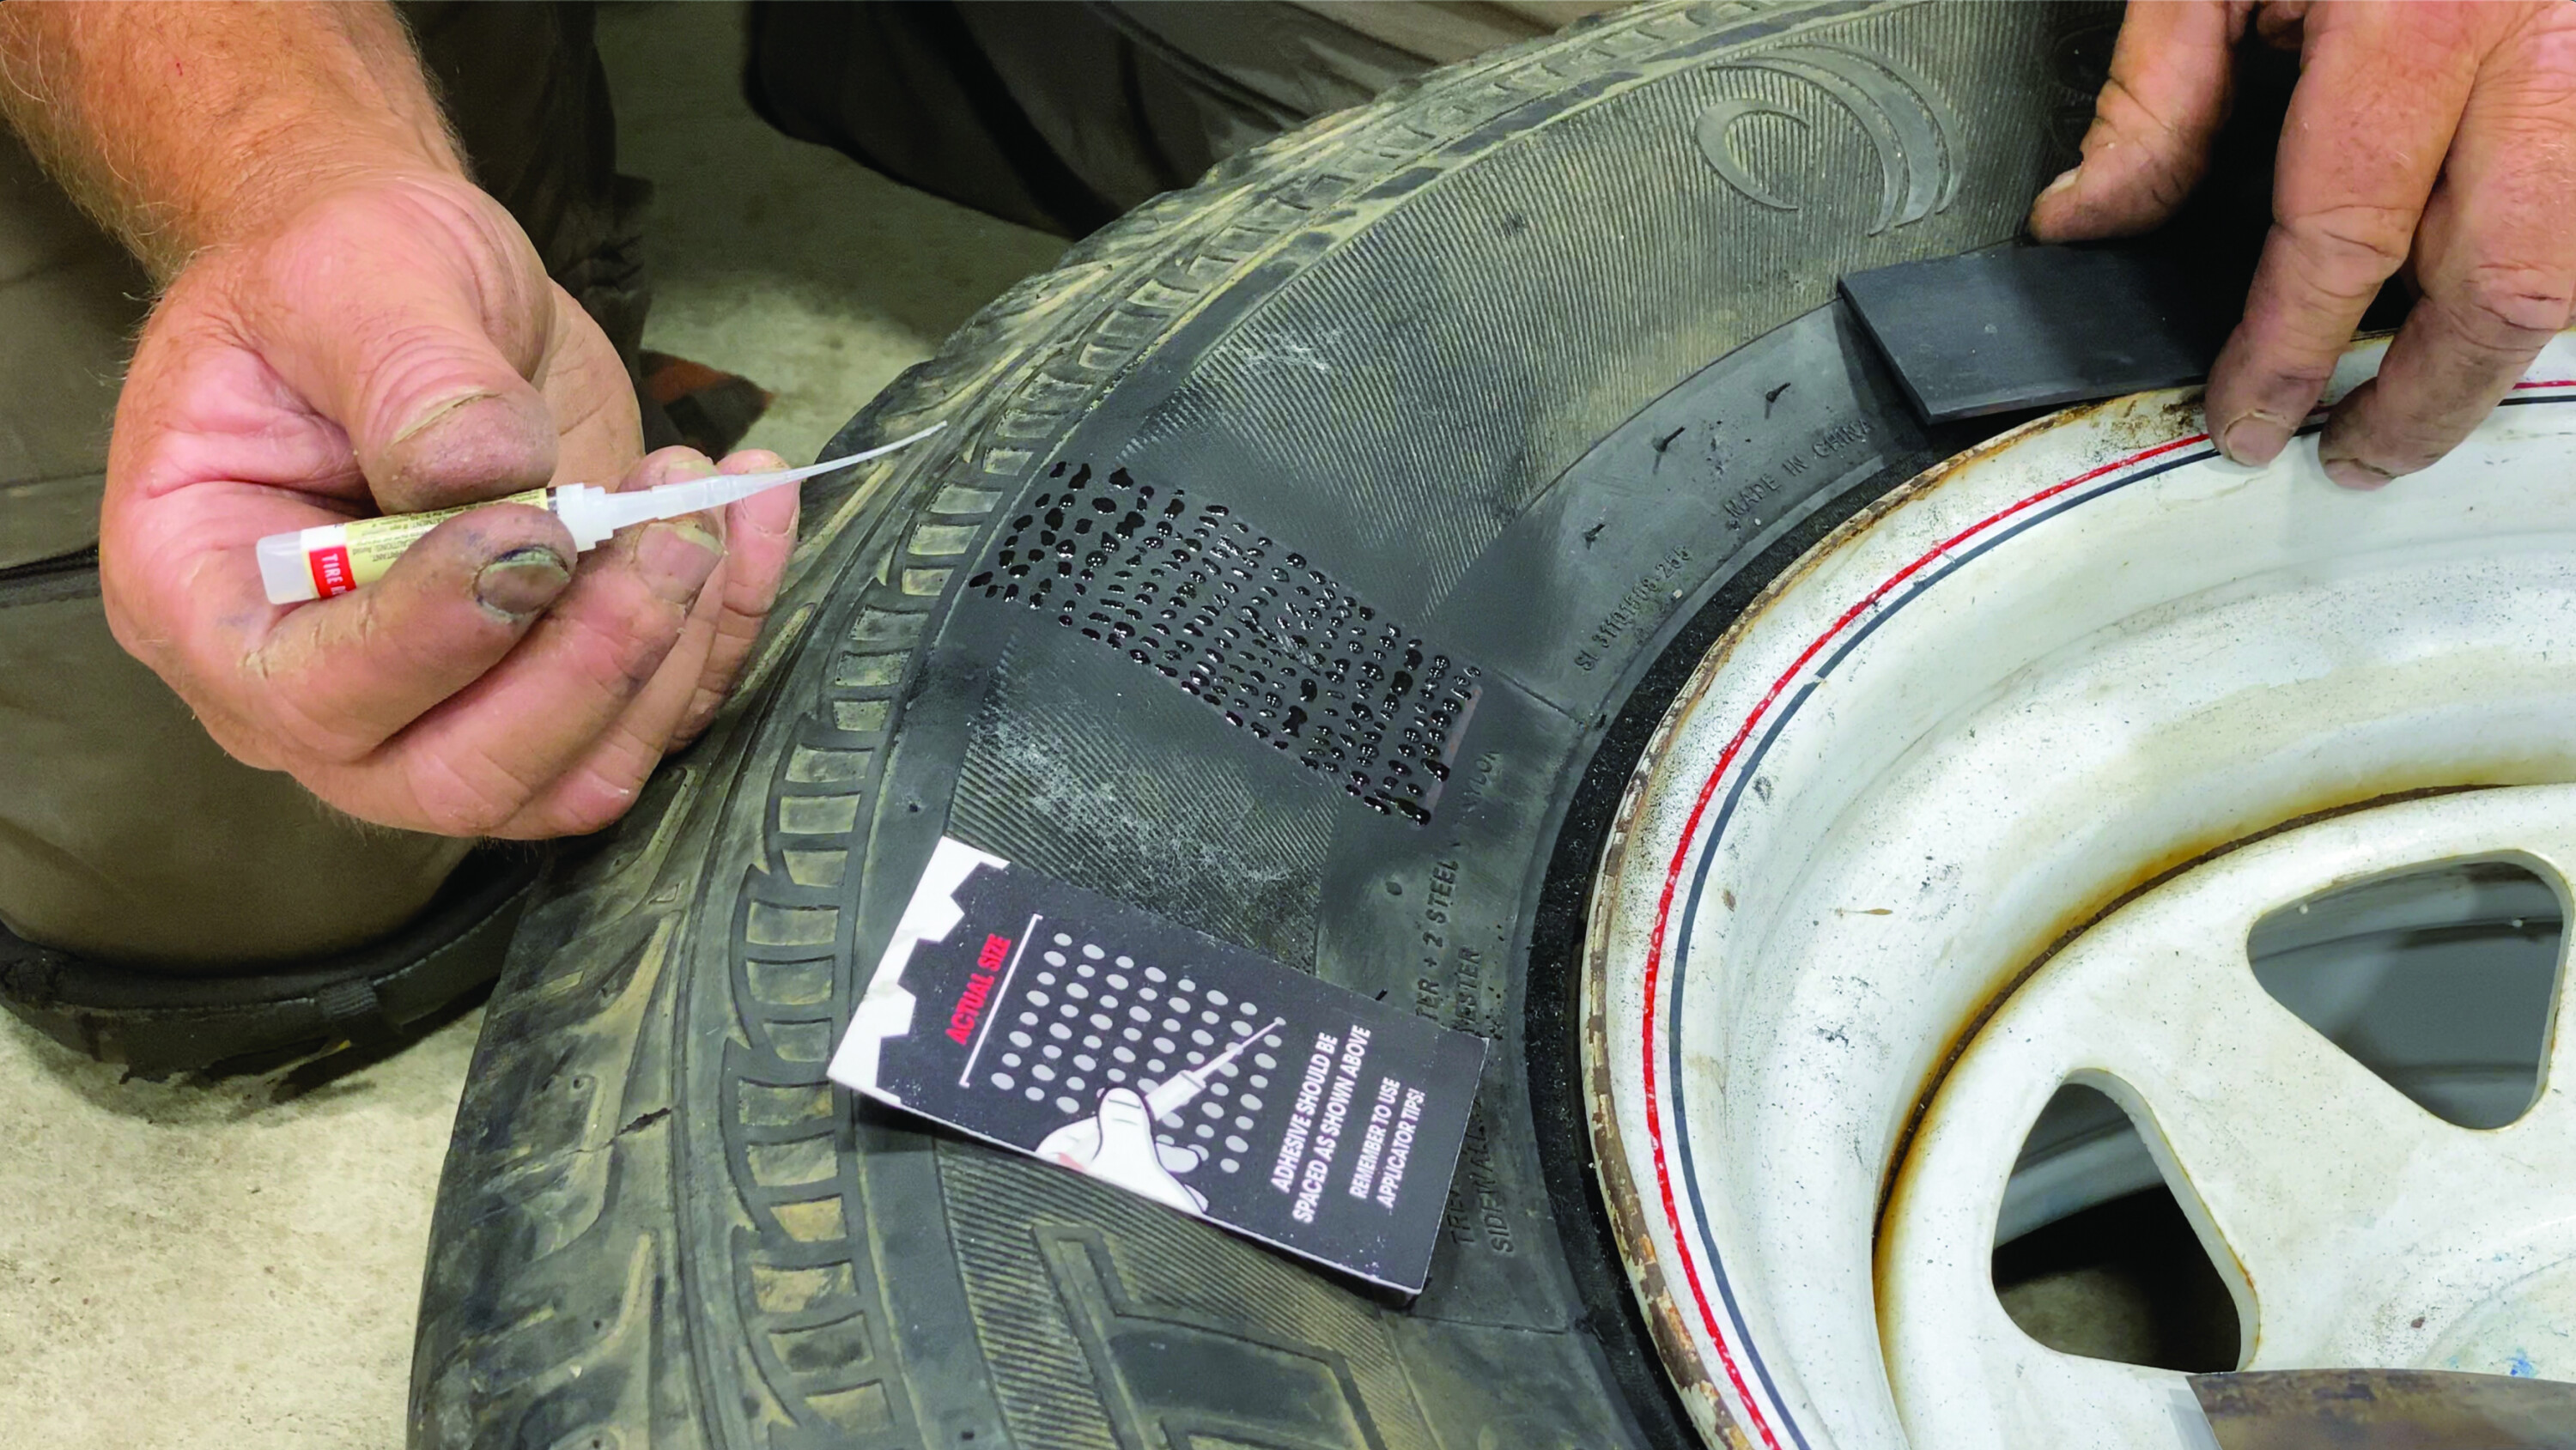
35
Practice makes perfect
Next time you head bush, make sure you are prepared for the most common of all track fixes.
I suggest getting the gear, grab an old tyre from behind the shed, punch a few holes in it and practice. You may never run into a renegade pushrod in the middle of the desert, but if one bushwhacks one of your tyres, at least you’ll know what to do.
Some note title here
Extreme Outback Products: www.extremeoutbackproducts.com [↗]
Safety Seal: www.safetyseal.com [↗]
ARB: www.arb.com.au [↗]
Power Tank: www.powertank.com [↗]
Hi-Lift: www.hi-lift.com [↗]
GlueTread: www.gluetread.com [↗]
Some note title here
In the name of safety (and to keep the attorneys happy), all of the repairs shown here are temporary fixes – just enough to get you out of strife. Once you’re out of the bush and back in civilisation, have a qualified tyre shop determine if your repaired tyre is toast or roadworthy. Failed brakes, steering and tyres can kill a fella… don’t take chances.