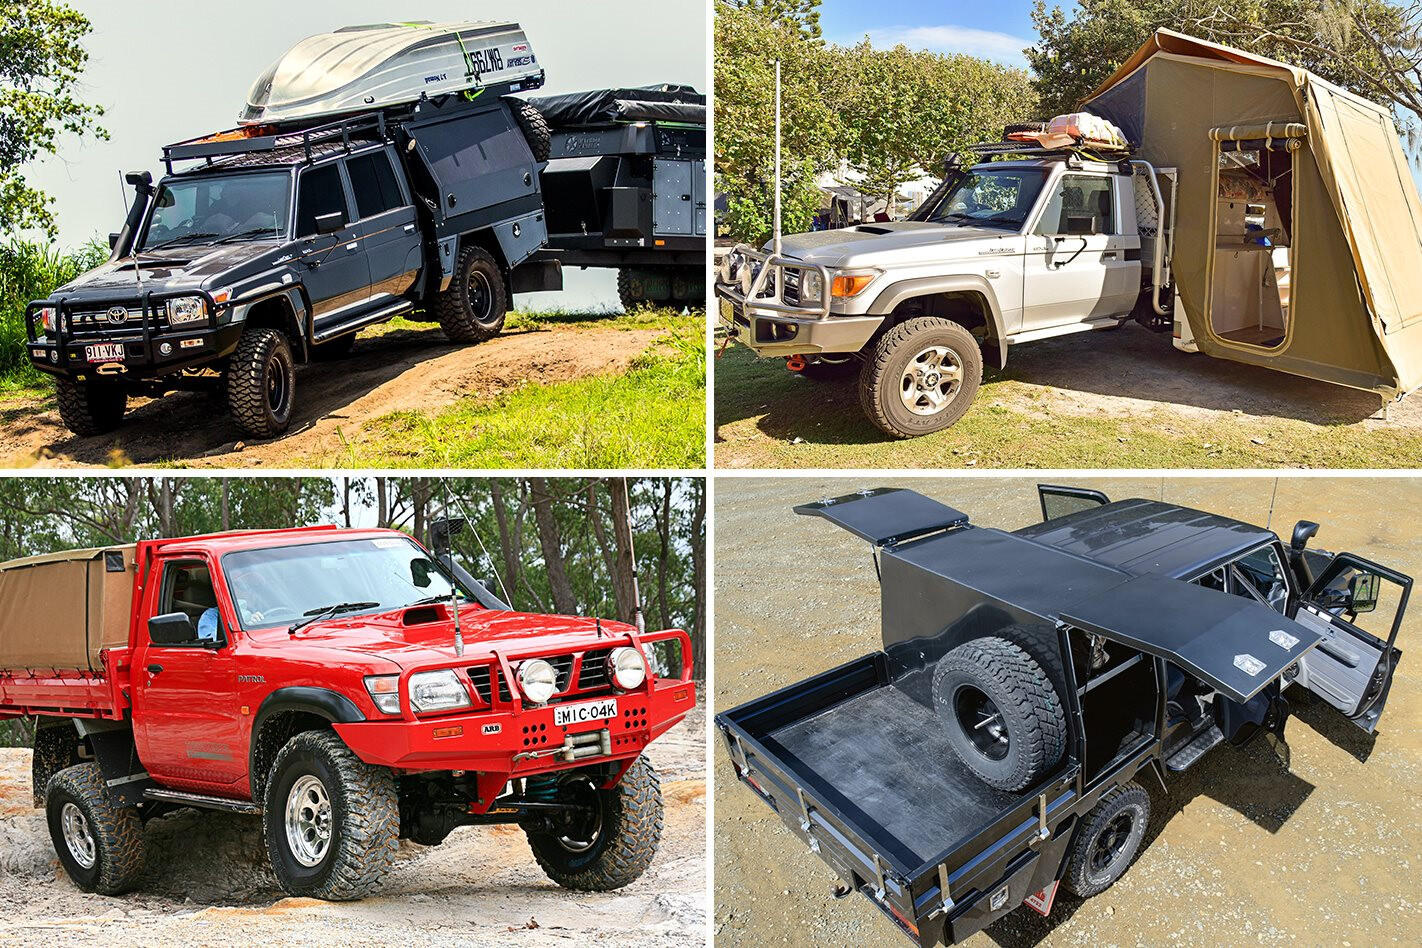
THE BATTLE between wagons and utes has been raging since the first ute rolled off the production line.
One camp loves the versatility of a wagon; the other loves the versatility of a ute. Wagon owners will rant and rave about their storage options, while those with utes will do the same. It’s a rivalry of epic proportions, where even manufacturers hedge their bets by producing what are essentially the same vehicles in both configurations.
The harsh reality is: If you’re serious about remote-area touring a ute is the hands-down winner, and that comes from someone who owns a wagon. You only need to look at the popular trends in wagons lately to see what I mean. We’re hell-bent on caging off the back to give us two separate compartments. The real adventurous even cut the quarter panels to replace vulnerable sheetmetal with tougher plate and tube steel.
View our guide to building a 4×4 on a $10K budget
If you didn’t know better you’d be forgiven for thinking we were trying to replicate all the positives of a ute, while still maintaining the comfort levels of a wagon. However, with the refinement and power levels of modern-day utes being toe-to-toe with their wagon counterparts, things start slanting pretty heavily in favour of utes.
It’s no surprise utes are continually growing in the Australian market and are quickly replacing the wagon as the family bus, and the overwhelming reason is the sheer versatility and storage space the platform offers.
Over the years we’ve gone from the simple tonneau cover (or rudimentary canopies) through to today’s high-gloss and weatherproof offerings. But it’s the current trend of bolt-on, custom-built canopies and campers that has grabbed our attention. They’ve taken the market by storm, offering all the strength of a Sherman tank while making your 4×4 more comfortable off-road. You only need to scan through these pages to see any number of touring set-ups – with varying levels of refinement – ready to take on this vast continent.
We have wrangled some of the biggest names in the industry to give us their unbiased advice on what your options include. From simple canopies with steel construction right through to pop-top campers and TIG-welded aluminium, this guide will help you turn your four-wheel drive into a red-dirt-eating tourer.
UNDERSTANDING YOUR NEEDS Choosing a canopy or camper for your four-wheel drive can be complicated as there are thousands of options to choose from, and for the price of some of the higher-end models you could pick up a near-new 70 Series Land Cruiser. So there’s plenty of incentive to buy the right set-up for your needs.
It’s easy to find something that looks great on another person’s rig and want the same, but what works in one situation won’t necessarily work in yours.
“When we have a new customer come through the door for a canopy the first questions we will ask are: What are you mostly going to use it for, how often and where?” Kelvyn Kruger from Metalink said. “Only then can we start to design a unit to suit their specific needs.”
The first step before worrying about integrated headboards and slide-out kitchens is to come up with a list of what you want to do with the tray. Does the tray need to come off? If so, how often? Do you want to camp in the tray, out of it, or just use it for storage? Will it stay loaded with camping gear, or will it need to do double-duty for work? What sort of terrain will you be spending the majority of your time in? This affects the required dustproofing or water resistance, as well as the corrosion requirements of the set-up.
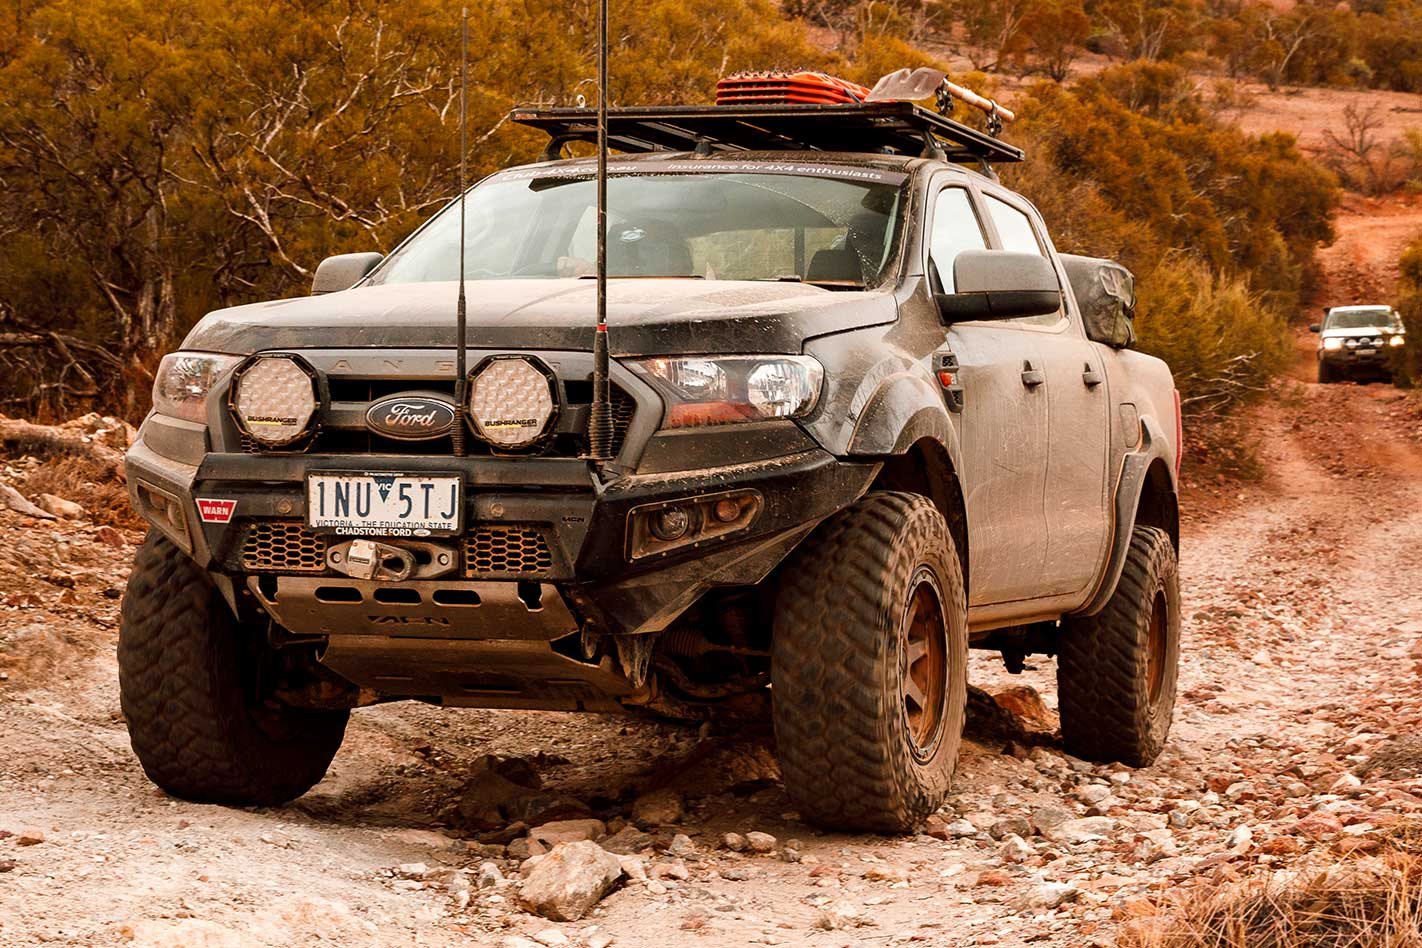
However, the elephant in the room is weight. You’re effectively redesigning half of your vehicle, which can have drastic effects on GVM, towing ability, handling, off-road ability and steering feel. In vehicles that are already close to their GVM, or do a lot of towing, the extra weight can make the vehicle essentially unusable. On the other hand, nose-heavy vehicles which are rarely loaded can perform better with some extra weight over the rear axle.
When you know which general direction you want to head, it’s important to then find the right person for the job.
“No matter what, always ask for previous experience and photos to give you a clear idea of what is available and what the fabricator can deliver,” Isaac Edmiston from Norweld Engineering told us. “Regardless of the scope of work involved, it’s important to know that they can deliver on what was quoted or what work you require. If the price is too good to be true, there is usually a reason.”
GET THE RIGHT MATERIALS Every single shop will tell you whatever construction method and materials they use are the best. There are pros and cons for just about every style available, so you need an informed idea of what you’re after before picking up the phone.
Without doubt the cheapest and lightest option is canvas over a steel frame. This offers excellent value for the budget-conscious and, with varying levels of strength from the internal frames, can hold up to some abuse. These can be picked up from as little as $3000 for a basic set-up through to around $8000 if you’re chasing roof-carrying capacity and secure sides. Their biggest downfalls include a lack of protection from the elements and low refinement levels.
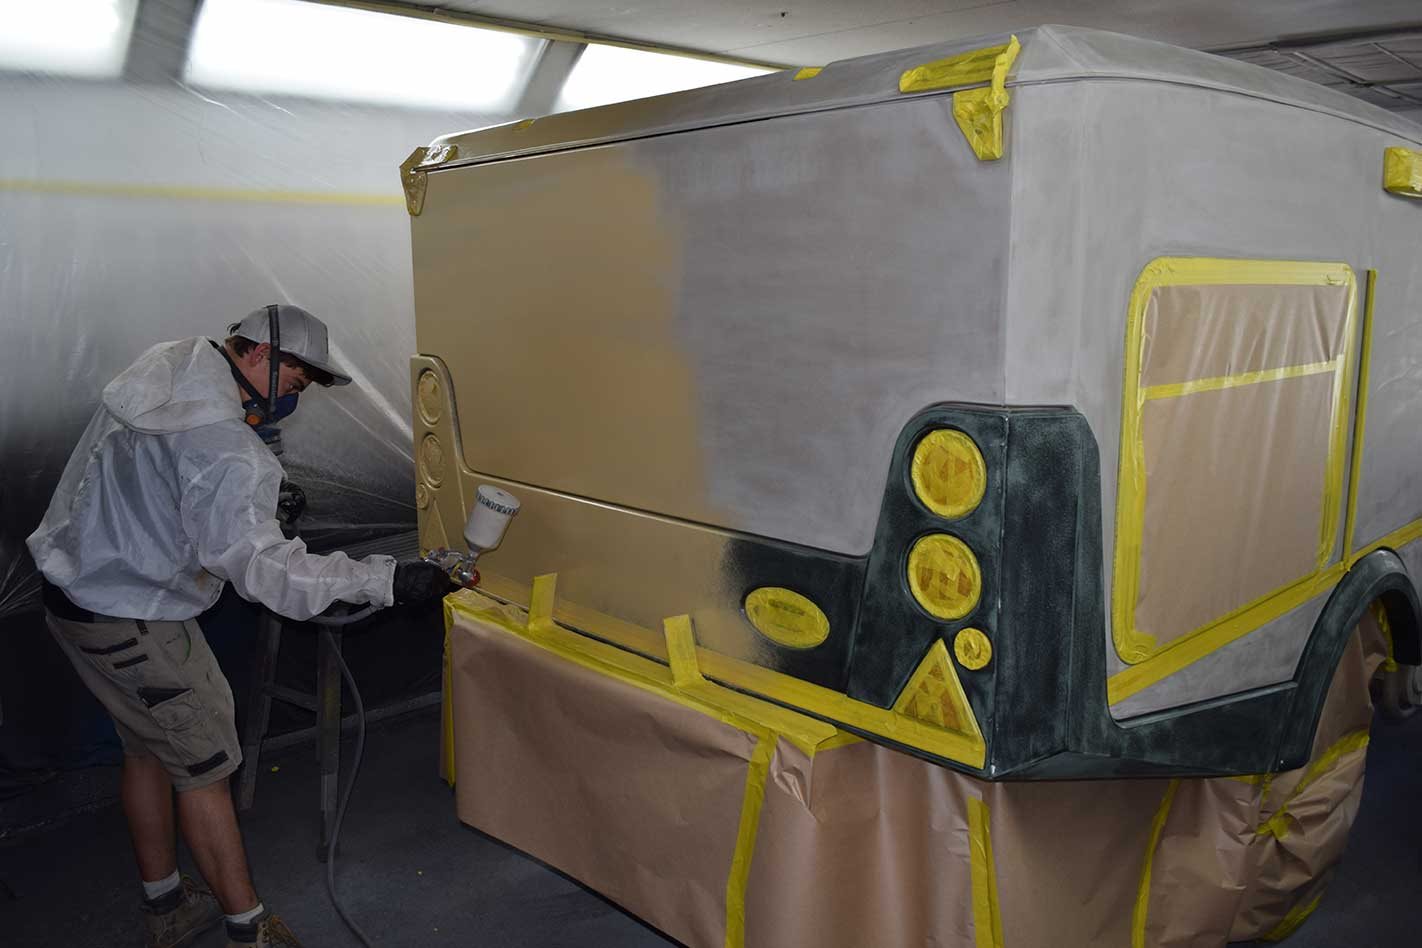
Next up the price ladder, at around $3000-$8000 for a basic set-up, are mild steel enclosed canopies. The lower price is reflective of the increased weight, and they are susceptible to corrosion depending on their levels of protection. A standard paintjob will quickly age with use, while light scrapes can rust. Hot-dipped galvanised trays rectify some of these issues with much higher resistance to wear and tear, although future modifications will damage the galvanised surface, opening the potential for rust.
The current market is largely dominated by custom-built aluminium set-ups, so expect to pay in the vicinity of $5000-$12,000 depending on quality and options. Despite the higher pricetag, the pros often outweigh the cons.
“Aluminium trays are great for weight saving and corrosion resistance,” Isaac said, “but require careful thought put into the design and welding process to ensure a long-lasting and great-looking tray.” The generally thicker construction means you don’t give anything away to steel canopies in terms of strength.
Some of the more elaborate set-ups on the market are often built from fibreglass or a composite of materials. While heavier than comparable aluminium trays, fibreglass set-ups are often more involved, making it hard to compare apples to apples. Much like aluminium, repairs aren’t complicated but require knowledgeable repairers.
“We use a composite lay-up and this keeps weight down but produces a high-grade strength,” Darren Hoger from Travelander added. Depending on the camper, these can come in anywhere between the low $20,000 mark to more than $50,000. However, as they’re essentially a ute-mounted caravan they shouldn’t be compared on price alone.
WHAT STYLE WORKS FOR YOU Next in the selection process is deciding which basic design and construction methods to use. There are two popular styles of tray you’re likely to come across, with multiple variations within both. The market is 50/50 split between tray- and chassis-mounted canopies, with both having positive traits.
A canopy bolted directly to the chassis has a few main benefits. “You need to ask: ‘Do I really need to take the tray off?’” Kelvyn Kruger stated. “If the answer is no, you’re better to go for a canopy bolted straight to the chassis as it is a lighter option with a lower floor height.”
The additional benefit of a chassis-mounted canopy is significant cost savings, without the need for a separate tray. “Chassis-mounted canopies negate the need to purchase both a tray and a canopy,” Caitlin Bresette from Uteboss Utility Canopies added. “We simply remove the tub, fit the canopy, wire the lights and away you go. If you don’t plan on changing vehicles frequently or taking off the canopy, a chassis-mounted model is a great option.”
While a tray-mounted canopy falls behind in terms of price and weight, they leap ahead with regards to versatility. All tray-mounted canopies are able to be removed and re-fitted to another vehicle if you upgrade or need to clear the tray for work duties. “Our canopies are able to be lifted off in six minutes,” Darren Hodges commented. “You’re not stuck in one spot, the vehicle is freed up to go out and see the surroundings.”
Before signing on the dotted line there are a few key design elements left to double-check. If you’re planning on fitting roof-top tents, boat loaders or roof racks on top of the canopy you’ll need to ensure the roof is sufficiently reinforced.
For steel and alloy trays this can be as simple as implementing a fabricated structure inside; fibreglass canopies can achieve similar results with an internal frame or ribbing on the roof itself. Check for quality welding on previous examples, as well as strengthened inside doors and (large) panels.
Corrosion resistance can be enhanced by the use of stainless-steel fixings, as well as chemically bonded panels and welded framework. Some canopies and trays are bolted together to allow twisting and reduce fatigue; although, if you come across panels warped from welding or held down with screws or mild steel bolts, turn tail and run!
SMOOTH AROUND THE EDGES What can you get fitted inside your shiny new camper set-up? Do you want the canopy to include sleeping options, or is it simply for storage? A single person can get by with a swag rolled out inside, but if you’re chasing a nicer set-up you’ll want to be looking at either a pop-top set-up with a queen bed or a hard-floor camper for more floor space.
If you’re planning on using the canopy as a camper set-up you’ll also want a standalone electrical system, preferably with lightweight lithium batteries. Water storage and camp kitchens are more-or-less standard now, so look for integrated plumbing for both water and gas.
A comprehensive storage system can also mean you’re ready to go at a moment’s notice. “For short trips, time is precious,” Caitlin Besette added. “You don’t want to spend half the weekend packing the ute with everything you need. We can make a designated spot for all the essentials to stay in the canopy for when you need them.”
You’ll need to keep the contents secure from the elements and prying hands, so ensure external access is key-lockable and capable of preventing dust ingress. Some companies offer auto locks synced to the car’s locking.
By now your list of wants (and don’t wants) is undoubtedly getting longer, but these last few requirements are the most important.
Firstly, is the design smart? Weight positioning can drastically affect the performance of a 4×4, so check that most weight is as forward as possible – water storage, electrical systems and kitchens should ideally be in front of the rear axle, with camping gear up the back. Also pay extra attention to the little details often overlooked. If the set-up needs to be modified later on, is it possible? Are there sufficient tie-down points internally? Is the fuel filler accounted for in the design, or will it be cable-tied underneath?
TOP TIPS
If it all seems like we’re speaking Chinese, here are a few simple tips to keep in mind when on the hunt for the perfect touring set-up.
1. WEIGHT Weight is your enemy when off-road. Do you really need an extra 200 litres of water and a triple battery set-up for the weekend getaway? Probably not.
2. PRICE It’s easy to baulk at the high-end canopy set-ups, but a lot of them are comparable to more expensive camper trailers and caravans yet lighter and better off-road.
3. QUALITY If you can’t afford to buy a better-built camper to start with, can you afford to have a cheaper one repaired or modified if it breaks later on? Buy once, cry once!
THANKS
METALINK Web: www.metalink.net.au Ph: (07) 5445 0893.
NORWELD Web: www.norweld.com.au Ph: 1300 302 899.
UTEBOSS UTILITY CANOPIES Web: www.utebosscanopies.com.au Ph: 0431 135 354.
TRAVELANDER Web: www.travelander.com.au Ph: 1300 287 283.

