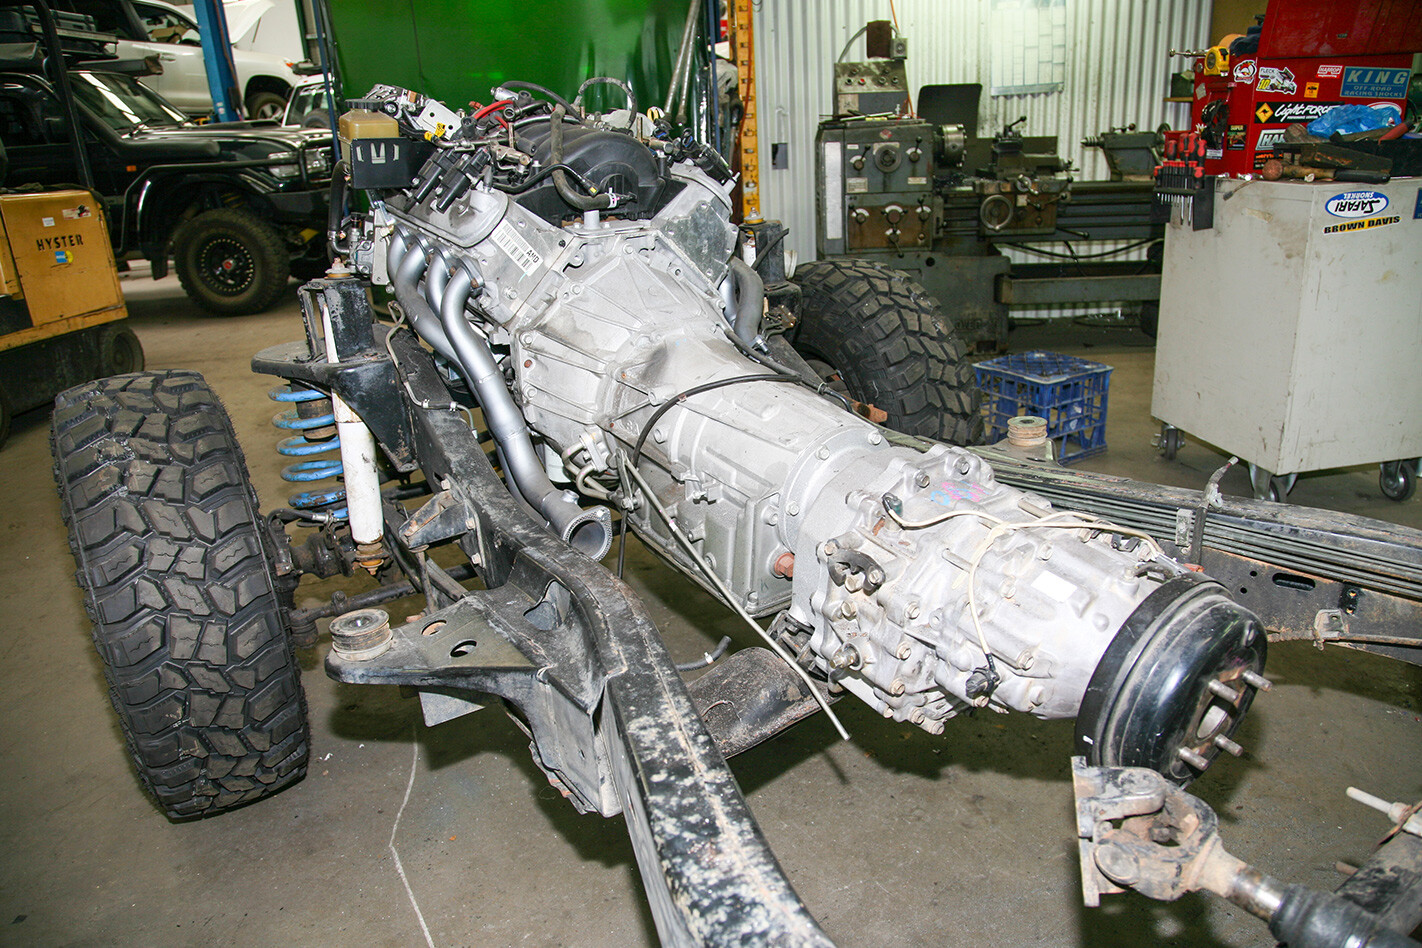
It’s always an exciting time when two parts of a major project come together for the first time. Sure, all the little bits and pieces are important in their own right, but, there is nothing like having to step back a few paces to take in all the glory of the whole picture.
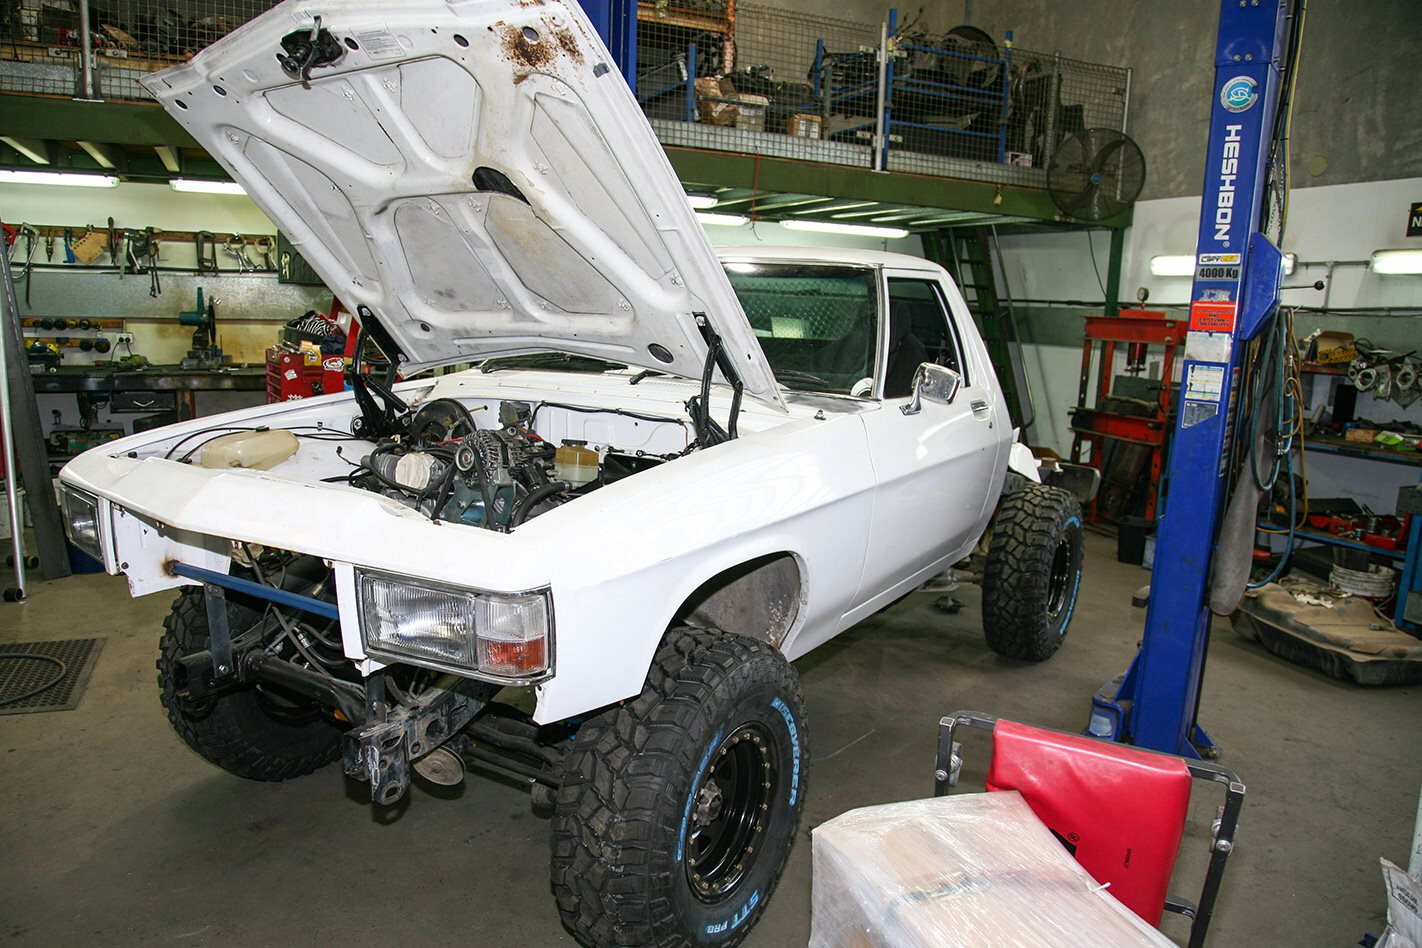
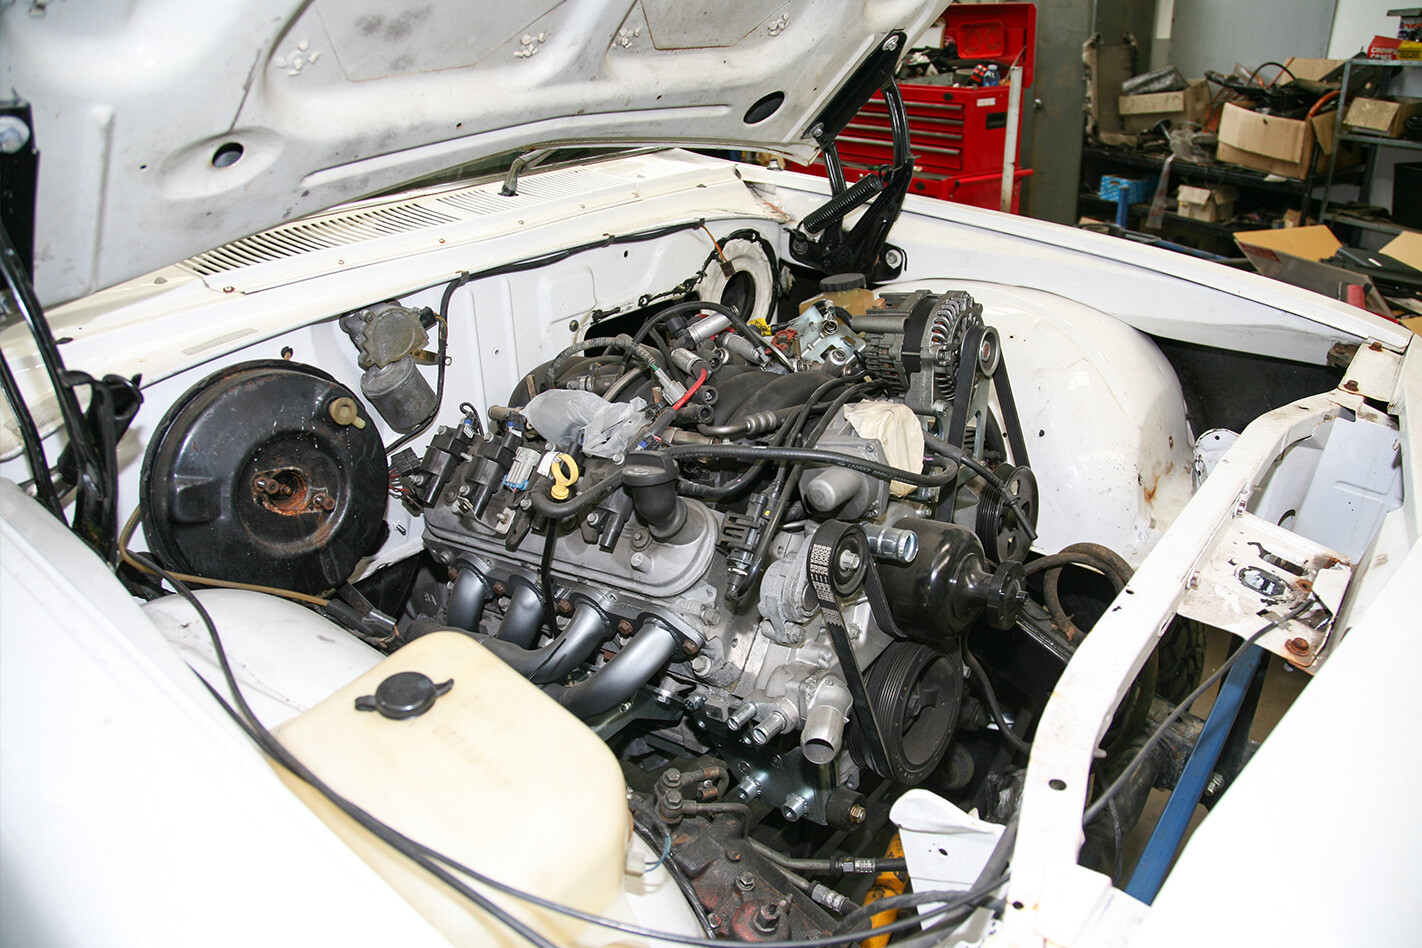
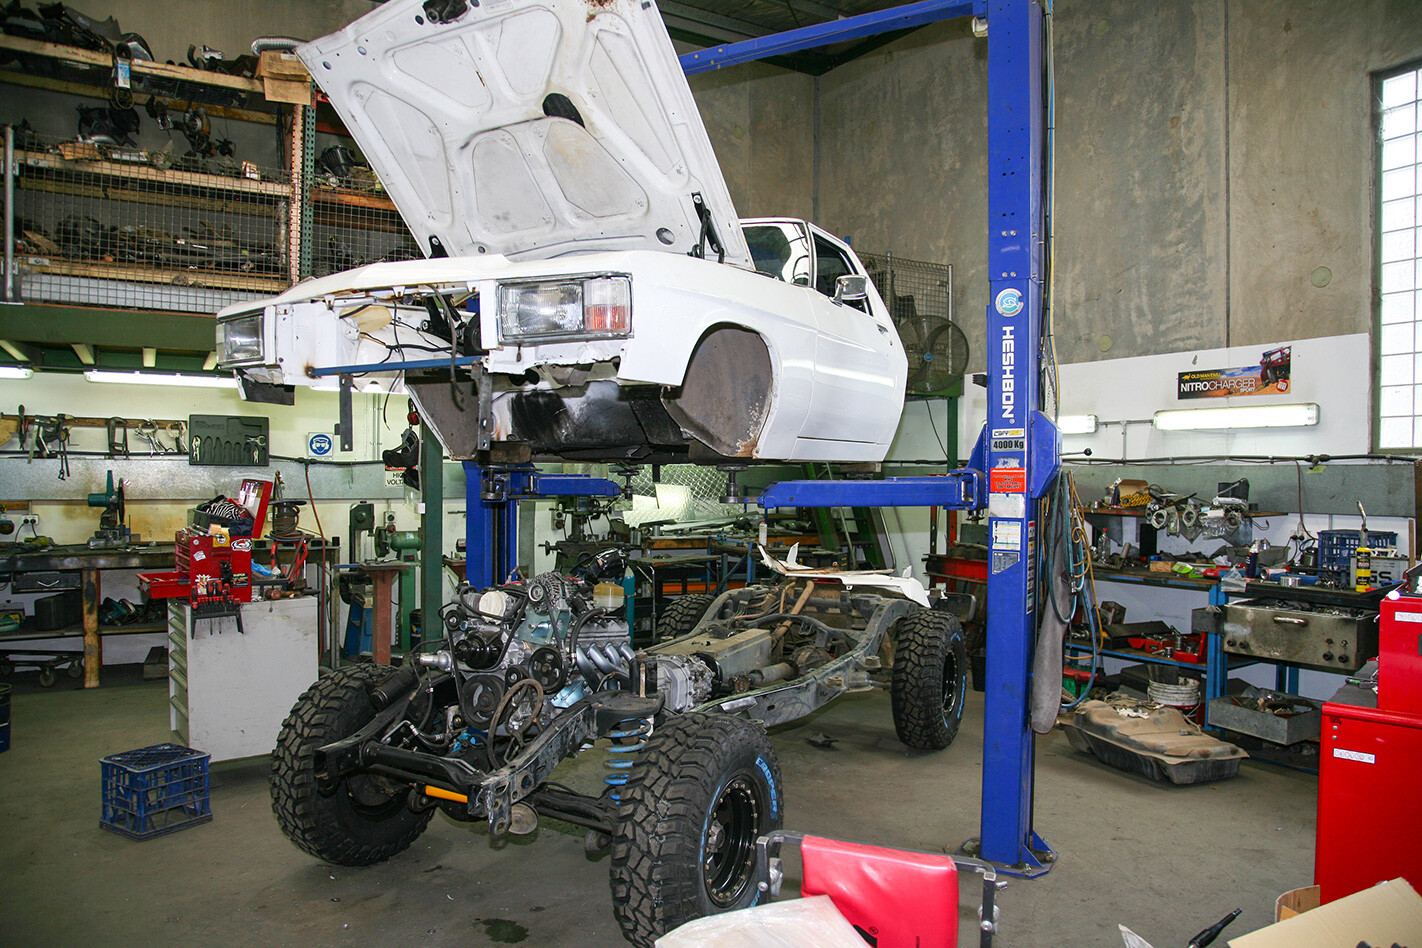
I was well and truly clenching as my Holden 1-tonner cab was gently lowered over the 6.2-litre LS3 engine and six-speed automatic cog swapper; would the inner ’guards hit the custom extractors, would the bonnet clear the high-mounted alternator, will there be enough room for a radiator without having to butcher the front end of my 1977 Holden cab?
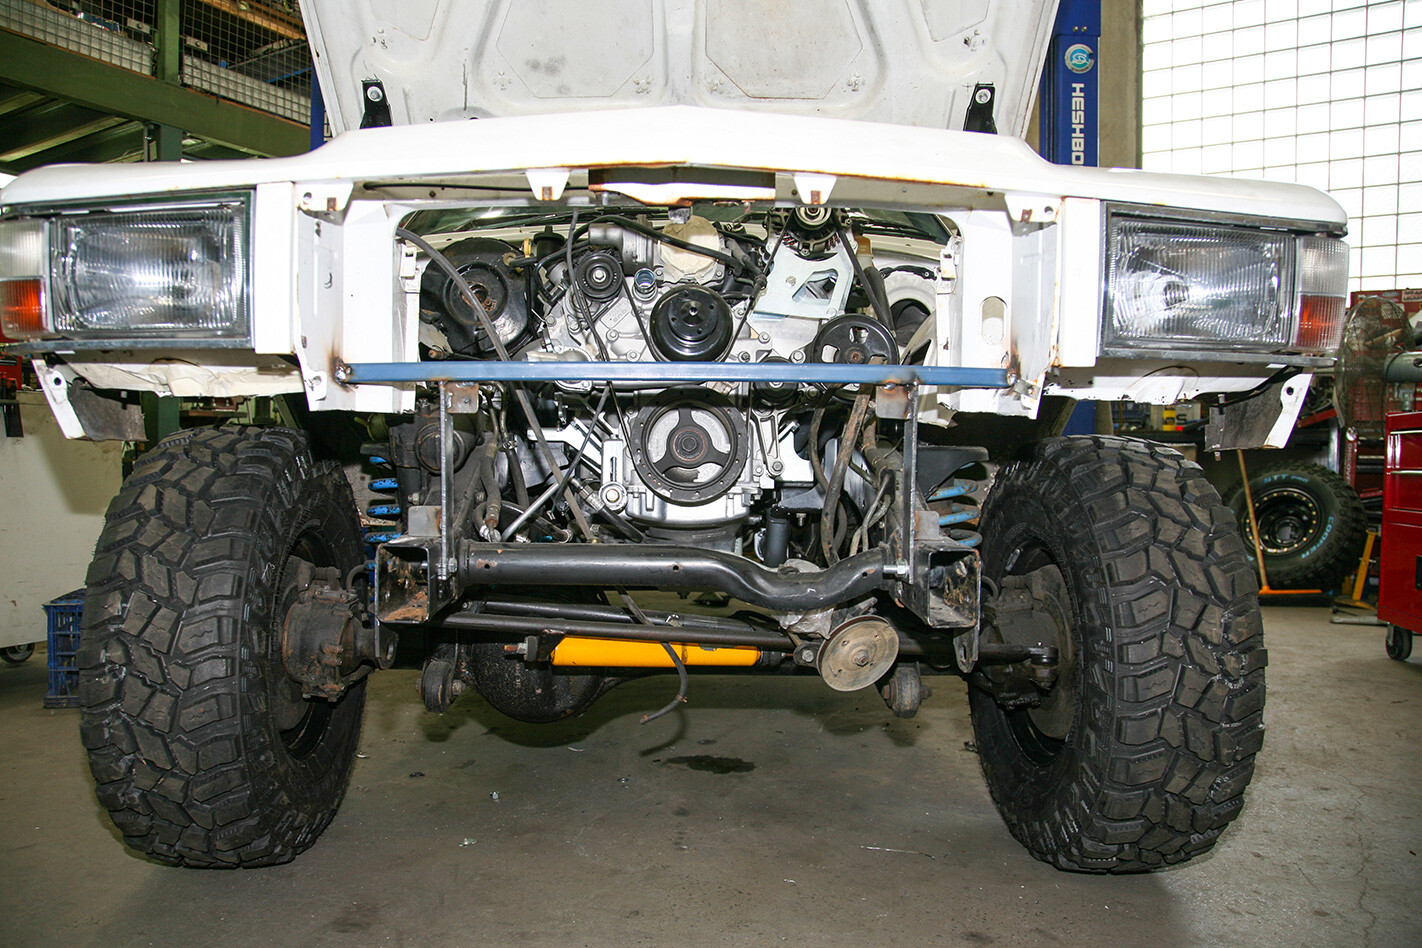
Admittedly, there had been a lot of work prior to ensure nothing would foul. Plus, given the cab is a two-door, I don’t have to worry about aligning front and rear wheels into set-position wheel arches. With only the front two arches to worry about, and not being too concerned about the height of the cab via a body lift and custom mounts (within reason), I was pretty confident of the fitting. Besides, if it doesn’t fit, we’ll hit it with a bigger hammer or take to the angle grinder and make it fit!
Given there is no off-the-shelf kit to fit an old Holden cab onto a GQ Patrol chassis, the body mounts will all be custom made. Basically, when we lower the cab to a spot where it ‘looks’ right and doesn’t hit other parts or prevent suspension movement, then, whammo, that’s where it calls ‘home’. Total Care’s head fabricator, Aaron, came up with the ingenious idea of removing the OE GQ body mounts from the chassis, repositioning them (front to rear and side to side) and reattaching them. Well, bugger me, they are still deemed OE body mounts – clever, huh?
One of the most important steps of any oddball vehicle build is to keep your engineer in the loop with exactly what you’re planning and show them during and after completing any custom part. Playing by the engineer’s rules will ensure an easy flow from build to on-road registration. Obviously there are costs involved by engineering a vehicle, but those costs are far outweighed by any hassles you’ll otherwise have down the track with the boys in blue, or, heaven forbid, if you’re involved in a car accident and the knocking back of an insurance claim. If you hurt another road user in an illegally modified car, kiss your freedom and your wallet goodbye.
Prior to lowering the Tonner cab on to the GQ chassis, the Total Care 4WD crew grafted the GQ steering column into the Holden dash, which should provide a little extra driver comfort and safety with it being tilt adjustable and collapsible, compared to the solid javelin-like old Holden column that is clearly aimed right at the driver’s chest.
While the old Tonner seats were okay, they are no match for the contoured, electrically operated VE Maloo pews which boast both height and forward/rear adjustments to cater for my lanky frame. Again, the engineer will check the mounts made for fitting them. If the distance between the two Maloo buckets allows, I’ll re-use the original Holden centre console which has a flip-up armrest with a small pocket underneath. Some form of cutting/customising of the fake plastic woodgrain panel that surrounds the gear stick will be needed, but only time will tell if we go ahead or start from scratch with a new console.
My first 4×4, back in the mid 1980s, didn’t have air-con. Neither did the next four; one was a 1956 Willys Jeep so it wasn’t really needed, but it’s simply not something I had ever wished for or considered back then. Fast forward more than 30 years and air-con is something most, including me, can’t do without. Call me going soft, or simply wanting as much comfort as possible, but I wanted air-con in my old Tonner if it was physically possible. A Vintage Air condenser system has been paired up with an air compressor unit from an LS1 engine and a generic evaporator. All were sourced by Steve the Sparky and Jason at Total Care.
Another major advantage of including an air-conditioner is the ability to effectively demist the windscreen. There is nothing worse than smearing your grubby hands across the windscreen while trying to peer out past the frosted glass and grunge combo, which is also extremely dangerous. The Vintage Air kit came with flexible tubing to allow piping into the existing Tonner dash and demist vents. Another nice touch was the option of retro-style gauges to adjust from fresh to recycled, as well as varying the outlet.
To help keep a bit of that pulsing, angry, neck-snappin’ LS3 engine noise out of the cabin, I’ve lashed out and fitted Dynamat sound deadening to the floor and firewall and reused the original black carpet and underfelt. I could just use a nice, quiet muffler, but, nah! The flexible stick-on coating also aids in preventing the heat from the engine and the exhaust system from melting my double pluggers.
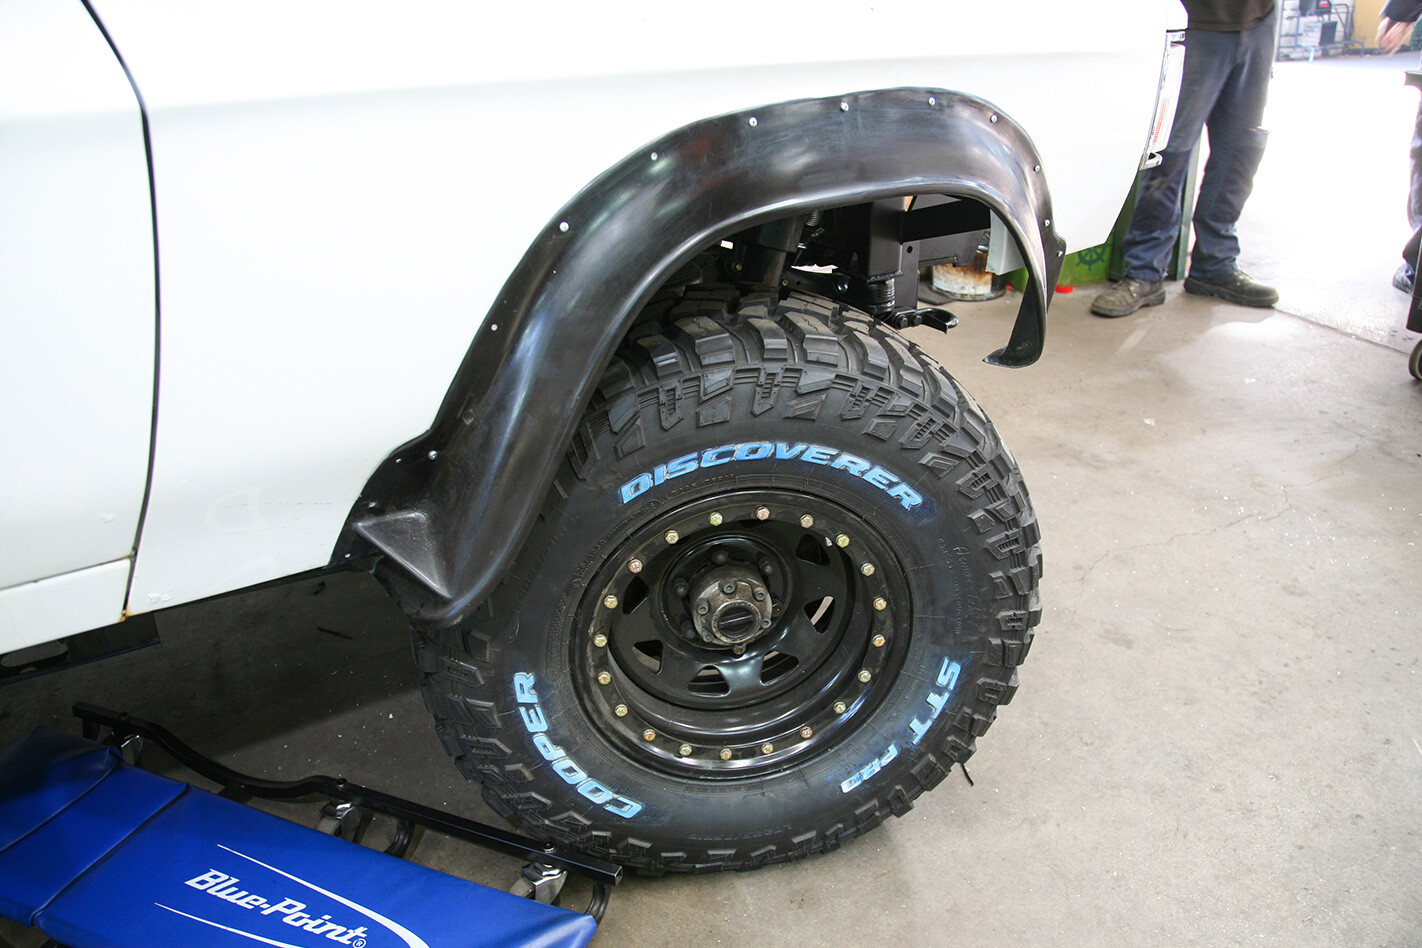
A few months back I lashed out and bought a set of 33-inch (285/75R16) Cooper STT Pros and whacked them on 16-inch Dynamic steel-imitation bead-lock rims. Wanting as wide a stance as possible, while keeping it all legal, I went with a negative 13mm offset rim (standard GQ Nissan Patrol is plus 10mm) which puts the wheel track change to 46mm over, which is less than the 50mm maximum change allowed.
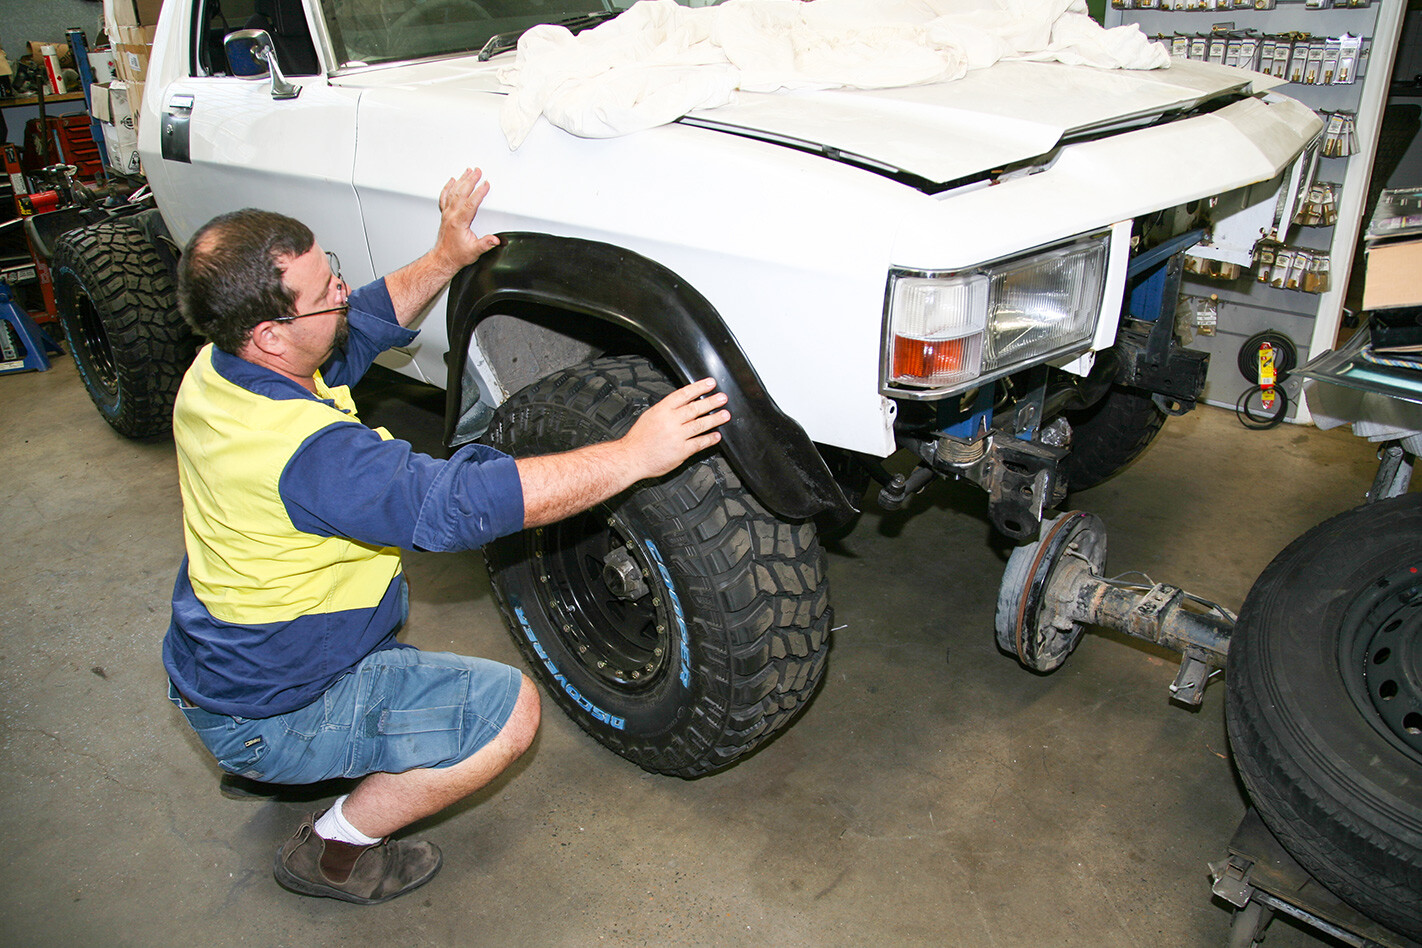
With the lowering of the cab over the chunky off-road rubber and the need to ensure legality of the tyre tread not protruding past the ’guards, I needed to fit flares. Incredibly, I managed to track down the daughter of Arthur Hayward, the mastermind of the original Holden Overlanders. She still has the moulds and sells the flares for both front and rear ends of these mighty Holdens. My build is not a dinky-di Overlander, but all the panels are the same as original works, so the flares fit perfectly. A few holes drilled and a bit of trimming of the ’guards at the front end and that was a pretty easy job. The Tonner’s smaller wheel arch doesn’t allow the 33-inch Coopers to fully enter, but having the body sitting higher overcomes the need for excessive ’guard cutting – phew!
While I wanted a period-correct steering wheel –three slotted alloy spokes with a black grip – my engineer vetoed that given they did not have a padded horn button; lucky I asked him first! I had to choose a wheel that incorporated the relevant padding and was ADR compliant, but not necessarily compliant for airbags. Given my project will be registered as a Nissan Patrol, because it’s based on the chassis that is used – yeah, I know, it looks like a Holden on the outside – all legalities must comply with the year of the vehicle it’s registered as; in this case, a 1990 Nissan GQ Patrol. A 350mm diameter Autotecnica Racer Pro steering wheel in black leather with Patrol Boss kit was chosen to help guide the Tonner around the countryside.

Stepping back to the legalities and needing to conform with what the basis of the vehicle is; that’s another reason I opted for a GQ Patrol and not a GU Patrol. There are no airbags, no side impact beams in the doors and no overly complicated electronic safety inclusions like anti-lock brakes, traction control, or, in the case of the Maloo, launch control. Yeah, I know, all these safety features are the latest and greatest way of keeping us alive on the road, but that’s just how I’m rolling with the Tonner.
More exciting times to come soon with the manufacturing of a few custom parts, as well as one of my biggest procrastination problems: what type of bullbar do we make? I’m thinking of a combination of a traditional ute four- or five-poster with a more off-road (read non-road-kill scraper) orientated design with tapered wings for maximum protection and approach angles all rolled into one. I did consider a tube bar, a modern-style rounded jobbie, and even a neat single bumper bar replacement in steel, but given this won’t just be a shopping trolley tray-back, I want decent all-round protection from wildlife and Mother Earth.
I won’t be using the old alloy farm tray, so will be making a more heavy-duty off-road and camping suitable steel-framed unit, lined with alloy chequer plate with front and rear hoops … I must teach myself some form of computer sketching instead of handing the fabricator’s pencil-on-paper doodles!
I also plan on recessing an electric winch into the bar and grill, as well as providing plenty of space for decent size driving lights, so stay tuned to see what the welder comes up with and make sure you have a gander at the build-up videos on our website.

