BEFORE beginning any build like this, an engineer should be consulted to ensure the vehicle is legal and can be registered for on-road use. Not doing so could relegate your dream machine to a private paddock.
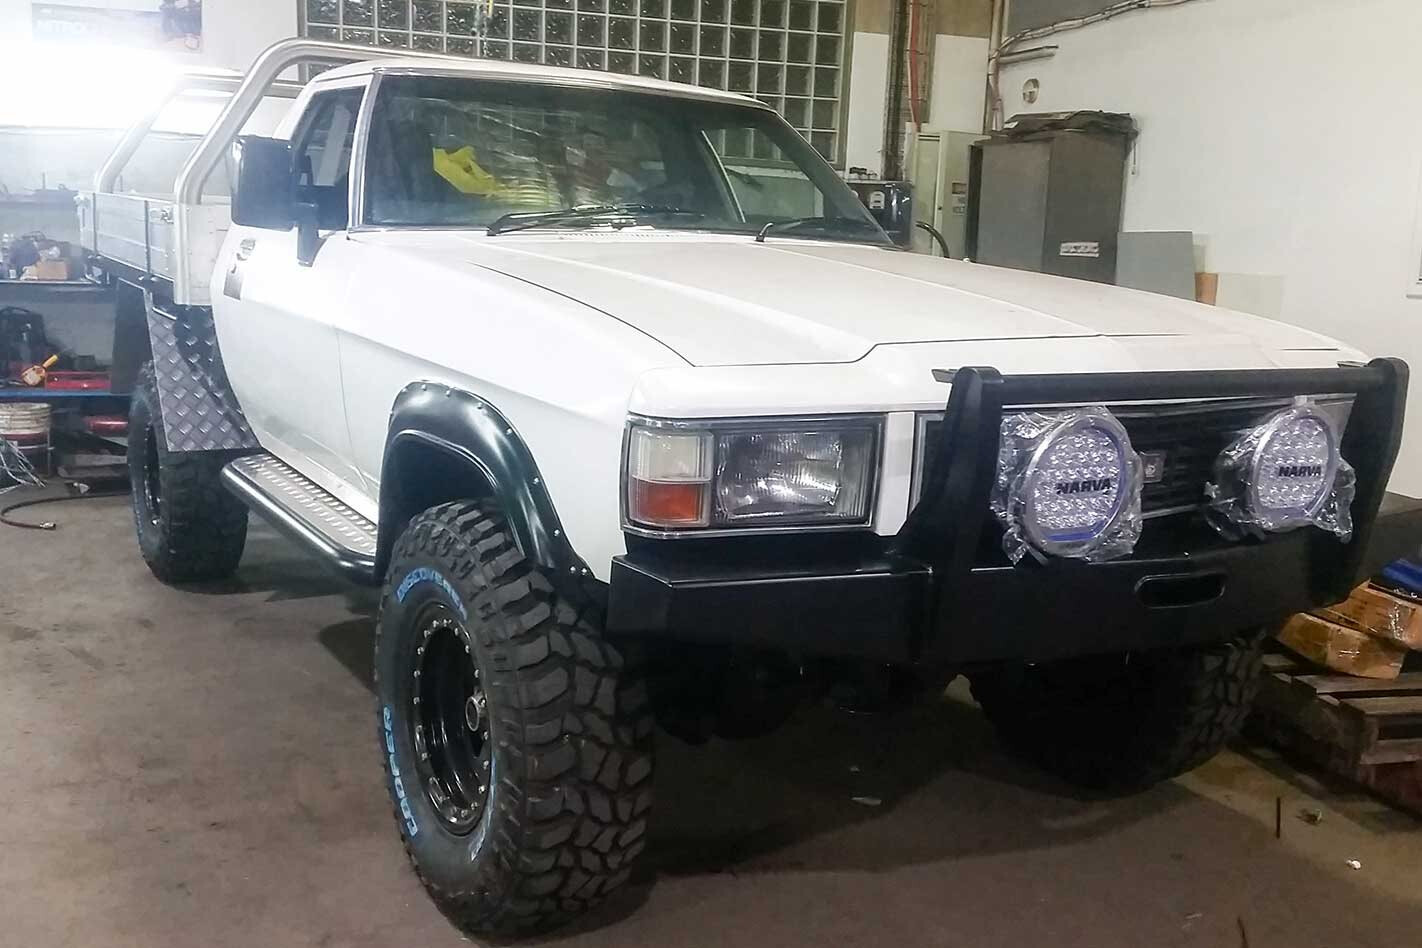
I wanted my Tonner to be totally legal, insurable, safe (for me and other road users) and capable for use as an everyday driver, a long-distance tourer, and an off-road mauler.
After initial consultation with Jason at Total Care 4WD he was happy to undertake my project, but he discussed my wild ideas with his regular engineer to ensure it’d have any chance of seeing the streets.
Surprisingly, most of my ideas were given the green light, but not all, and I was instructed to “do as I say and I’ll pass it all no problems”. I had no problems with that, even though that ruled out larger than 33-inch rubber and higher than a two-inch suspension lift.
I was given the option of going full-on-nuts with an Individually Constructed Vehicle (ICV) build, but I quickly ruled that out given the costs and stricter engineering that was needed.
Even though my Tonner looks like an old Holden Tonner, it’ll be registered as a GQ Nissan Patrol (re-bodied). That’s the main reason why I chose a GQ over a GU, as the older Nissan doesn’t have a lot of the higher tech safety features of which I’d have to incorporate into the build. While it’s not impossible to do, complying with later-model vehicles makes the job harder and more expensive.
I chose to purchase three complete cars to access all of the smaller parts I needed, so I didn’t have to waste time and money foraging for them. Once each vehicle was stripped, we hoarded a heap of the unused gear we thought we might need and flogged off the rest to net some huge returns on my outlay.
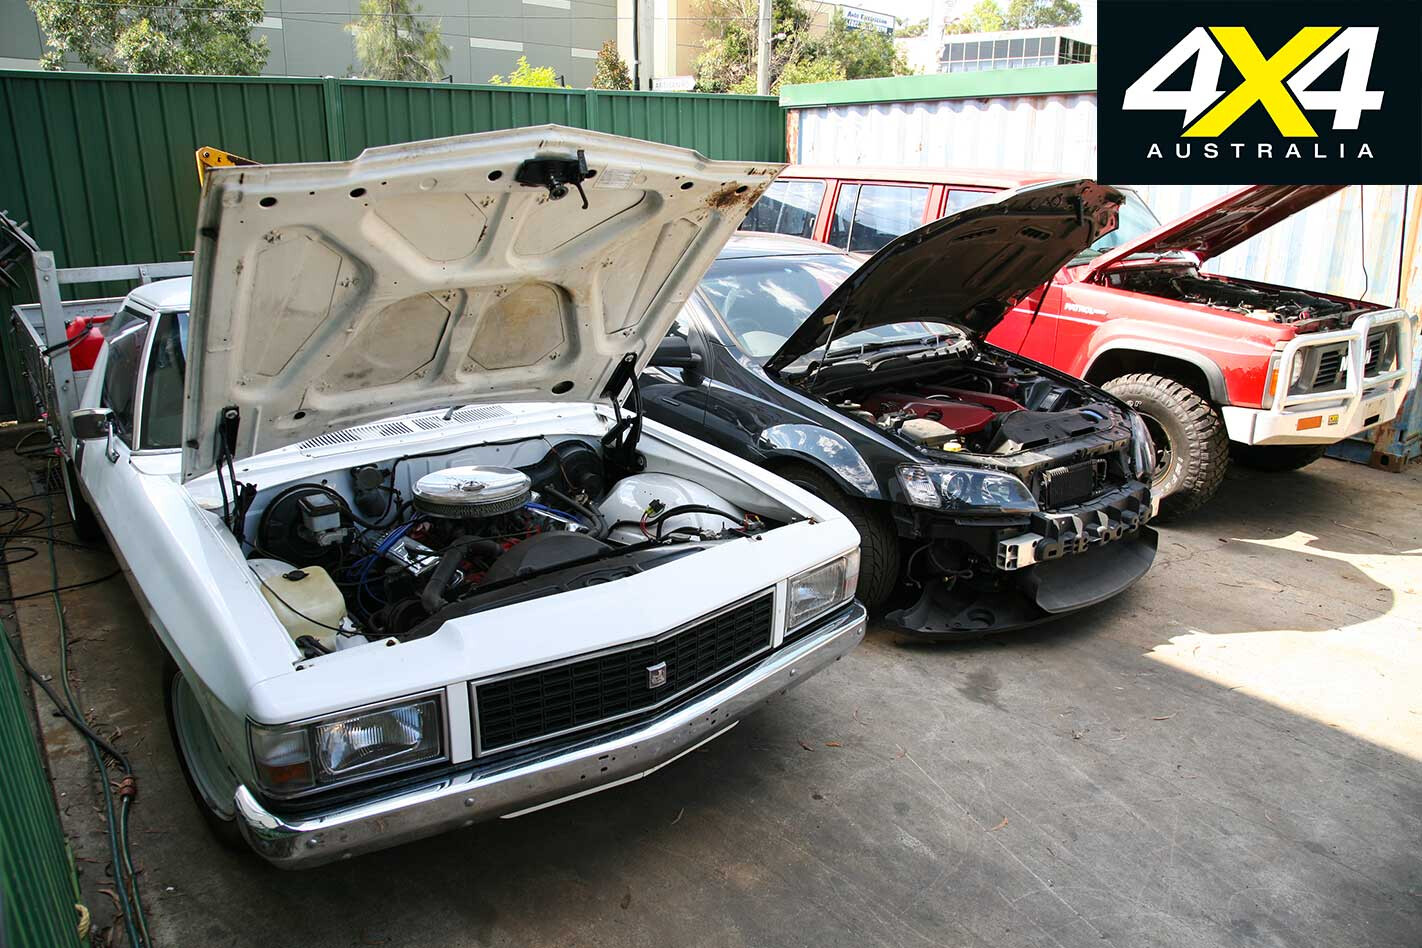
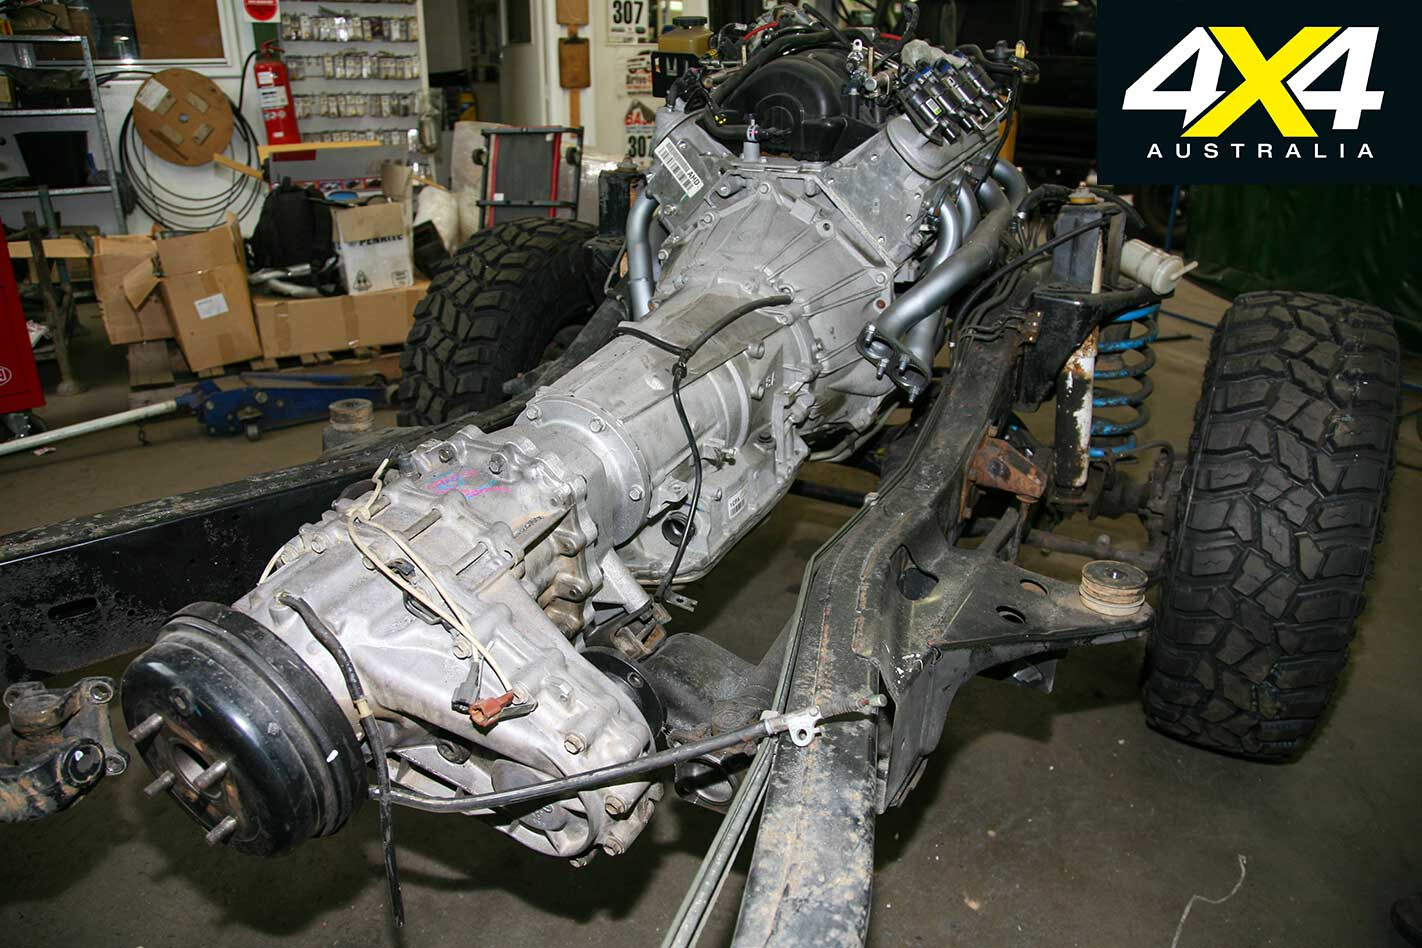
The Maloo’s retractable seatbelts, drive-by-wire accelerator pedal, electrically operated bucket seats, 6.2-litre LS3 engine, 6L80E six-speed auto gearbox, and a pile of parts from the engine bay were all kept.
We initially kept the HSV brakes, but ended up selling them as the engineer was happy with me utilising Nissan Patrol brakes – I dished out the HSV stoppers for new discs and pads from Terrain Tamer.
While we didn’t think we’d need the radiator and twin-thermo cooling fans, we stashed them away just in case. Lucky, too, as we needed them after finding there was no way a mechanical viscous coupling fan would fit.
My engineer insisted on utilising the Nissan steering column to gain a little extra arm-reach from the drivers’ seat, so it was modified to fit and grafted through the Holden firewall and dash.
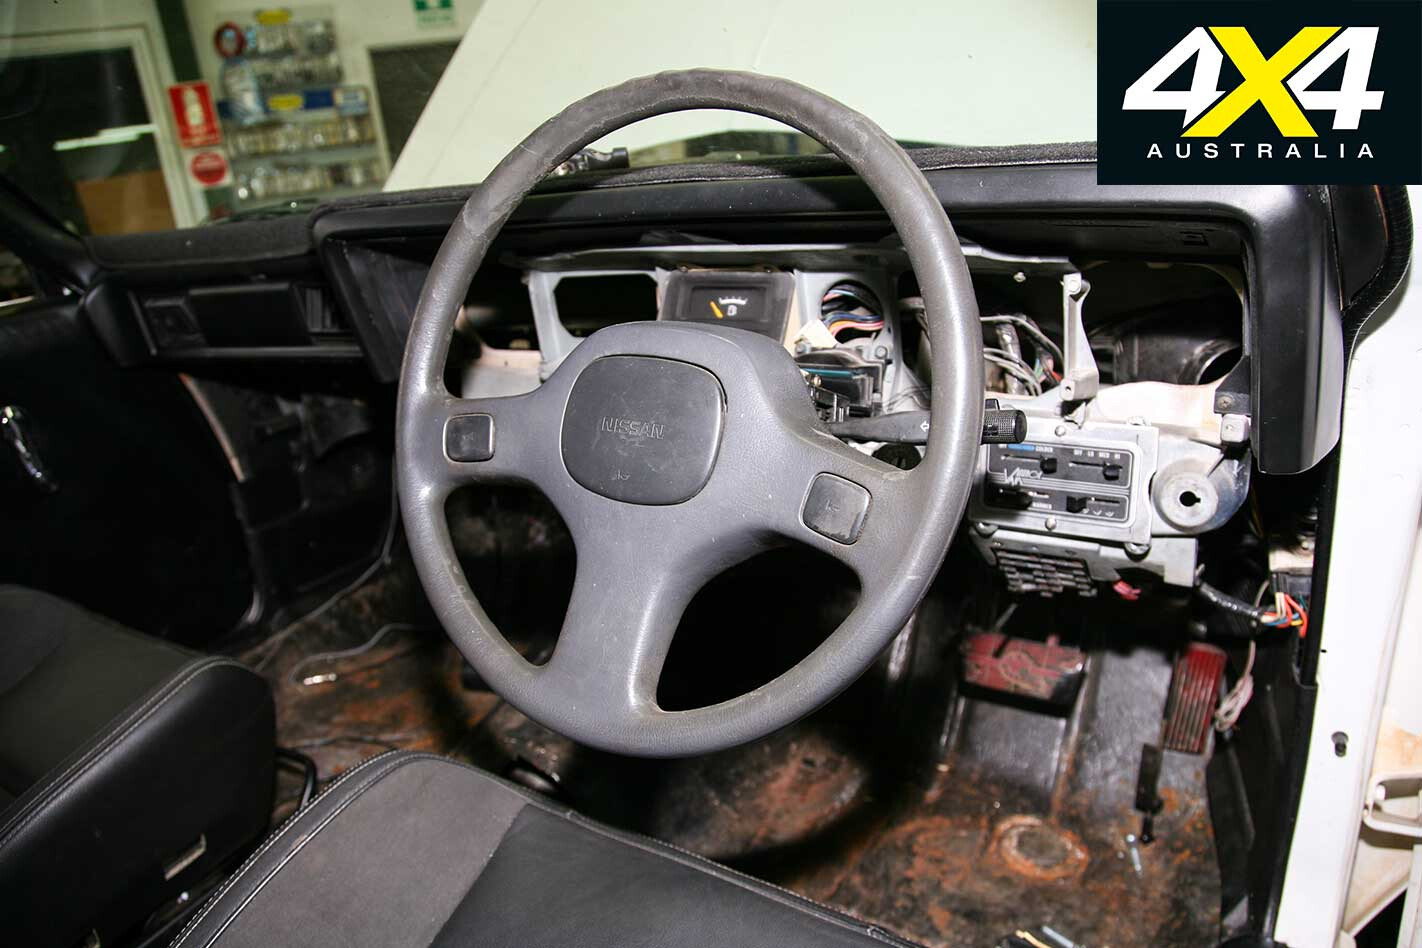
My want for a period-correct Holden sports steering wheel was vetoed, given it didn’t have a padded horn button – an ADR requirement for my year model Patrol – so an ADR-approved Autotecnica version was chosen.
Notably here, because my GQ doesn’t have airbags, I didn’t have to abide by the higher ADR requirements of using an airbag steering wheel that would have been deemed a must if I used a GU chassis.
Most people faint at the sight of the huge amount of wiring in modern cars. My Maloo was no exception, with miles of the stuff which incorporated many unwanted attributes we effectively ‘blanked off’.
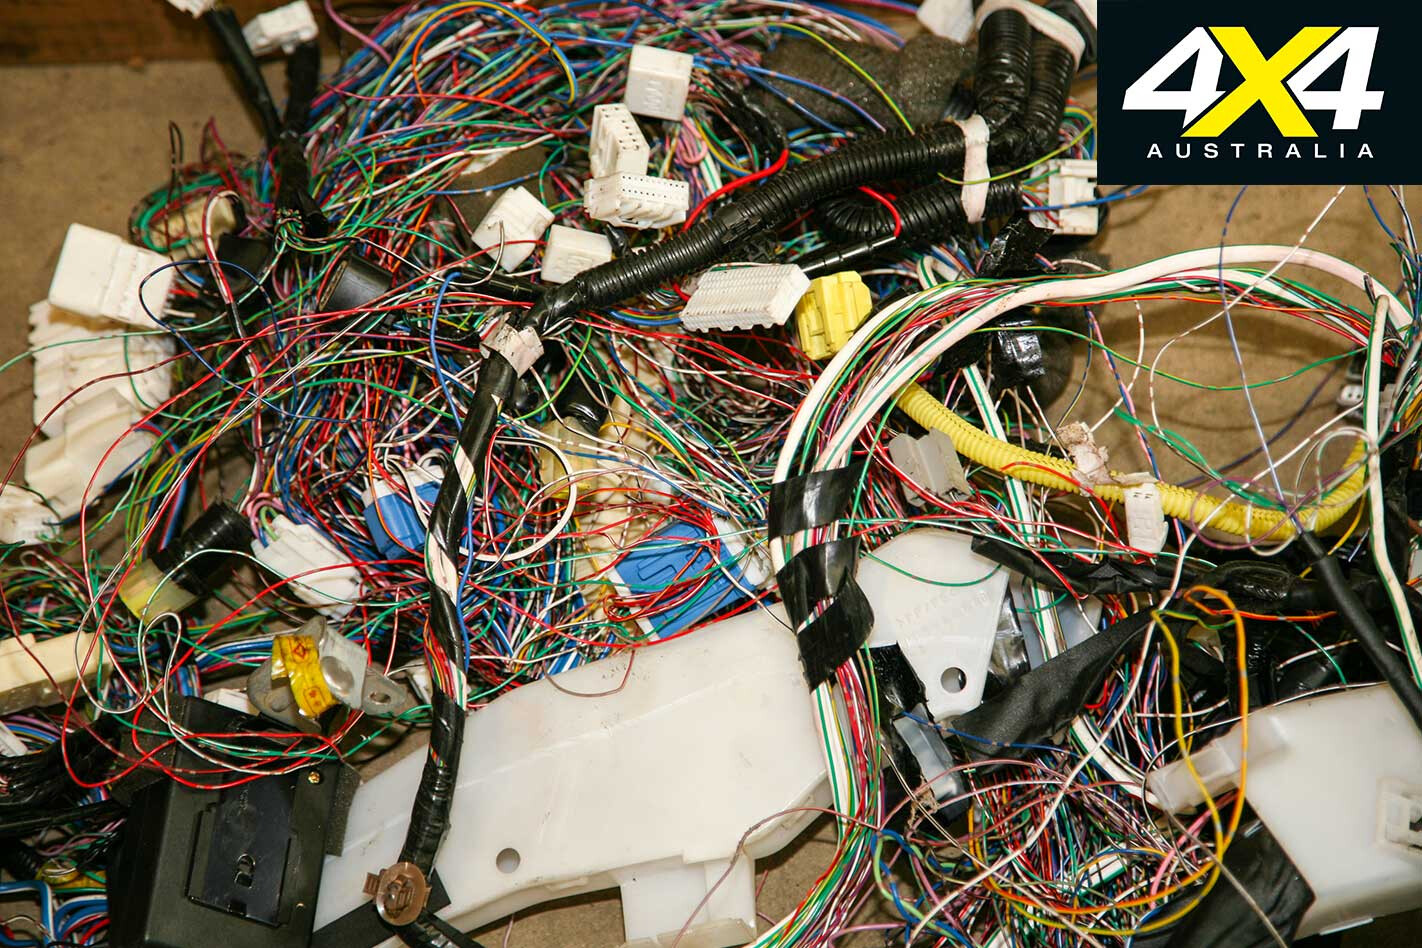
We sent the whole loom to Sideshows Performance Wiring in Queensland to delete cruise control, traction control, launch control, missile tracking (if it had it), plus all the other electronically controlled systems that aren’t 4×4 friendly. The modified loom allowed for a relatively simple plug-in system that let the gearbox, engine, accelerator pedal and basic controls talk with each other.
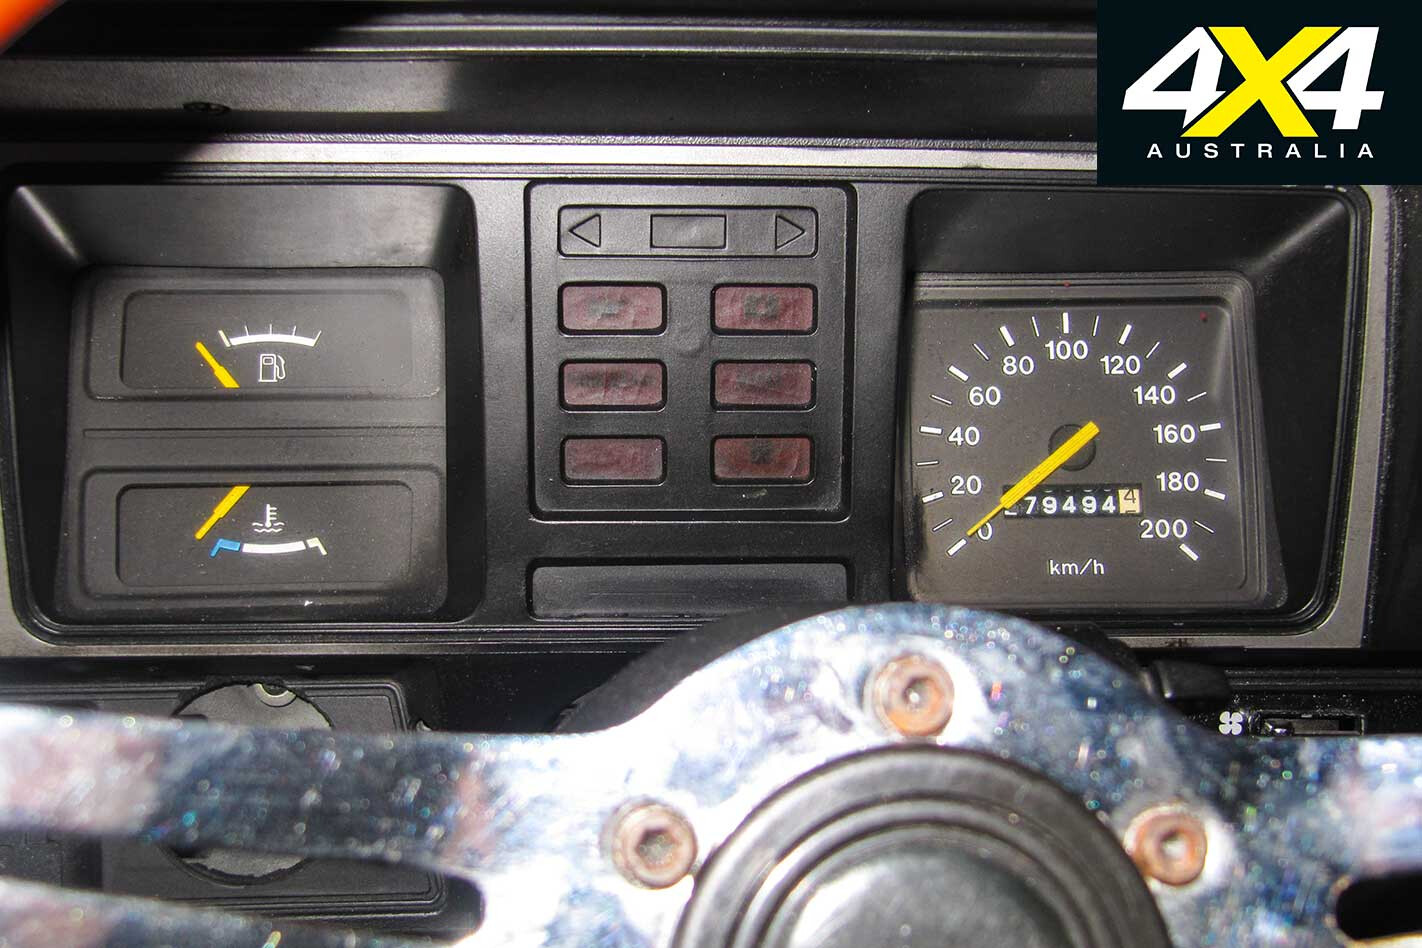
One small hurdle that needed attention was the speedo. I didn’t want a fang-dangled digital display in the old dash and wanted to keep a needle if possible. To my relief, Total Care 4WD managed to fit a speedo box adaptor to interface with the electronic accelerator signals from the GQ transfer case (yep, the old Patrol speedo was electronically controlled) and transform them into a mechanical output that is geared correctly into a cable drive that then turns the standard Holden speedo.
ADR restrictions state you cannot change the wheel track (centreline of the left-hand wheel to the centreline of the right-hand wheel) by more than 50mm. Damn, I wanted my Tonner to achieve as wide a stance as possible, but no amount of discussion would change my engineer’s mind on this.
Given the standard Patrol rim offset is plus (inwards) 10mm, I chose a negative 13mm (wider) offset rim, making 23mm change each side for a total of 46mm (legal by 4mm). I could have grafted a set of GU axles into the GQ chassis, given they are wider and have stronger CVs, but the coin toss landed on sticking with the GQ gear.
My GQ wagon had a petrol 4.2-litre with an LPG conversion. While I chose it mainly for the model year and diff ratios of 4.11, it came with an aftermarket 50-litre mid-mount petrol tank, as well as the rear-mounted gas tank. This has proven perfect with the inclusion of a Long Ranger 145-litre rear tank.
Fuel will always be drawn from the new rear tank, and I can choose when to transfer from the auxiliary mid-mount tank via a cabin-mounted switch. An extra 50 litres of juice will be much needed for some of the outback trips I have planned.
Many people have asked me how we mounted the Holden body to the Nissan chassis. Technically, we have used the standard Nissan body mounts, but they have been removed from the chassis, repositioned front to rear, and reattached to the chassis. The engineer was consulted and gave the nod.
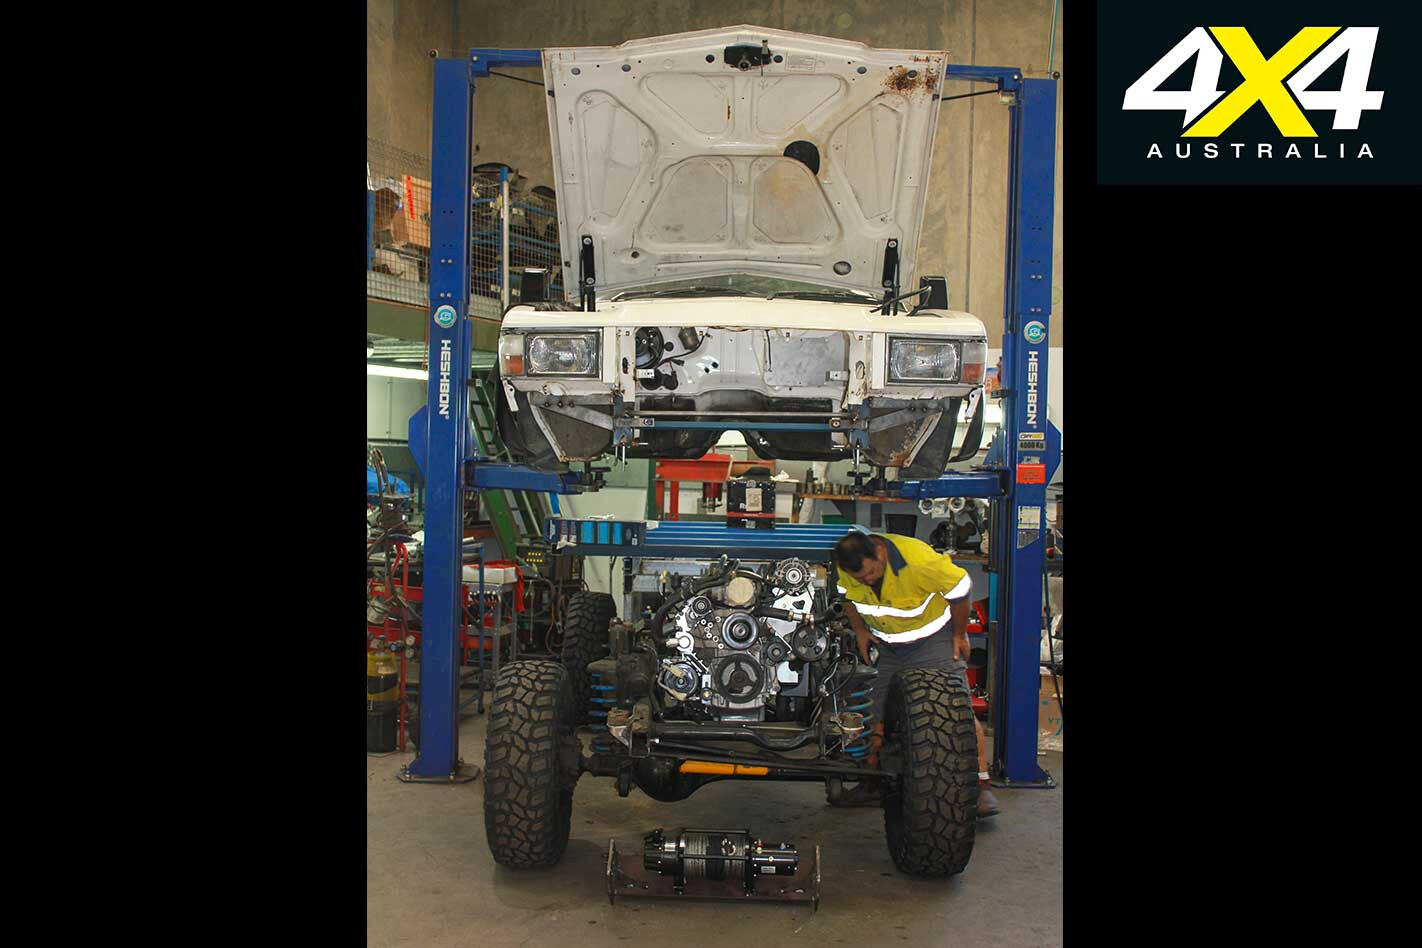
Once my engineer approved each mod, that mod had to be carried out in a professional manner (read: no backyard welding) then inspected by said engineer to ensure compliance, workmanship and safety.
Every single mod was then recorded and noted. If I get pulled up for a roadside inspection, I need to provide the engineer’s report to prove legalities or I could get whacked with a defect notice. My want for total legality has cost me more money in the short term, but knowing I won’t get defected and can fully insure the Tonner is peace of mind that far outweighs the initial dollars spent.
Lockers are the ultimate hidden accessory – they’re hidden away in the diffs and make all the difference off-road. I wanted my 4×4 Tonner to be a fair dinkum off-road beast; not a competition rock-bash machine, just damn capable in all terrains over and beyond the norm.
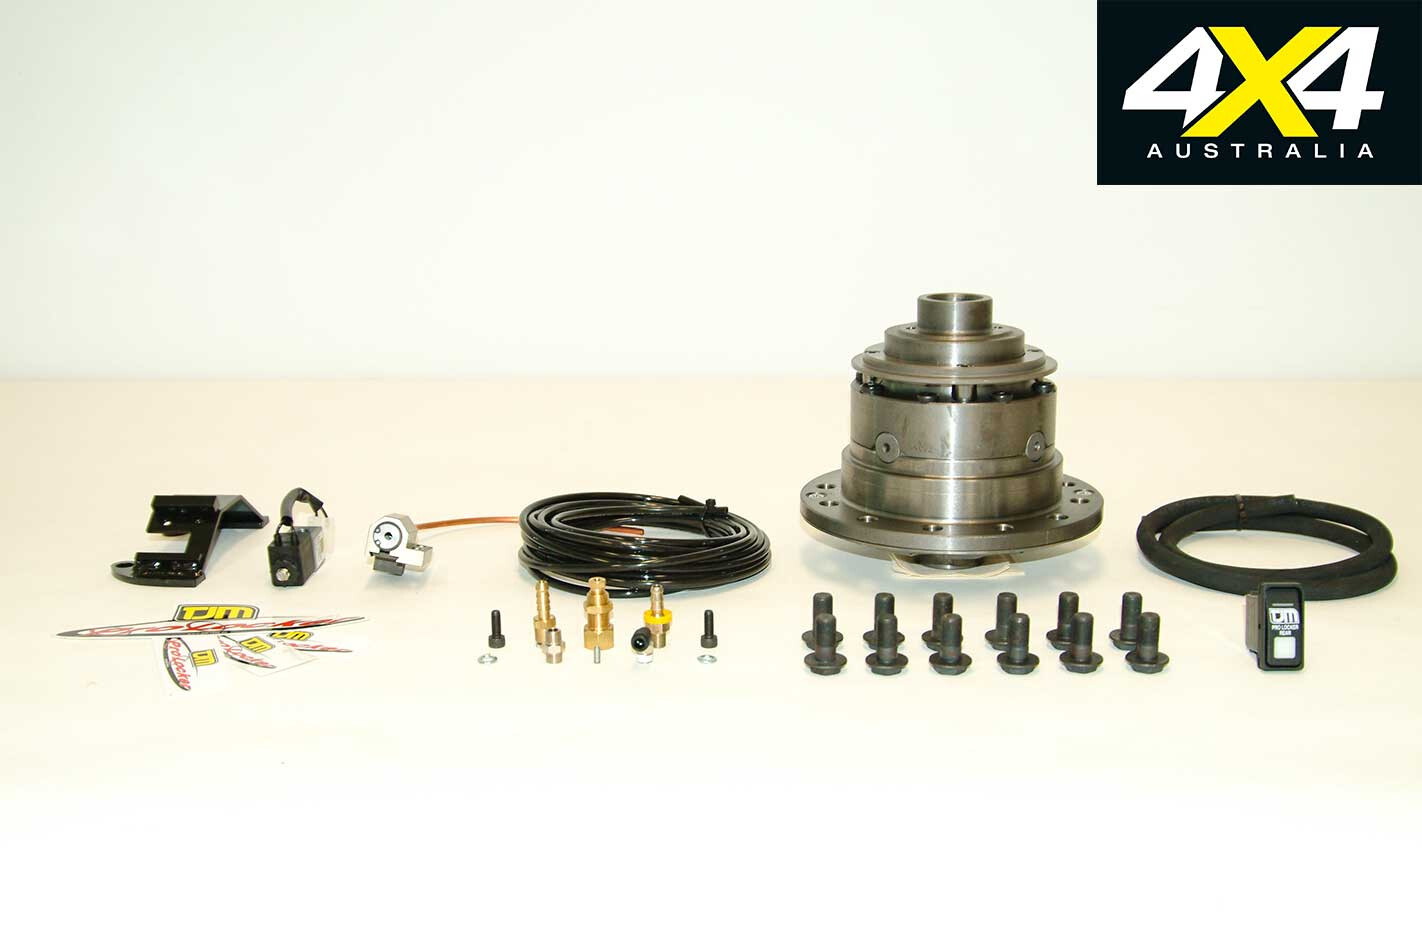
I’ve packed an air-operated, manually selectable TJM Pro Locker into the rear GQ diff. Flicking the in-cab-mounted switch makes it 100 per cent locked, regardless of terrain and vehicle position, and it works in both directions until you choose to switch it off.
I’ve then chosen an automatic diff lock in the front by fitting a 4WD Systems LOKKA. There is no driver input to make it work, it just does it automatically and allows far greater steering than a manual front system.
Together, the rear TJM Pro Locker and front LOKKA should drive my Tonner to the end of the earth. I’ve also hidden a Uniden UHF 9080 radio beneath the dash, with the full-function handpiece hooked onto the dash. A 1.2-metre long 6.6dBi gain antennae fits perfectly into the custom bullbar tabs.
Start Her Up!
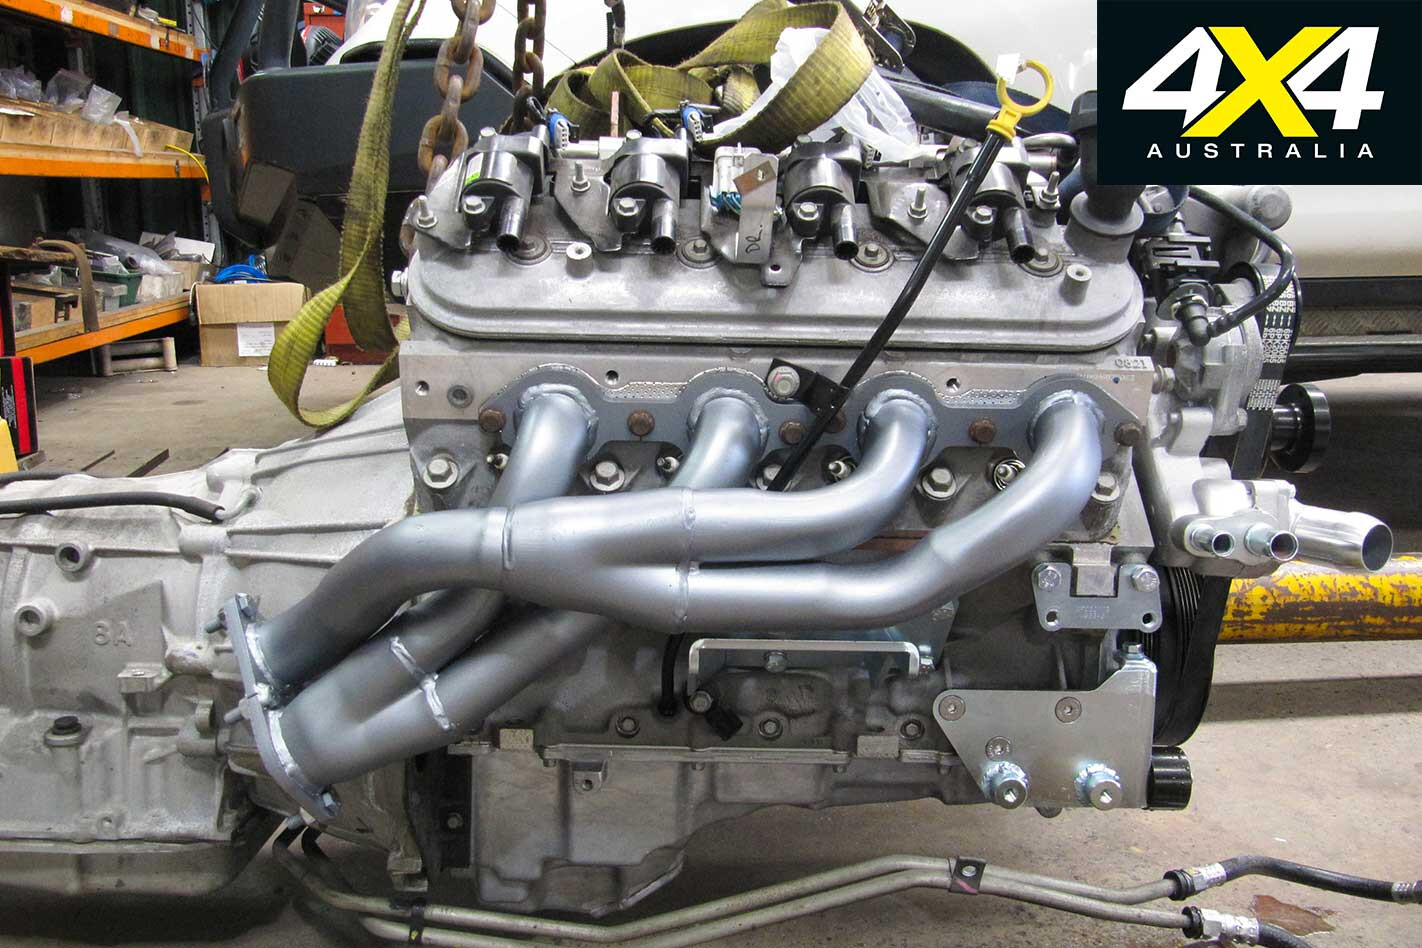
WITHOUT fanfare, fuss, coughing or spluttering, the behemoth 6.2-litre LS3 roared into life for the first time in 12 months and, let me tell you, it sounded bloody awesome. I’ve recently had final engineering done on the Tonner, too, and it passed with flying colours.
We’ll tidy up things in, on and under the Tonner prior to presenting it for a blue slip, which will concentrate on all the mechanicals of how the whole machine works, rather than the engineering that comprised of safety, design rules and quality of workmanship.
Once the blue slip is done and dusted, it’ll be time to whack some rego plates on, bung on the stereo, and punch the go-pedal until white line fever catches on. Catch ya next month for the grand finale of my ultimate 4×4 conversion.

